What is KickoffLabs?
KickoffLabs is a landing page builder and a referral engine, all in one! With KickoffLabs you can quickly (and easily) set-up viral giveaways, product launches, and sweepstakes. Choose from our proven campaign templates or integrate with a platform of your choosing!
What is a campaign?
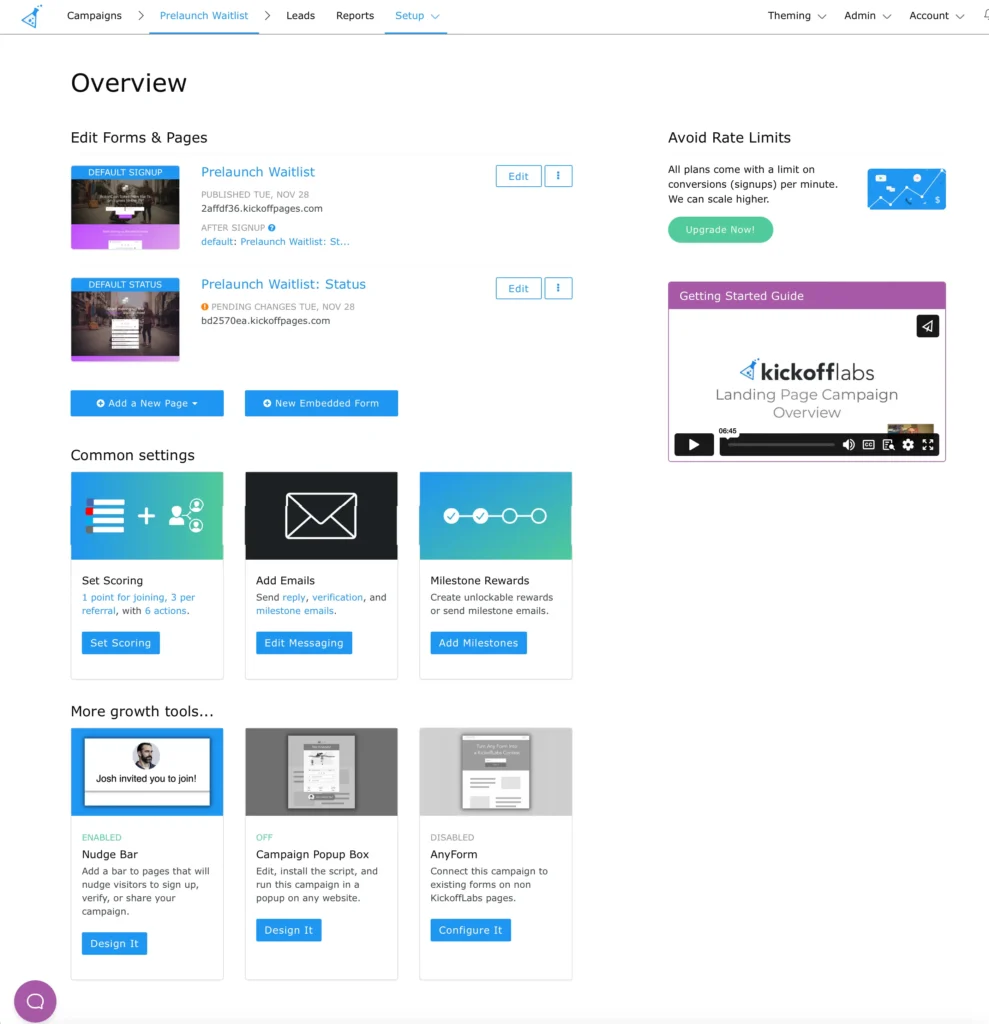
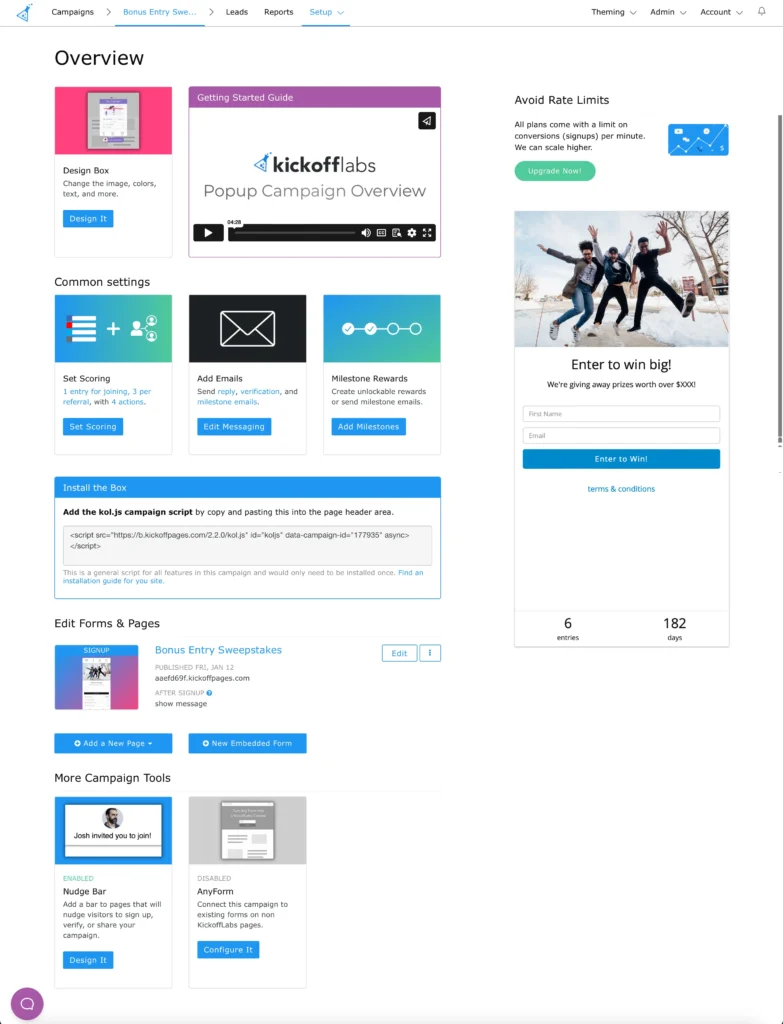
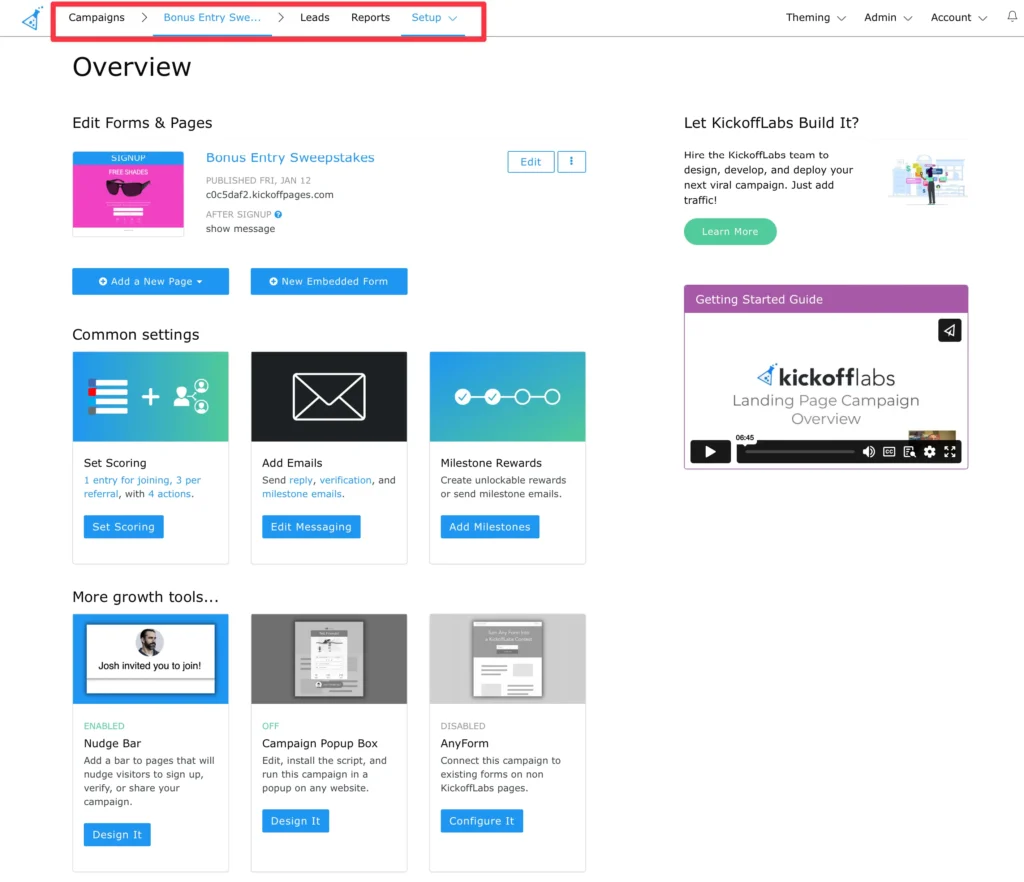
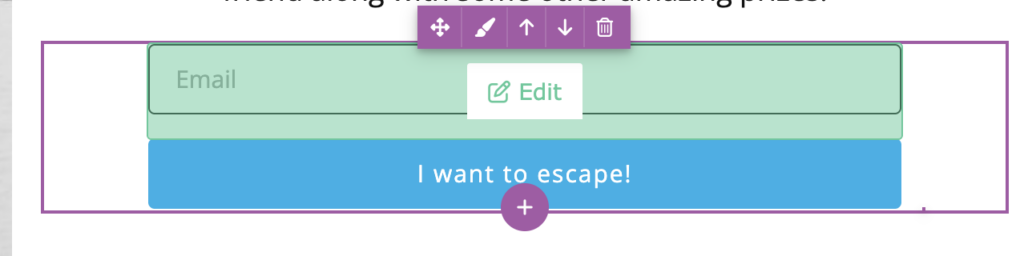
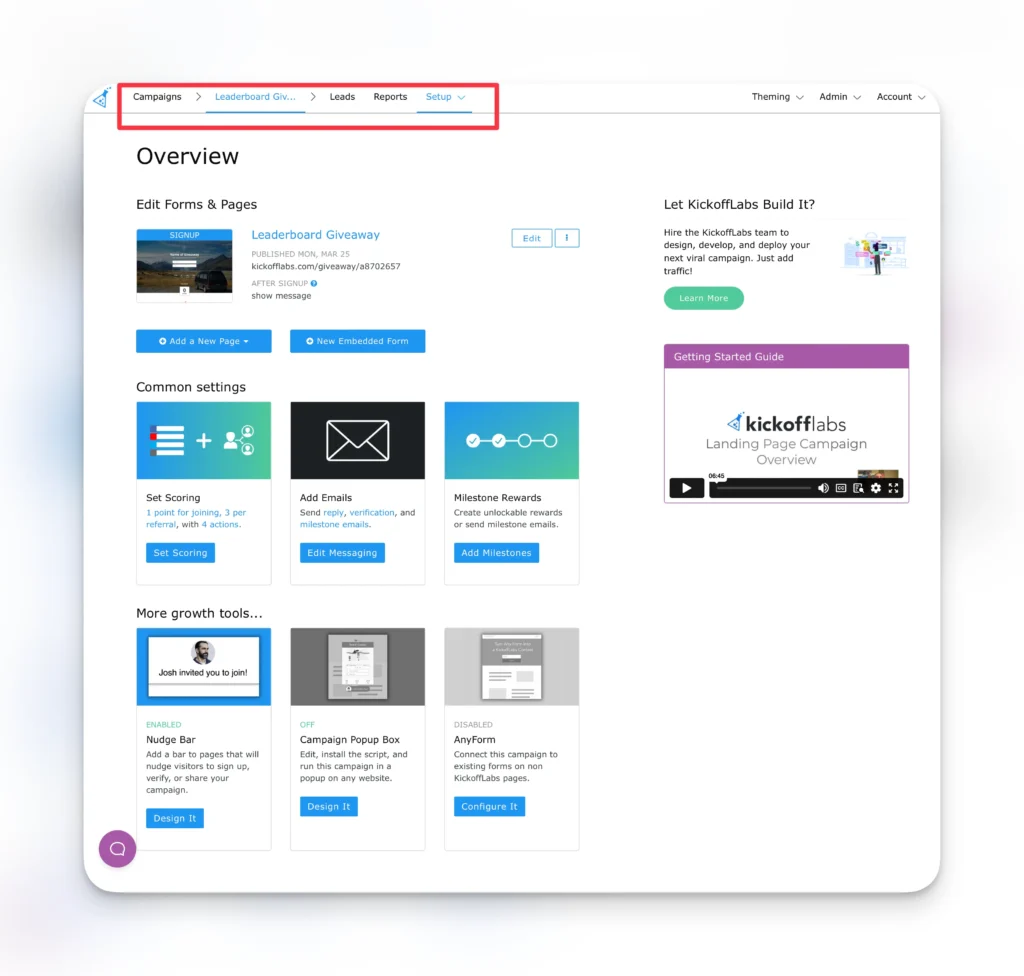
A KickoffLabs Campaign contains all of your landing, status pages, popups, embeds, and anyform in a contest. Each campaign has its own set of leads, scoring, rewards, emails, settings, and integrations. You can create an unlimited amount of landing pages in a single campaign, however, if you’re wanting to target multiple audiences or separate your leads, it is recommended to create separate campaigns.
How do I choose a campaign type?
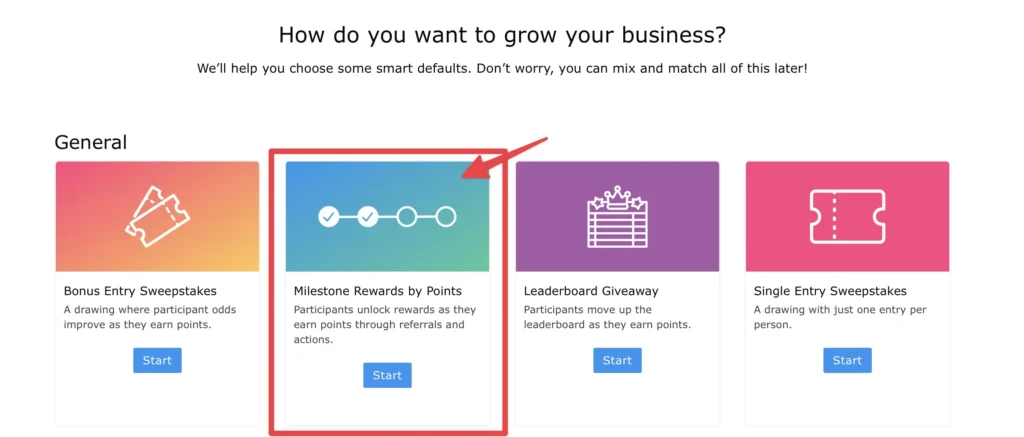
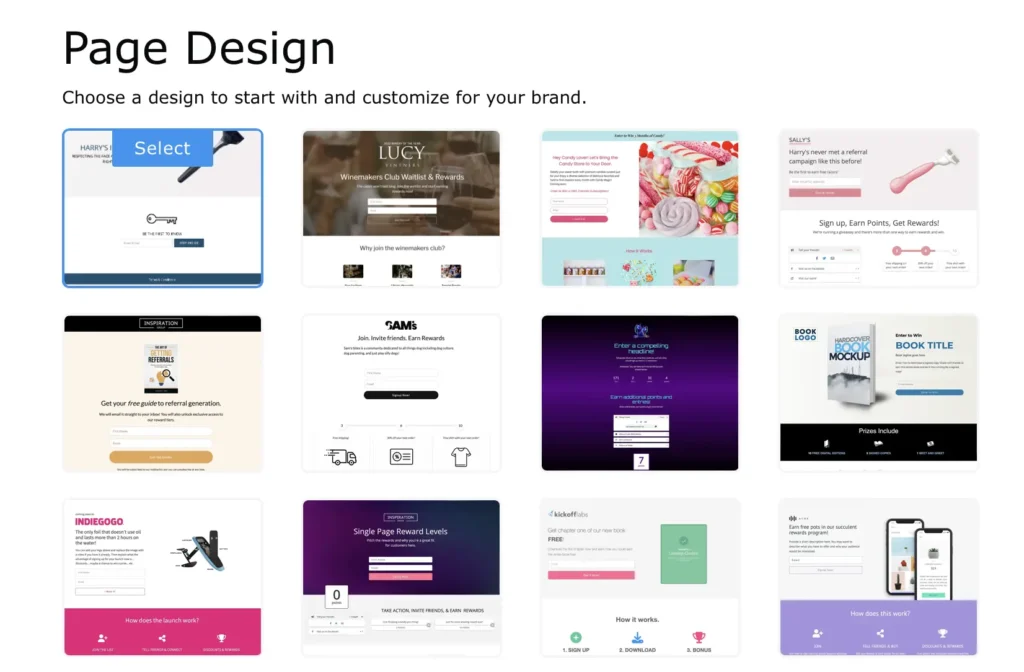
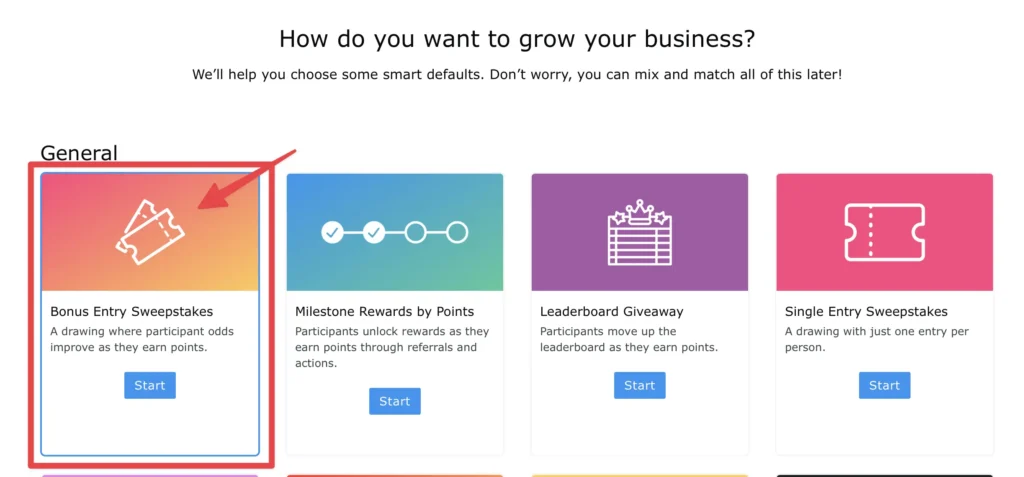
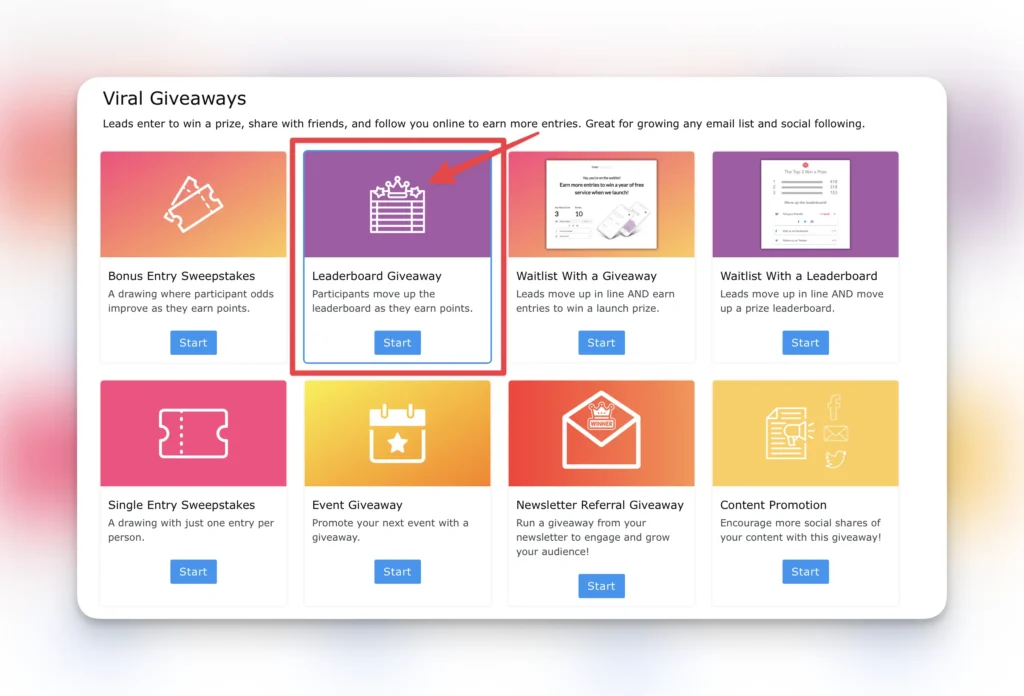
KickoffLabs offers a variety of campaign types to meet where you’re currently at in your business. Our templates also allow you to seamlessly mix and match or combine contest types, for example a Reward Level campaign + a Leaderboard to award a grand prize to the person with the most referrals. Check out the campaign types we offer here.
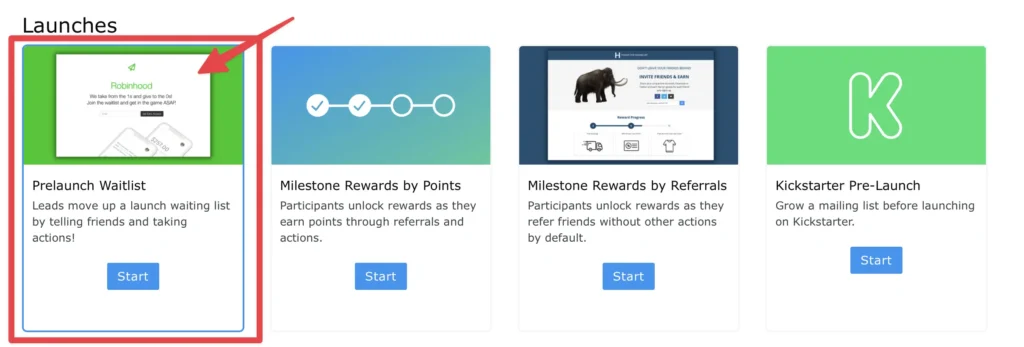
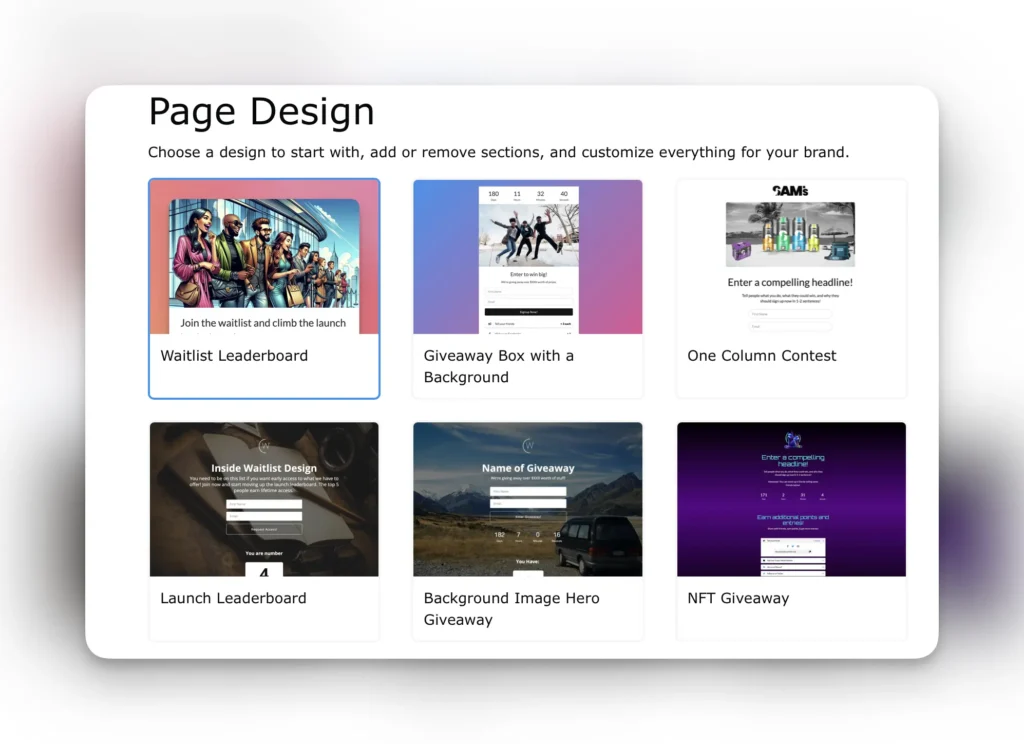
Getting started with different campaign types
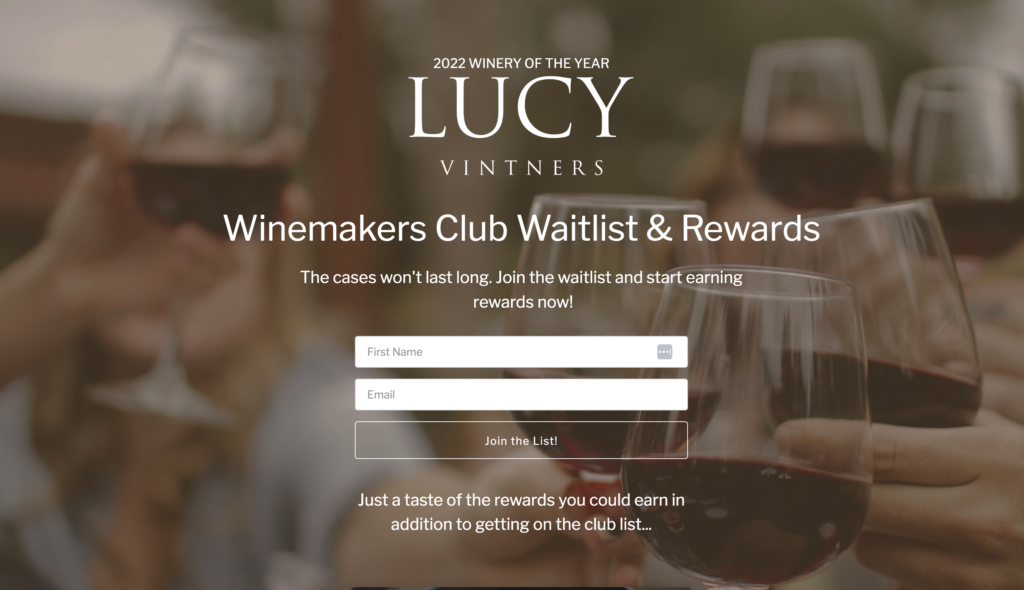
From prelaunch waitlists to multi level loyalty reward campaigns, there’s something for everyone. We’ve included some of the most popular campaign types to get started with below:
- Getting started with a waitlist campaign
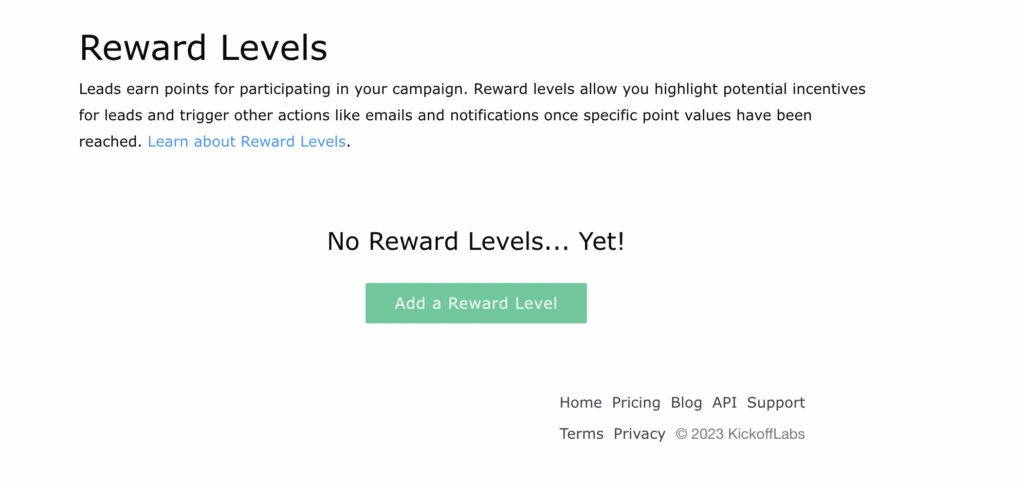
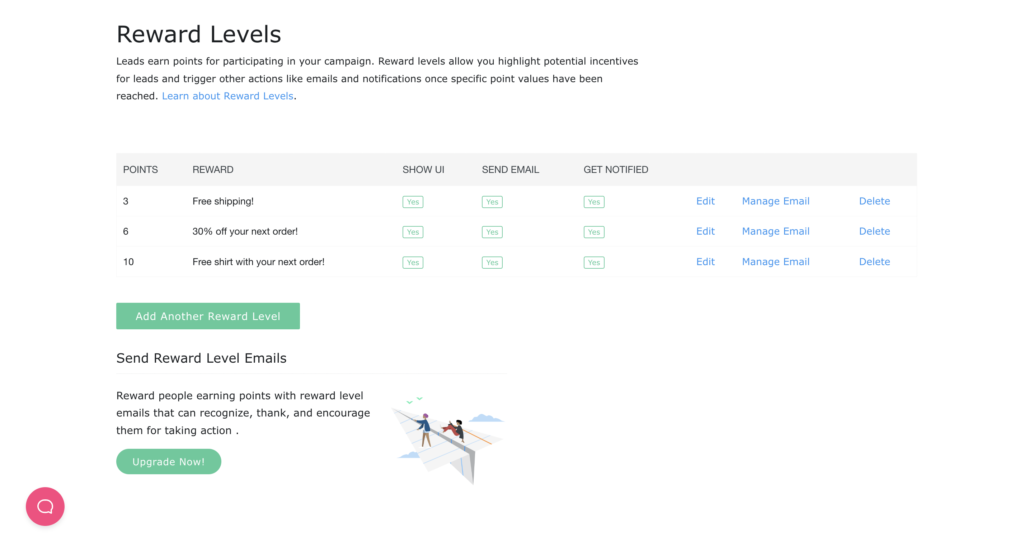
- Getting started with a reward level campaign
- Getting started with a bonus entry giveaway
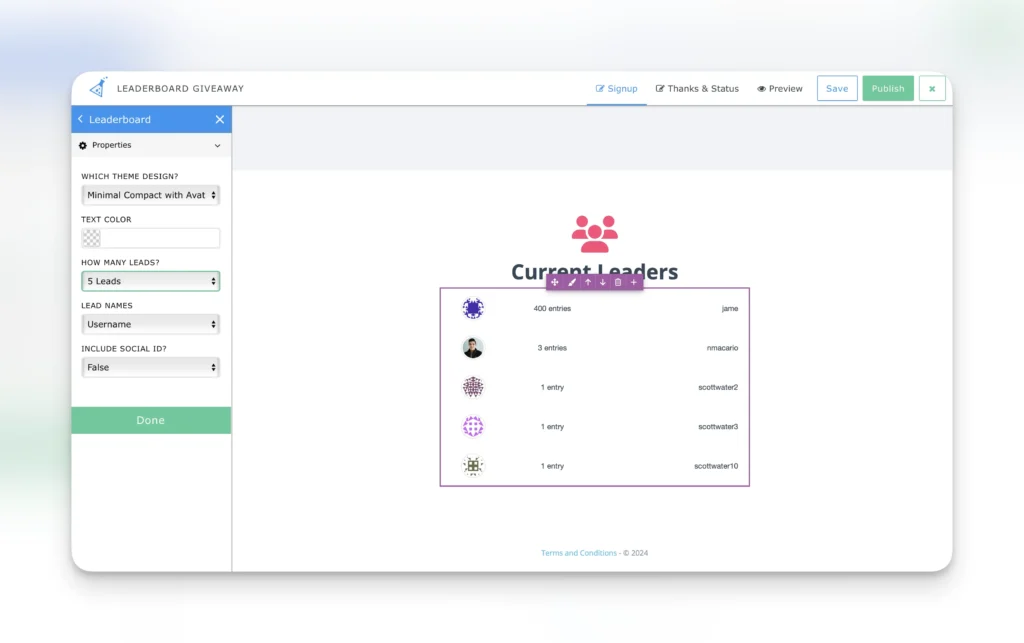
- Getting started with a leaderboard campaign
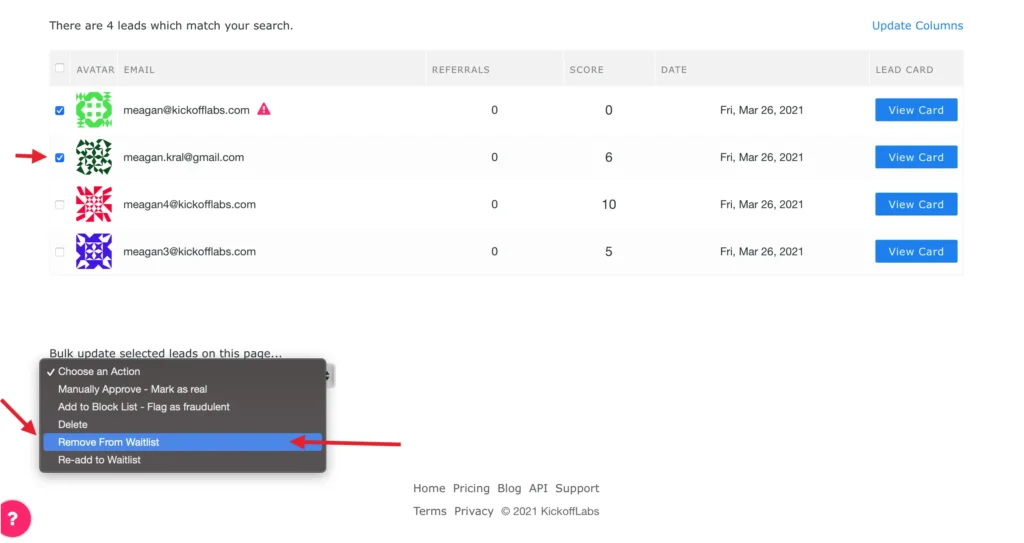
Can I import existing leads?
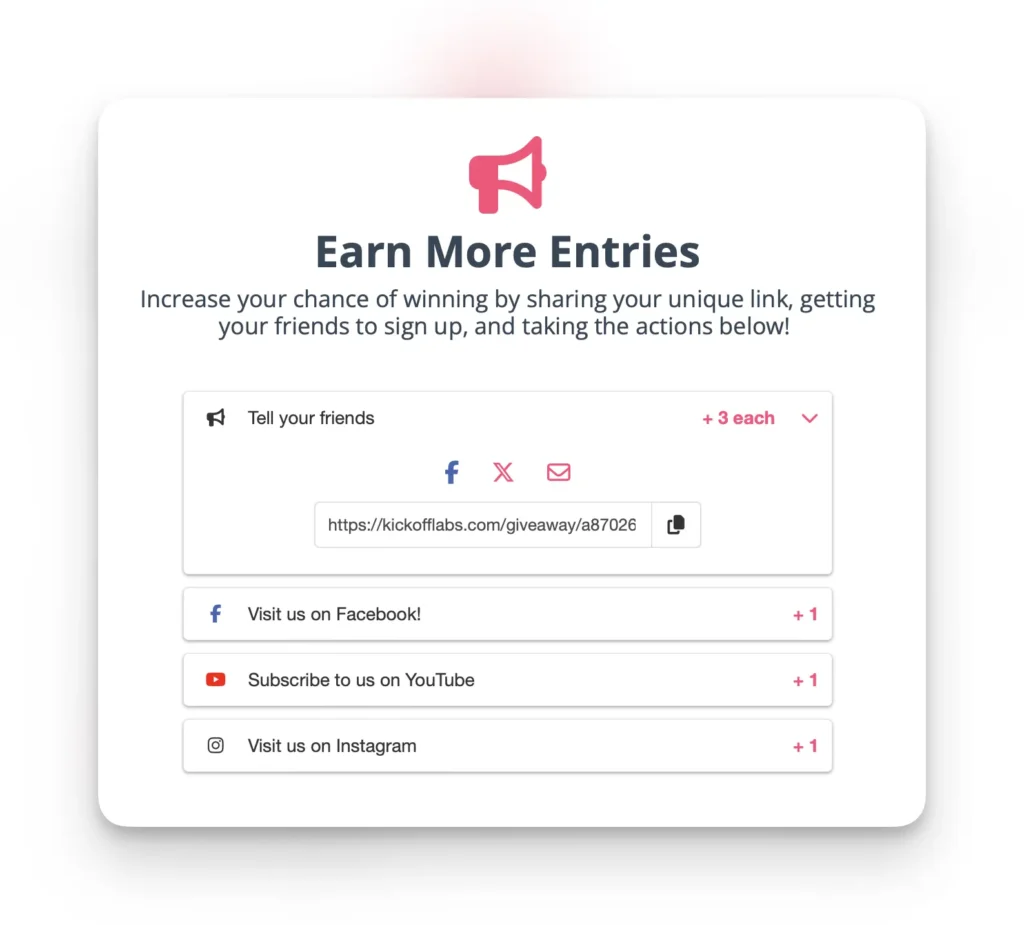
Yes, leads can either be imported by copying/pasting a list of emails into our import tool, or by sending an external email blast in your CRM with our instant signup link. Leads get a referral link generated in just one click without having to enter any details again!
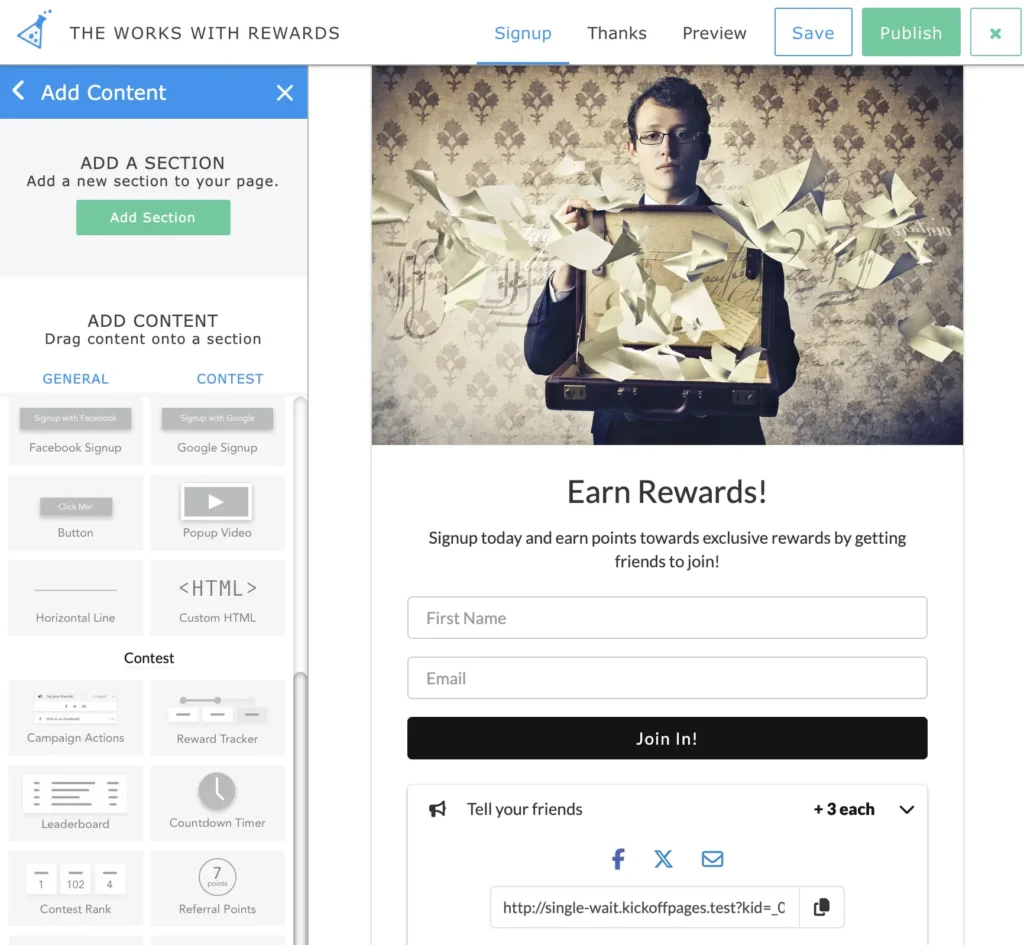
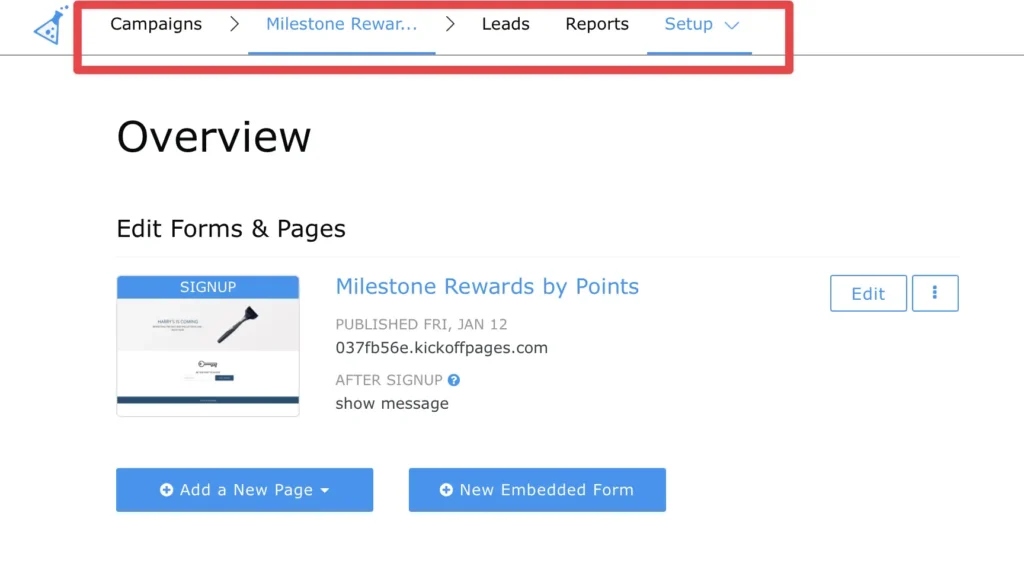
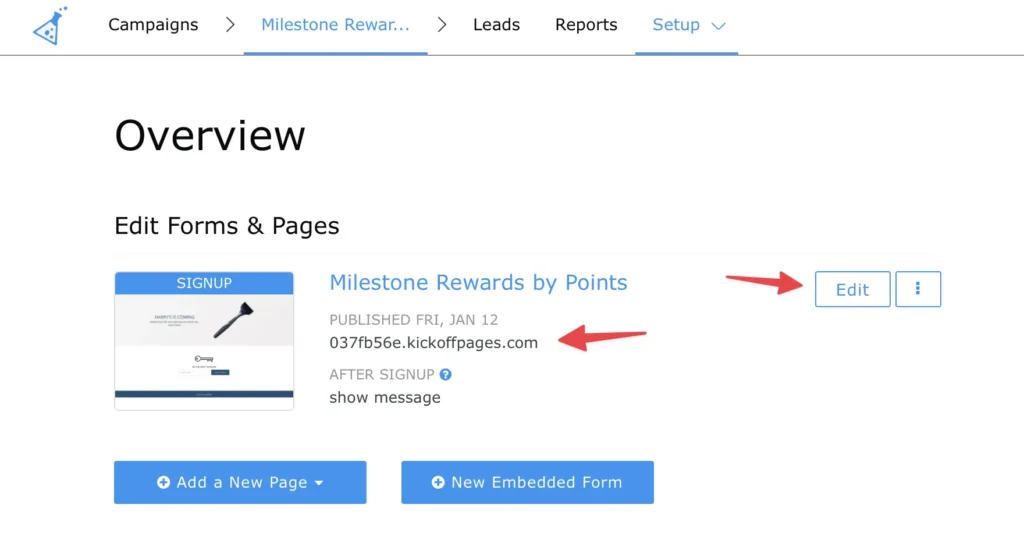
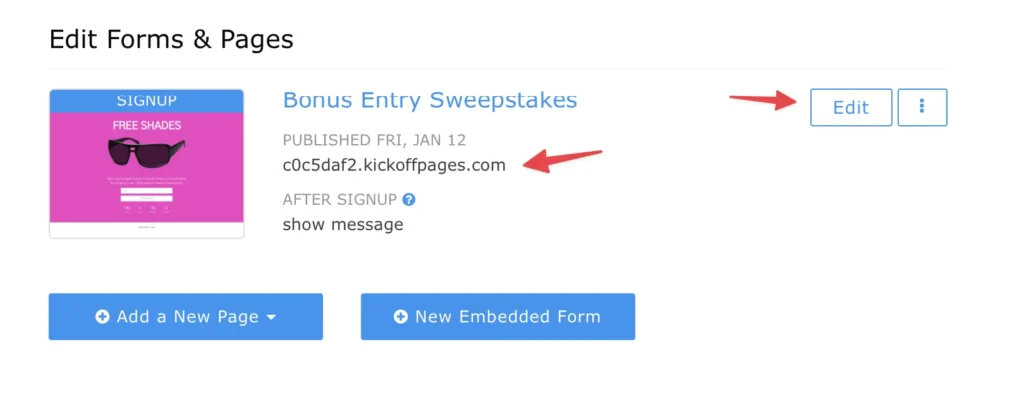
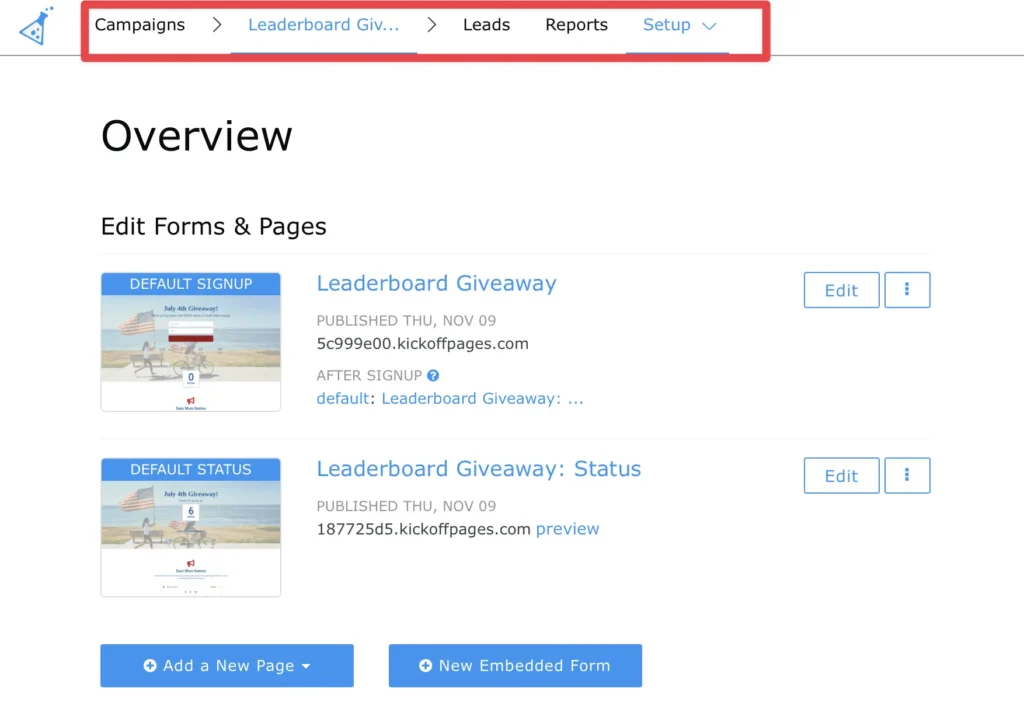
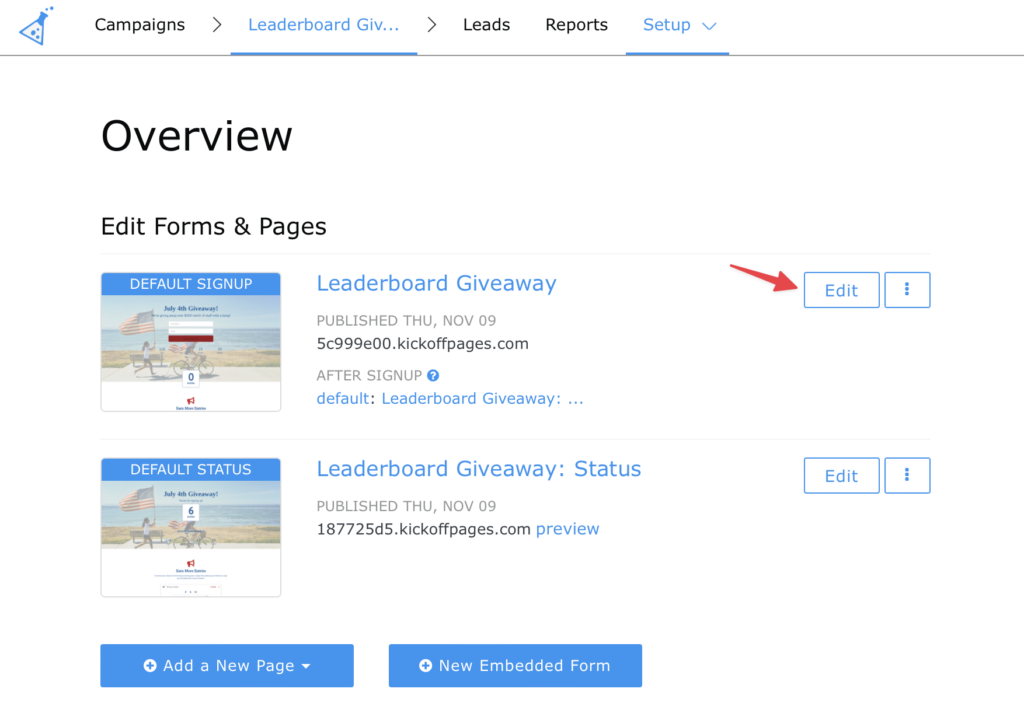
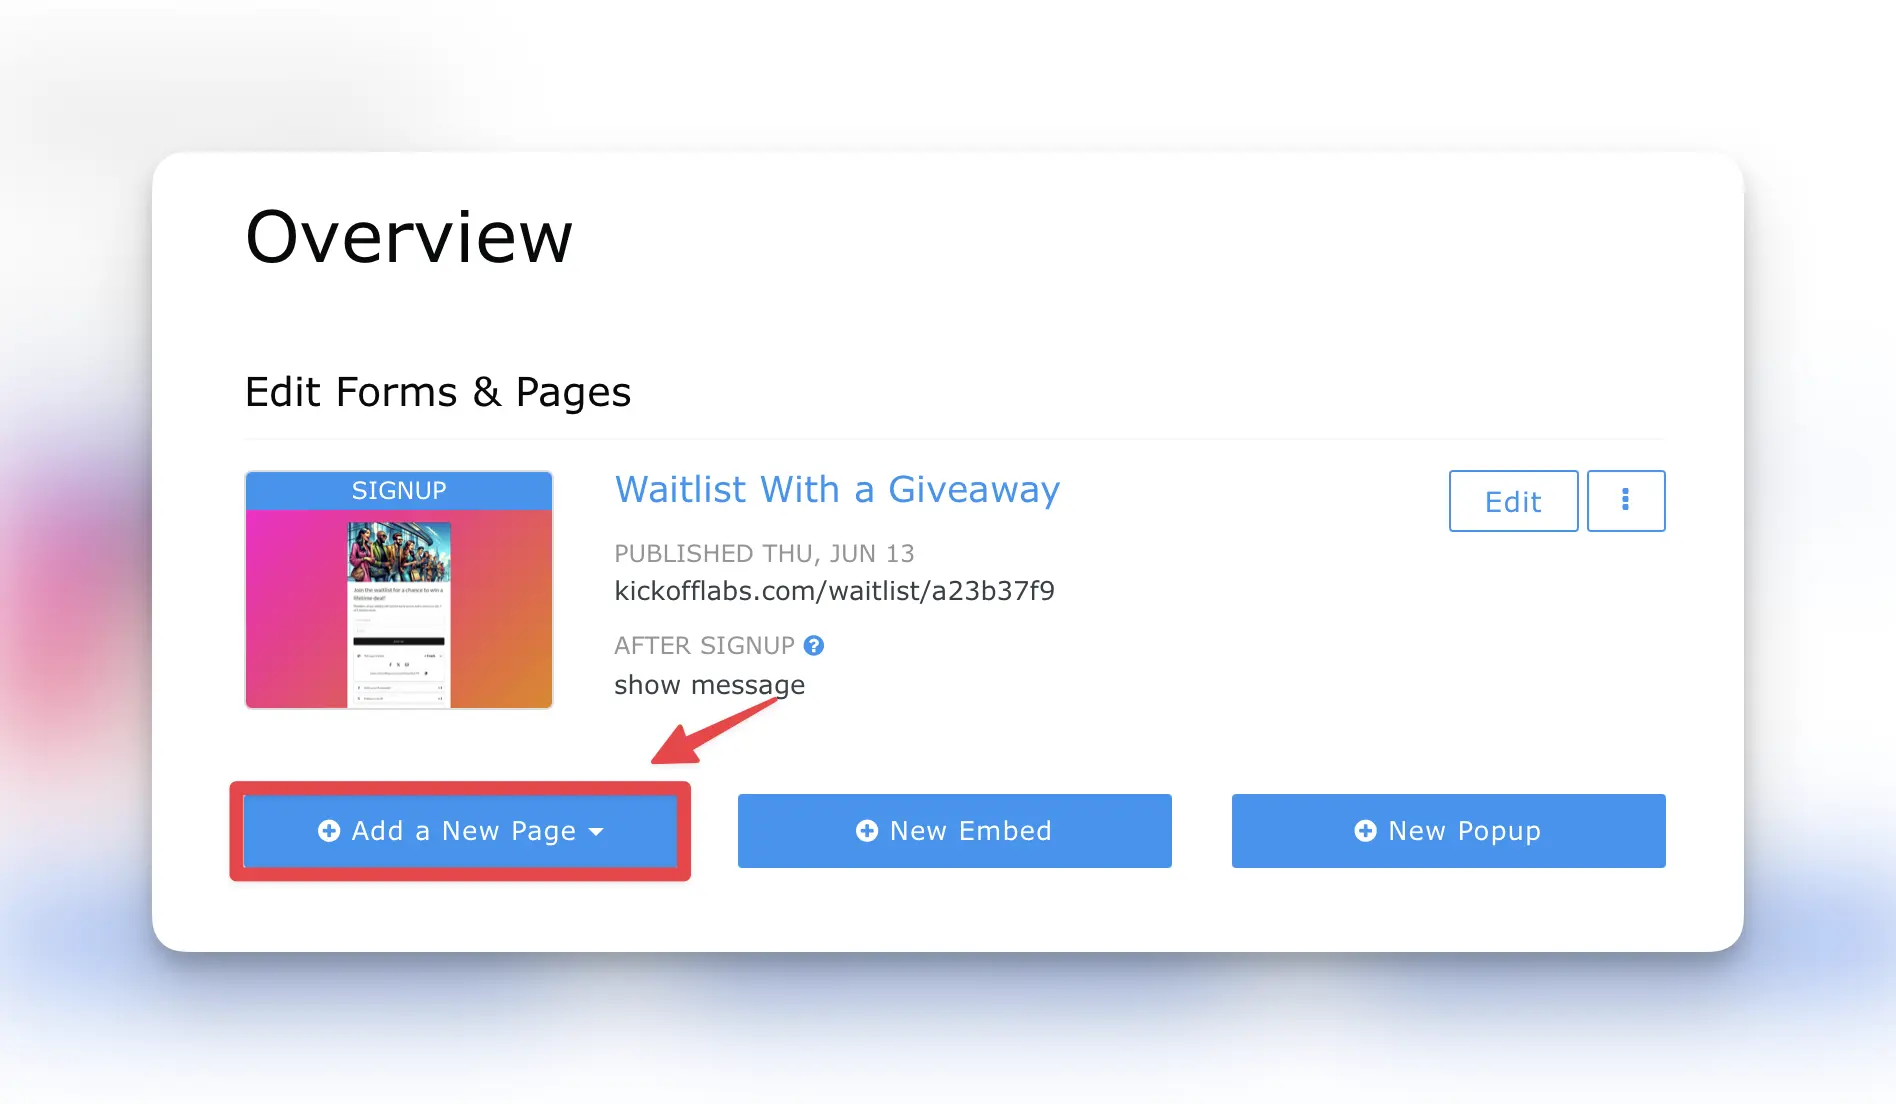
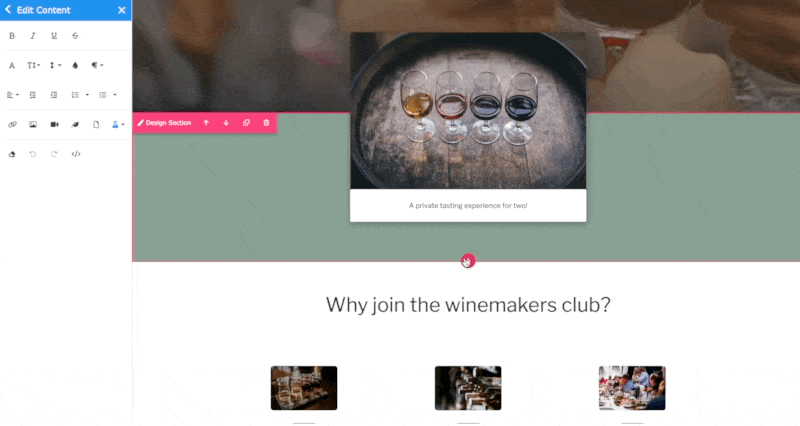
Can I have more than one landing page?
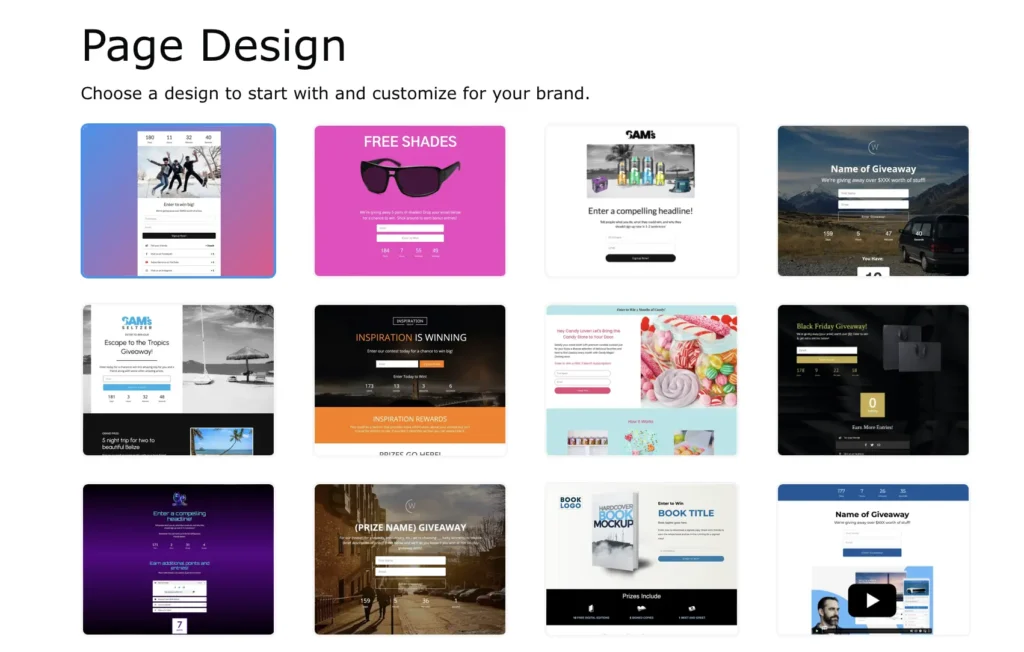
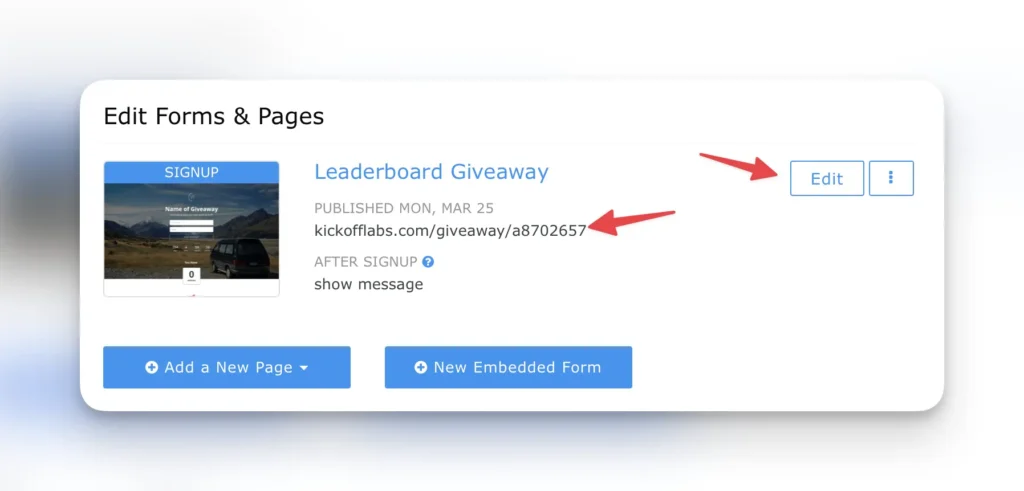
Yes, you can have as many landing pages as you’d like. Simply add a new page from your campaign dashboard here. We also support copying pages to get more landing pages up and running even faster.
Can I use my own domain/URL?
Yes, you can connect any custom domain of your choosing. We’ve included the steps to do that here.
What if I already have a website?
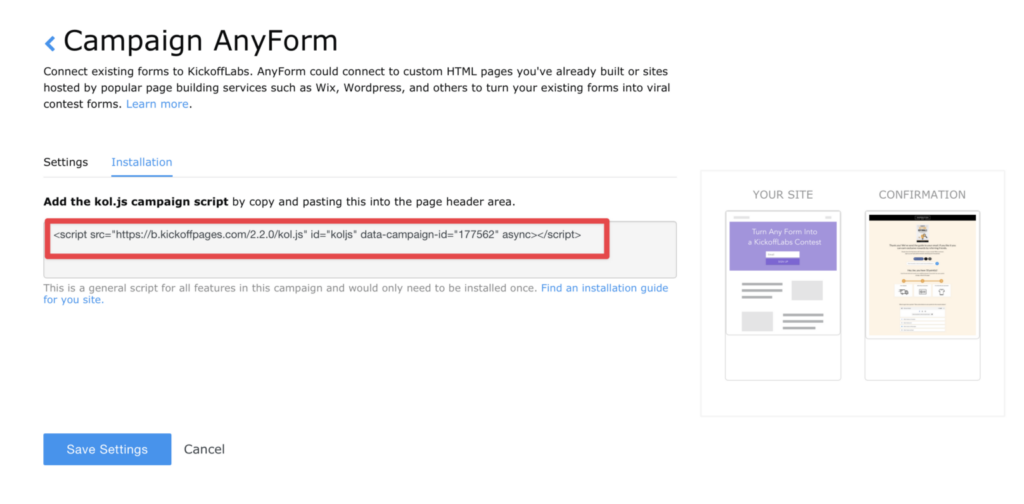
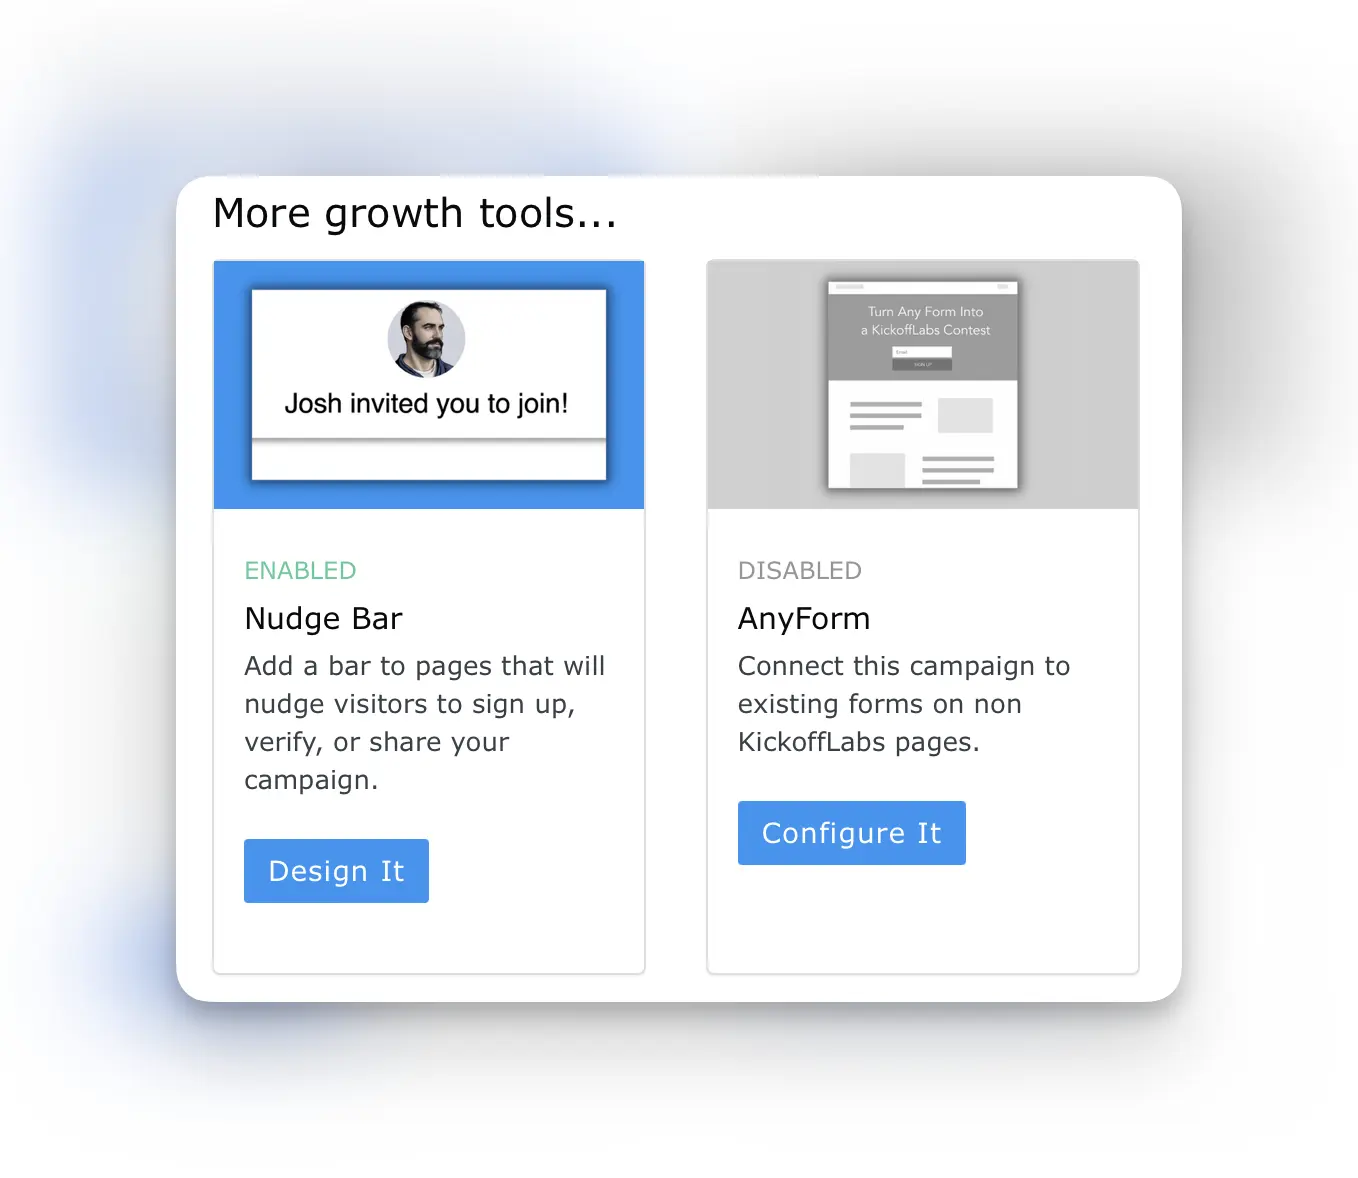
It’s common for users with existing websites to either design/host their pages with KickoffLabs on a subdomain (contest.yourdomain.com). We also offer the option to integrate with your existing website via Anyform, a popup, or an embed.
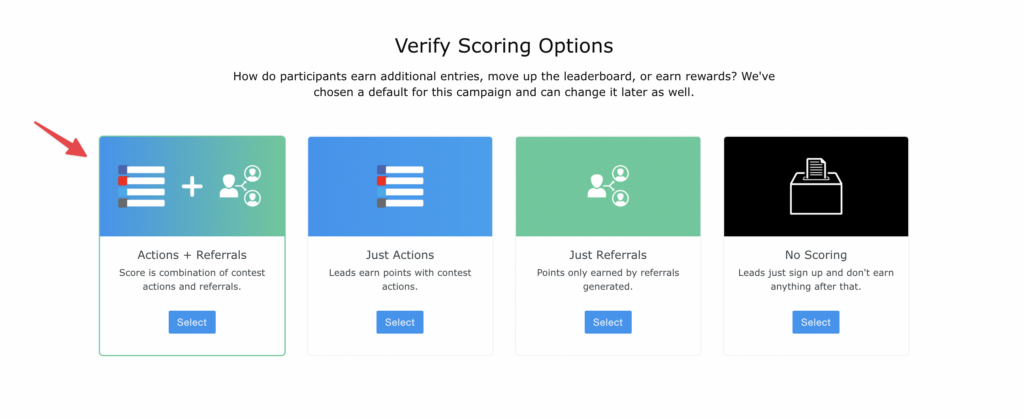
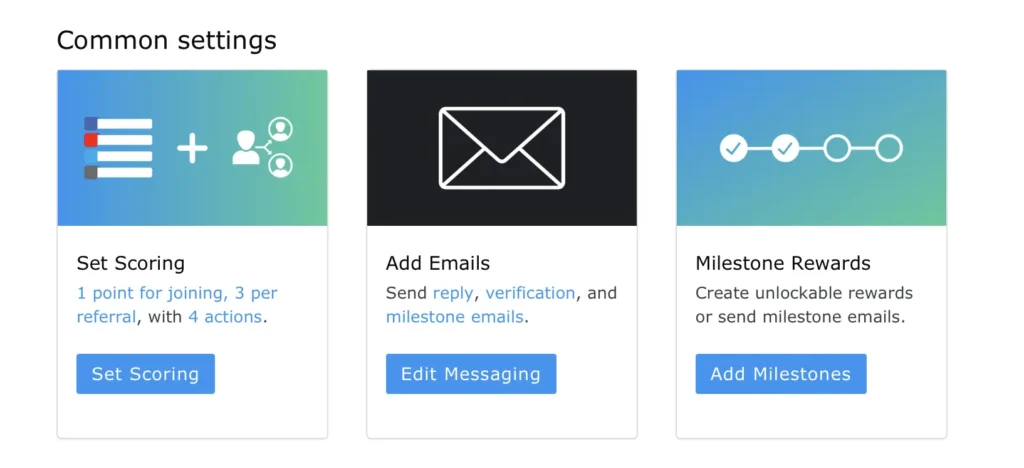
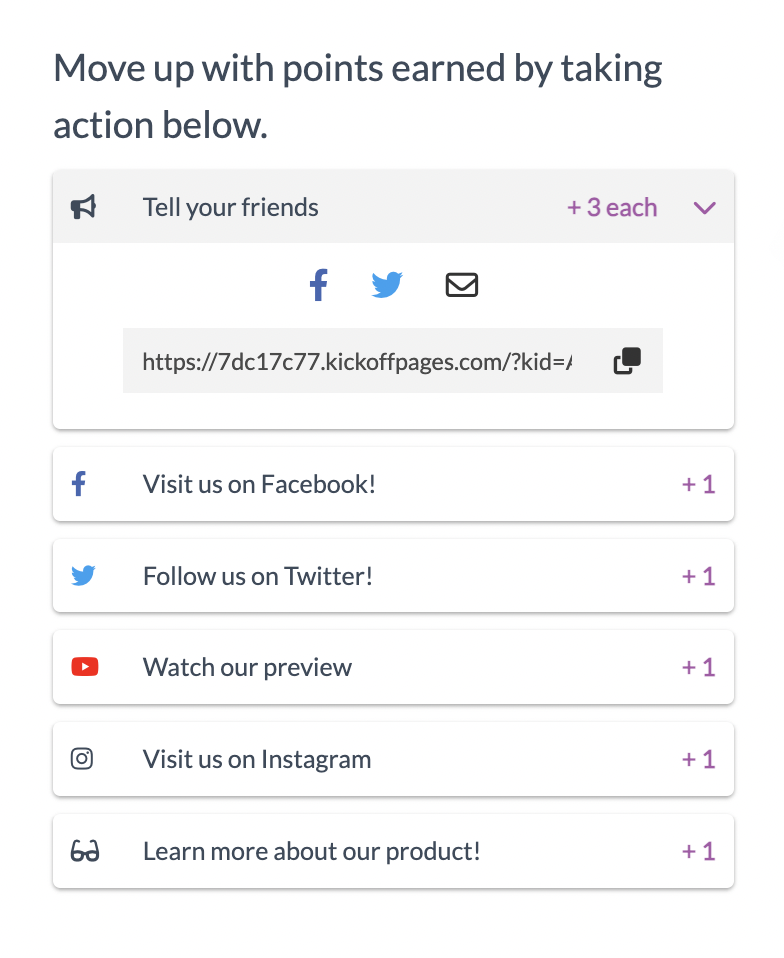
How do I change the “points” wording to something else?
This can be changed via your campaign localization settings.
Can I create campaigns in different languages?
Yes, KickoffLabs campaigns are fully localizable. You can edit any of the customer visible text to support your audience, and even publish each campaign to a unique path while matching your branding (ie: kickofflabs.com/fr, Kickofflabs.com/en etc). Learn more about localizing your campaign here.
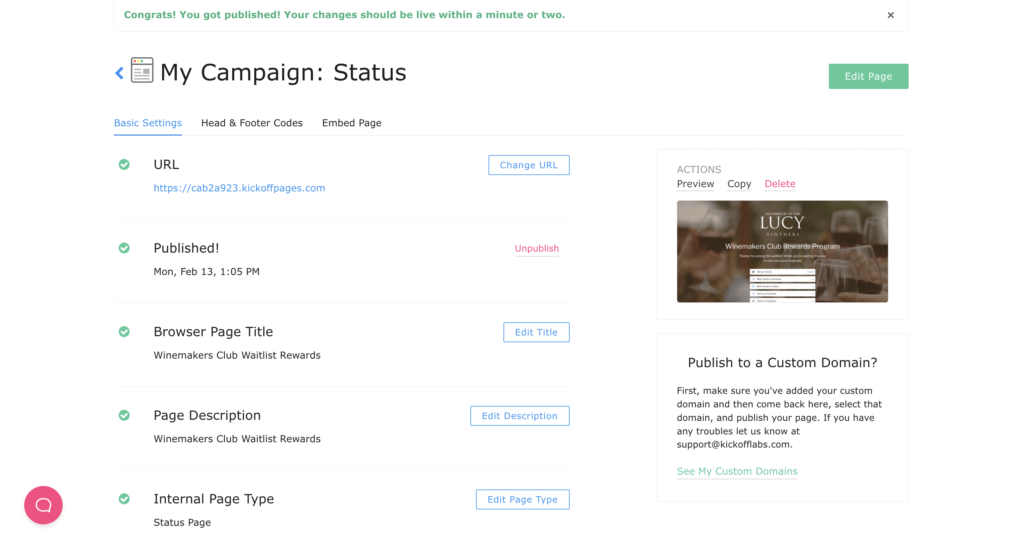
How do I publish my campaign live and test it?
By default, we automatically publish pages to a .kickoffpages.com subdomain for easy testing. This can be accessed from your campaign dashboard here.
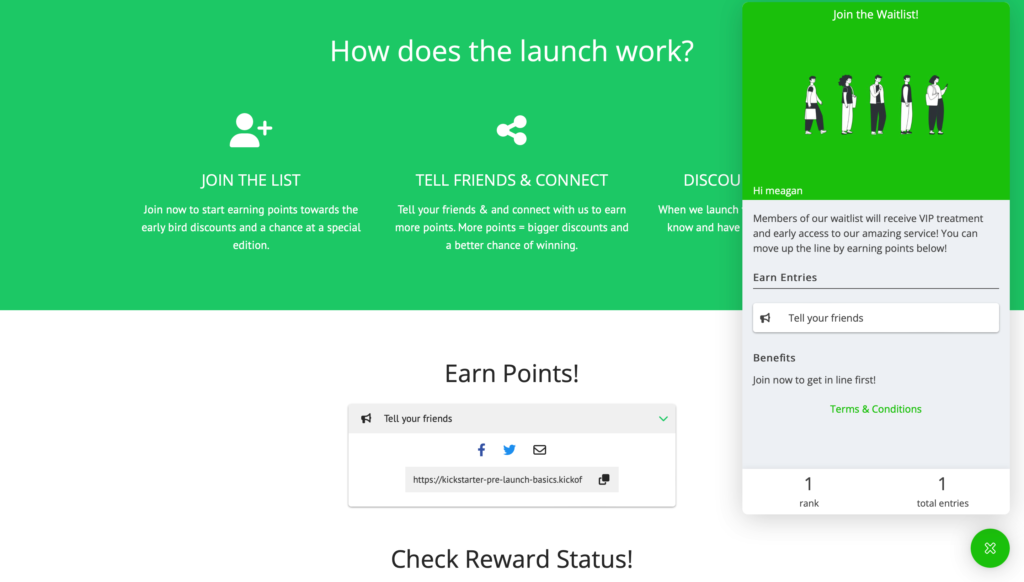
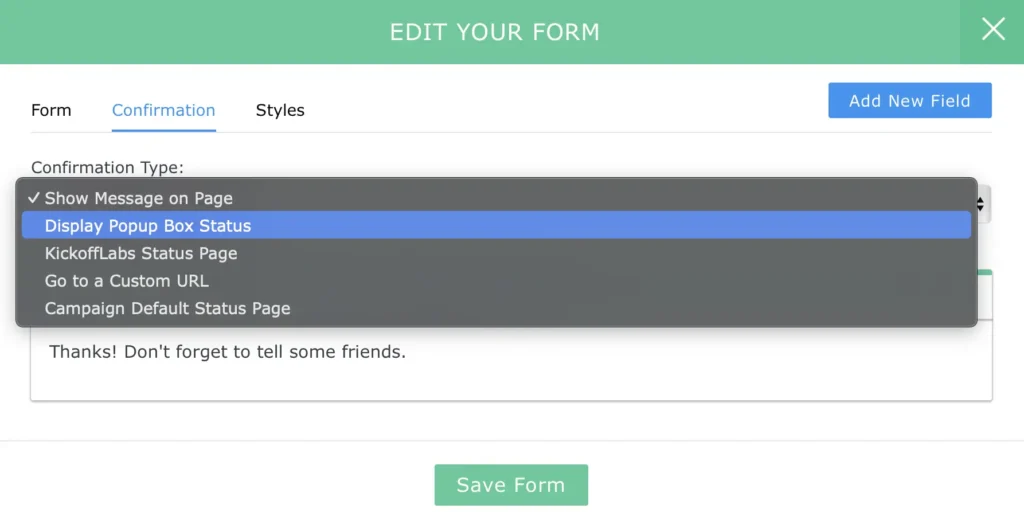
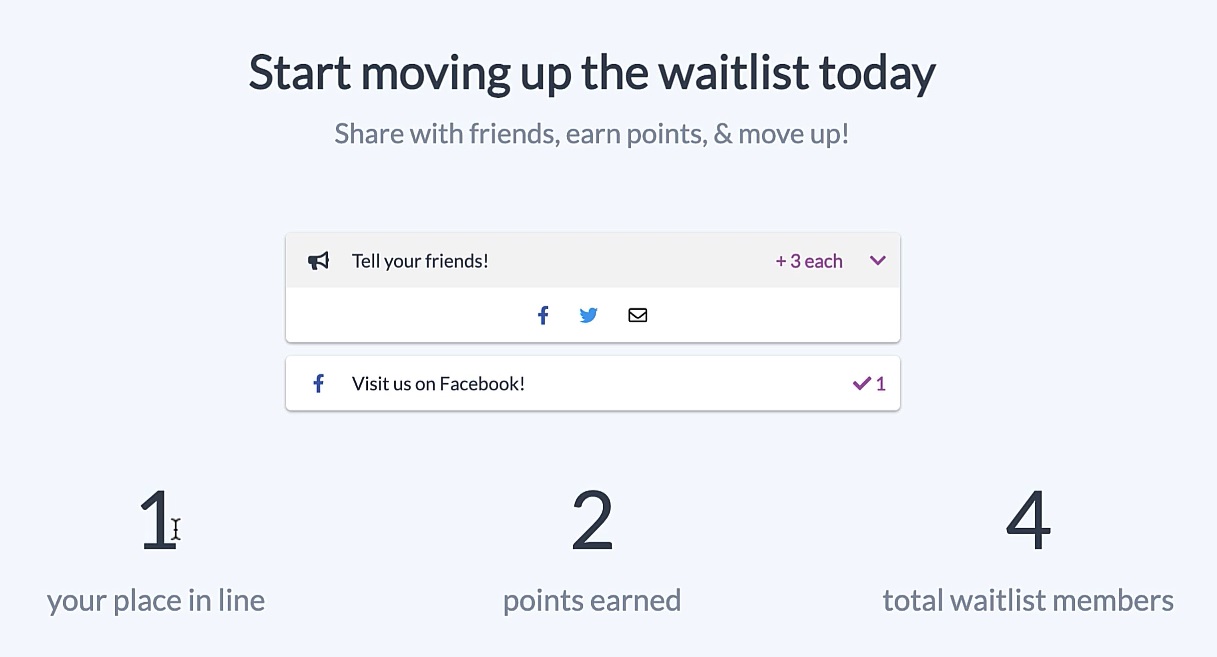
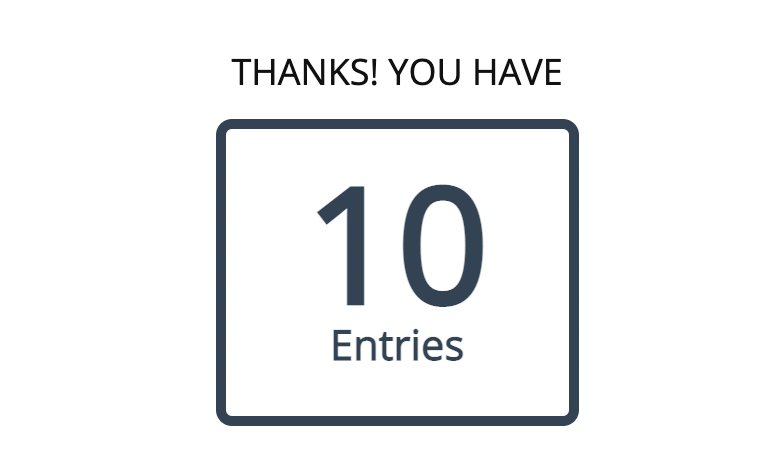
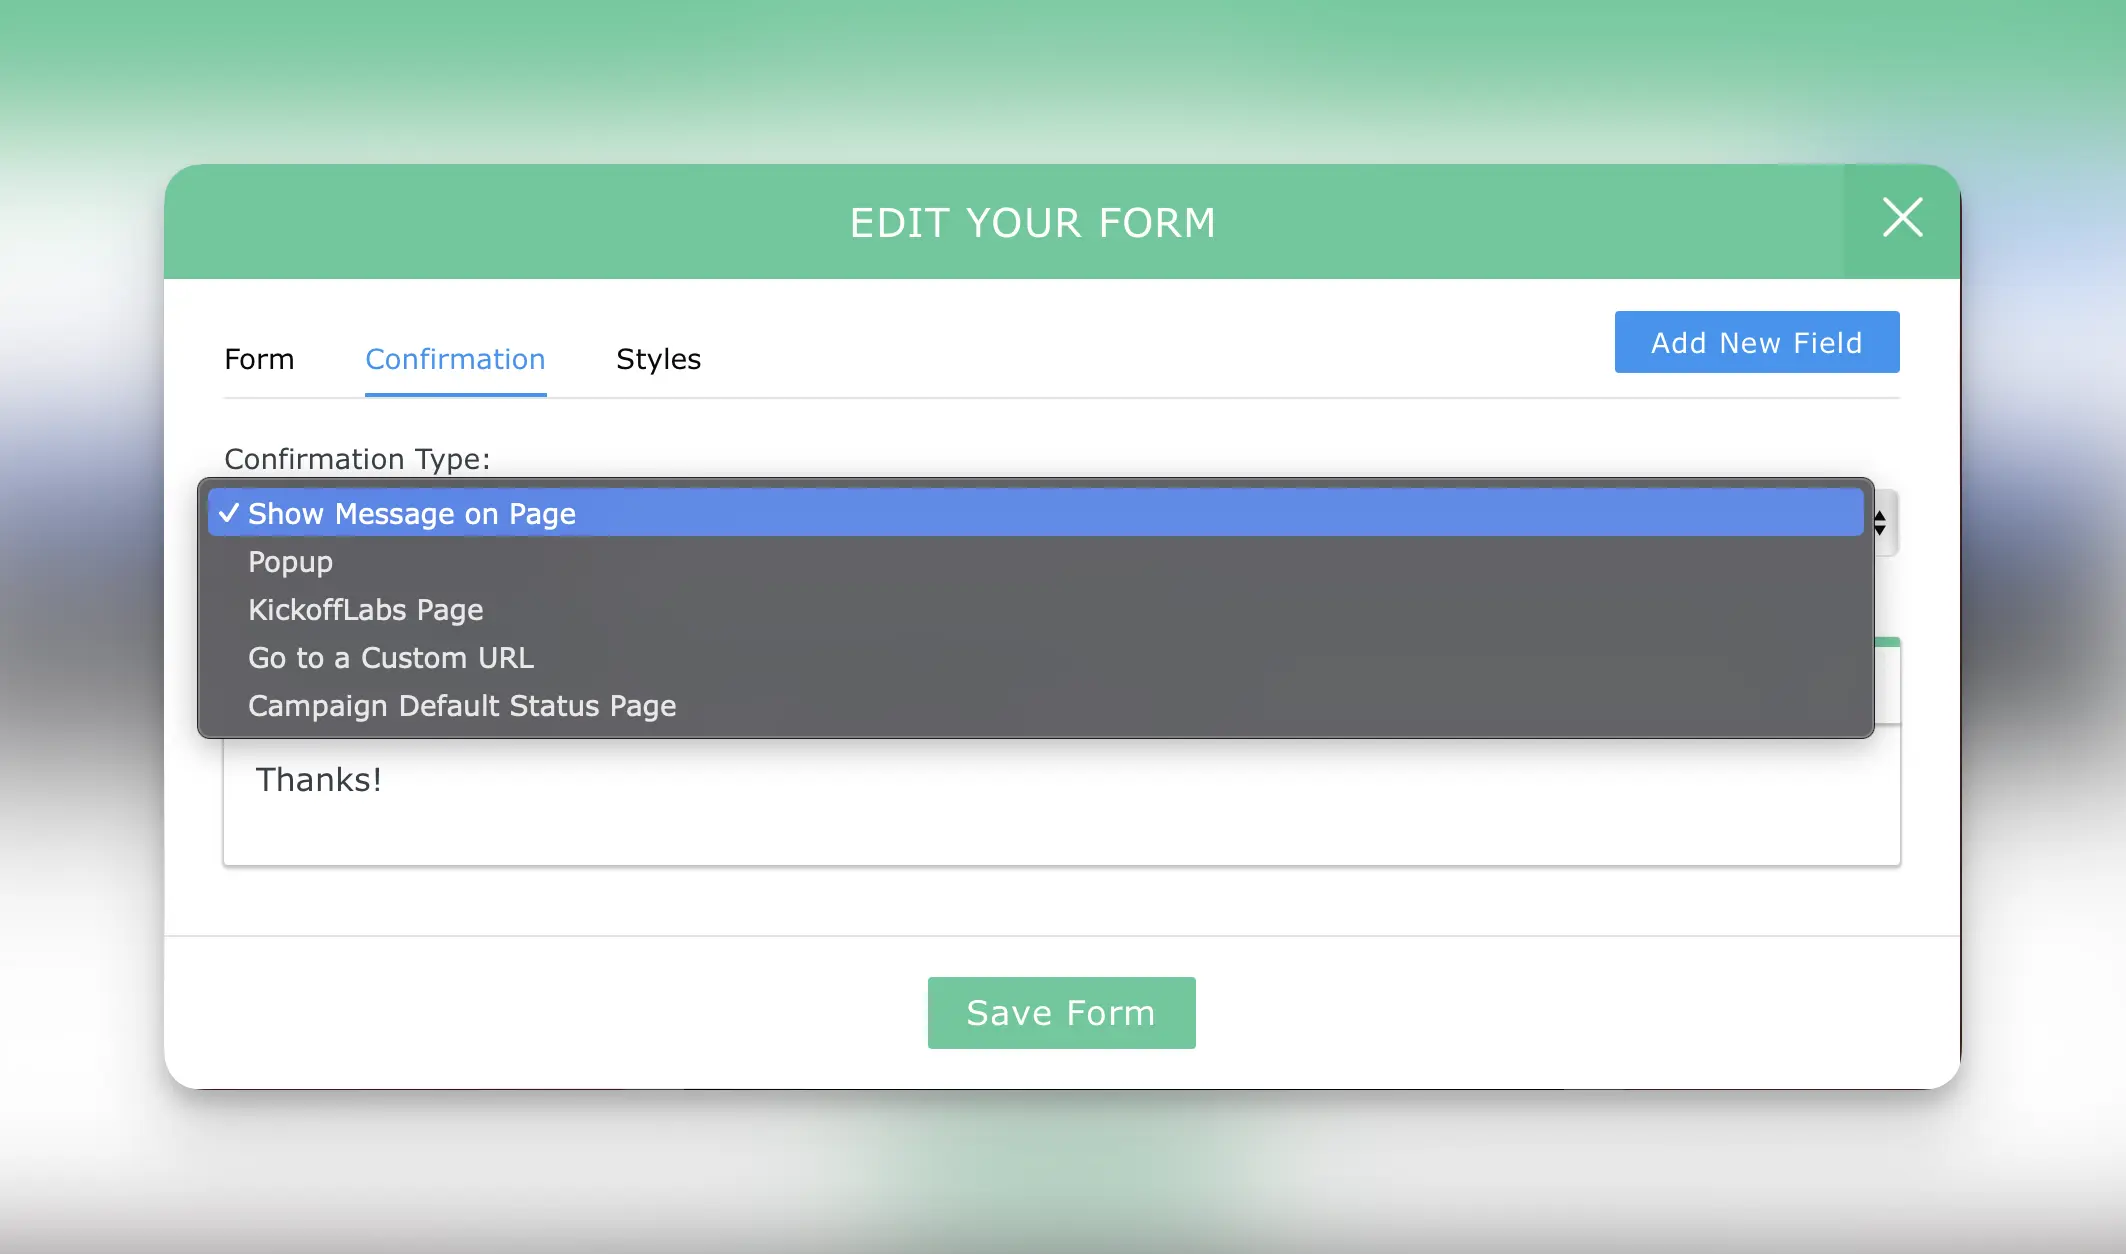
How can leads check their status?
When a lead signs up, we cookie them and add session data. If they go back to a page (on the same device/browser session) we’d know who they are. Additionally:
- We generate a unique status URL for them that they can bookmark.
- By default our emails include their unique status page so they can check their stats, complete actions, and share with friends.
- Leads can also get to their status page by signing up on the landing page (using the same details they initially used to signup). Most people end up going back to their status pages though since we make it easy in the emails we send out.
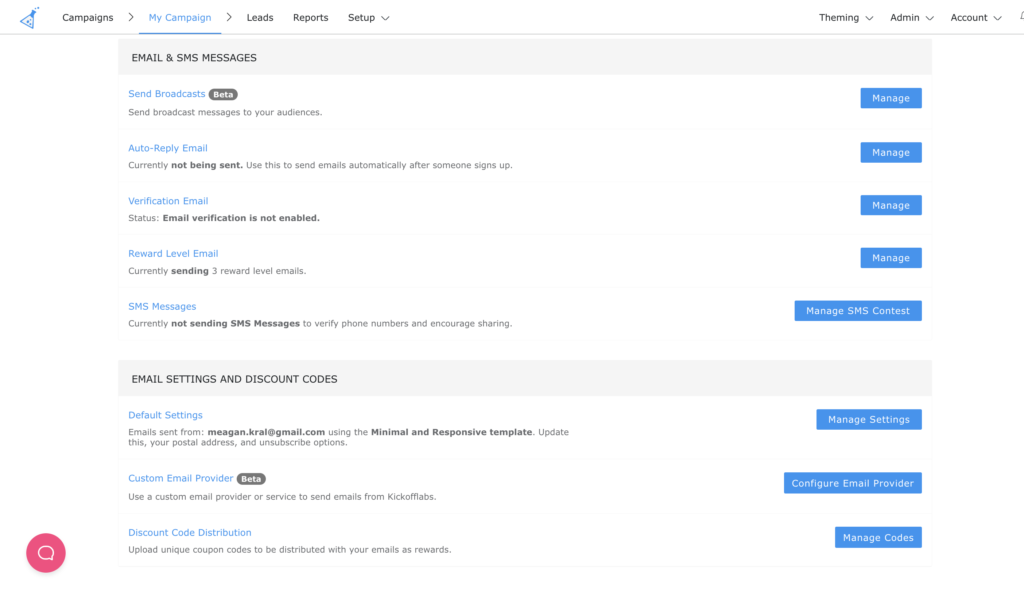
Can I send emails with KickoffLabs?
By default, KickoffLabs offers four trigger based emails to non-lifetime customers (a normal subscription is required for these features.)
- Auto Reply: Thanks the lead for signing up and includes their unique status url so they can check their stats, complete actions, and share with friends.
- Reward Milestone: Triggers when a lead hits a specific point milestone (that you set).
- Verification (double-opt in): When enabled, leads will receive an email with a link to confirm their participation.
- Broadcast: Integrate with AWS/Sendgrid/SMTP to send one off emails to your leads ( ie: sending a reminder nudge to leads with 0 points)
For broadcast/automated email sequences, we always recommend pairing our emails with an external CRM.
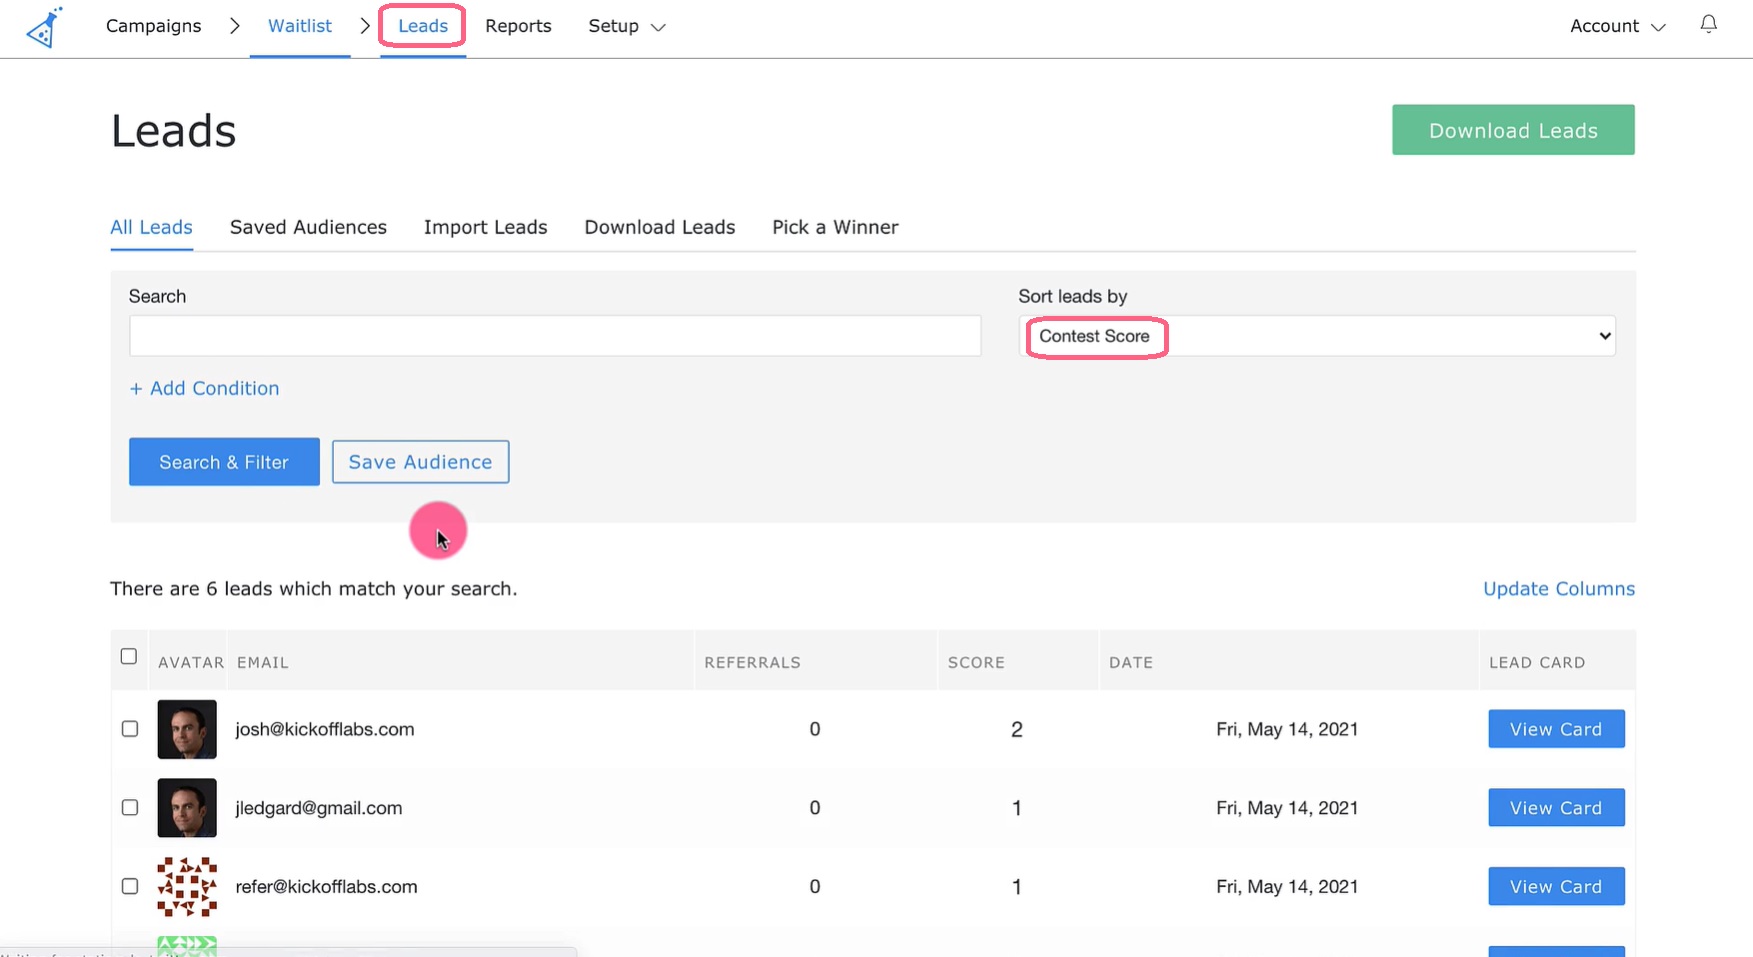
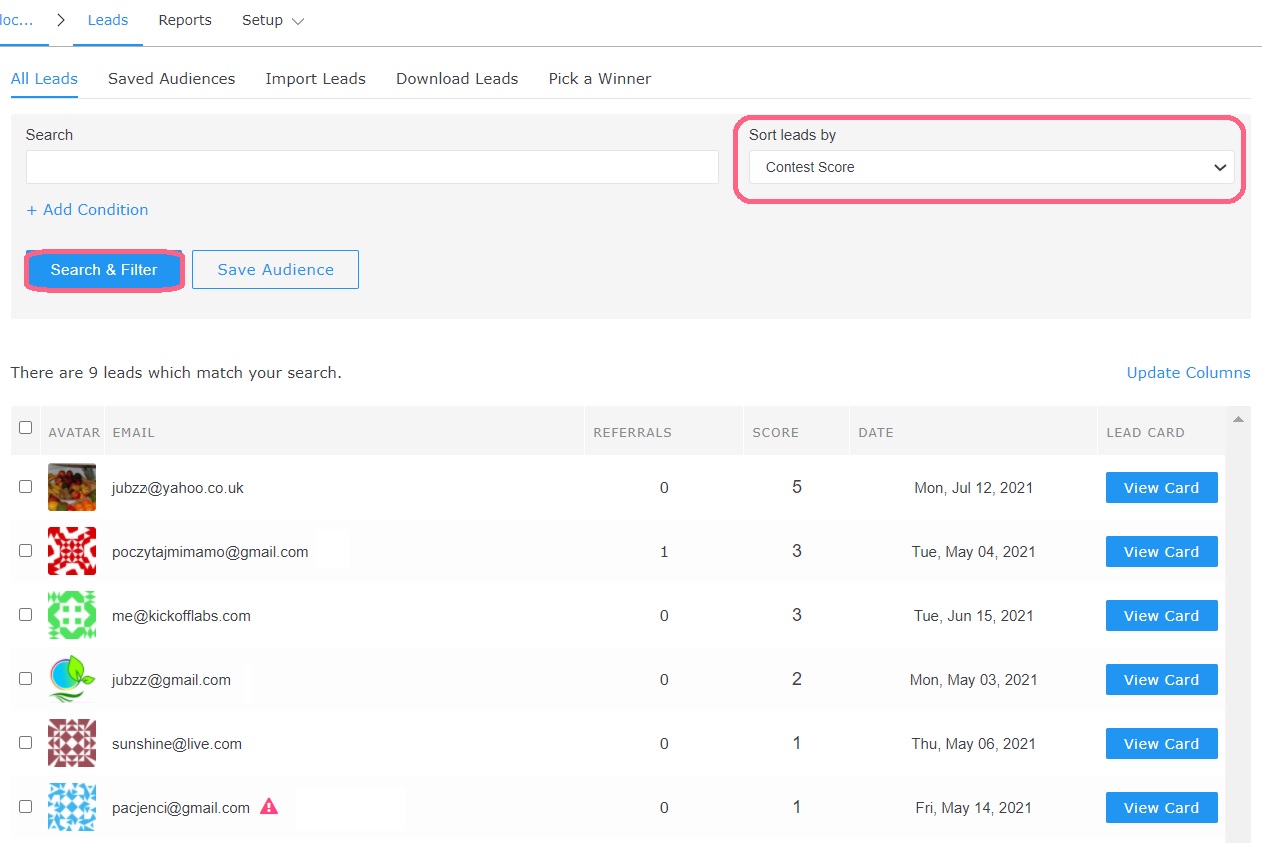
How do I download my leads?
Leads can be downloaded into a CSV file at any time via the “Leads” section of your campaign here. We also offer the option to automatically push leads from KickoffLabs into an external platform of your choosing. Learn more about the integrations we offer here.
Do you have any case studies?
Several! We’ve even interviewed our top users, going behind the scenes covering everything from setup to how they marketed their campaigns. Check it out here.
How do I know if my campaign is successful?
On average, conversion rate on campaigns is around 25%+ with a 35%+ viral boost.
What if I need help?
We have a support library full of step by step tutorials, additional resources and guides, and unlimited email based support. Our team is always happy to help! Simply send us an email to: support@kickofflabs.com.