The automatic reply Email (aka auto-reply Email) is sent to your leads immediately after they signup to you campaign. If you’re using the Verification Email, the auto-reply Email would be sent as soon as they verified their Email address.
These messages are a great way to open the lines of communication with your leads, thank them for signing up, and relay any important information you may not have included in your signup or thank you pages.
Here’s how to set up an auto-reply Email for your campaign:
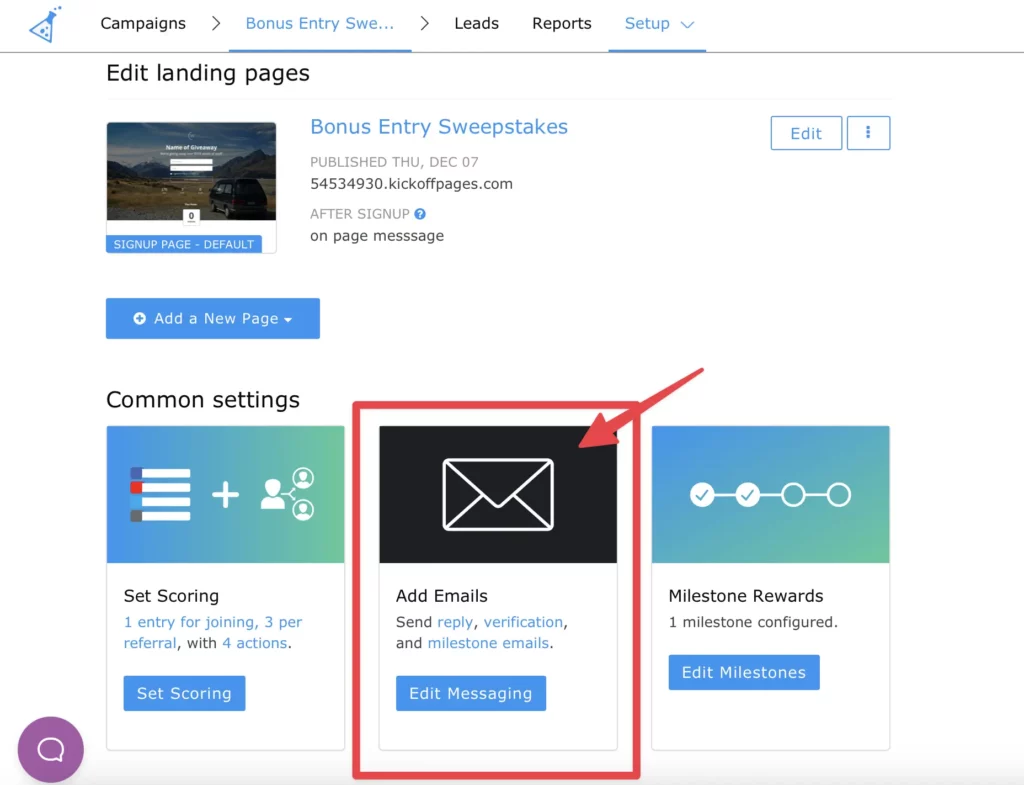
- The auto-reply mail can be accessed two ways. From your Campaign Dashboard, in the “Common Settings” area.

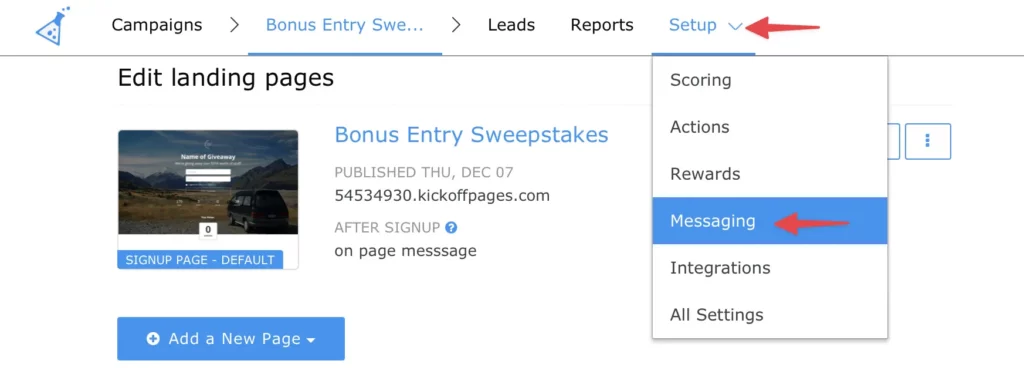
- Or via the top nav by selecting “Setup” > “Messaging.” Either option will take you to the same Messaging settings.

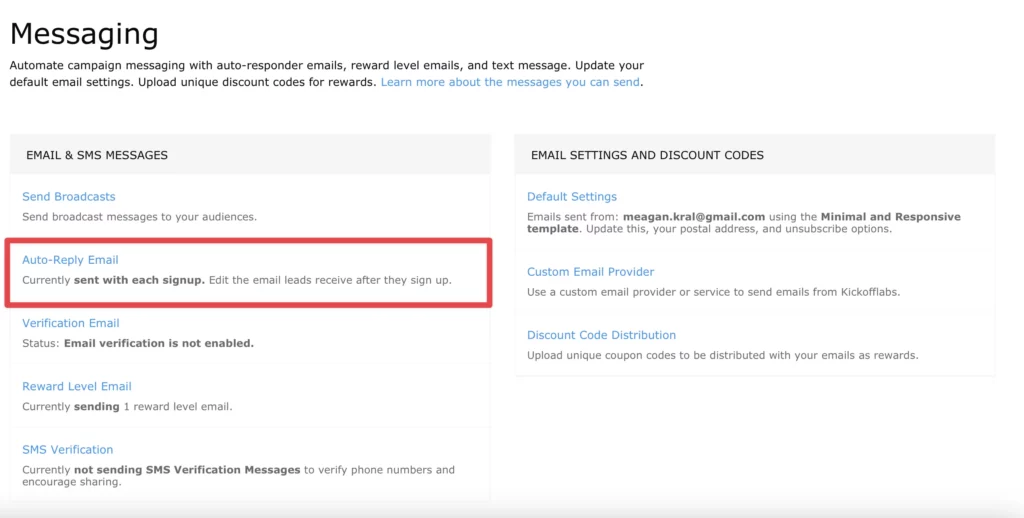
- Next, select the auto-reply mail to edit.

- If you’ve have’t added a mailing address to your account, you will immediately be prompted to do so. A valid mailing address is required under the CAN-SPAM Act. If you’ve already added your address to your account, you’ll be taken to the auto-reply email editor.
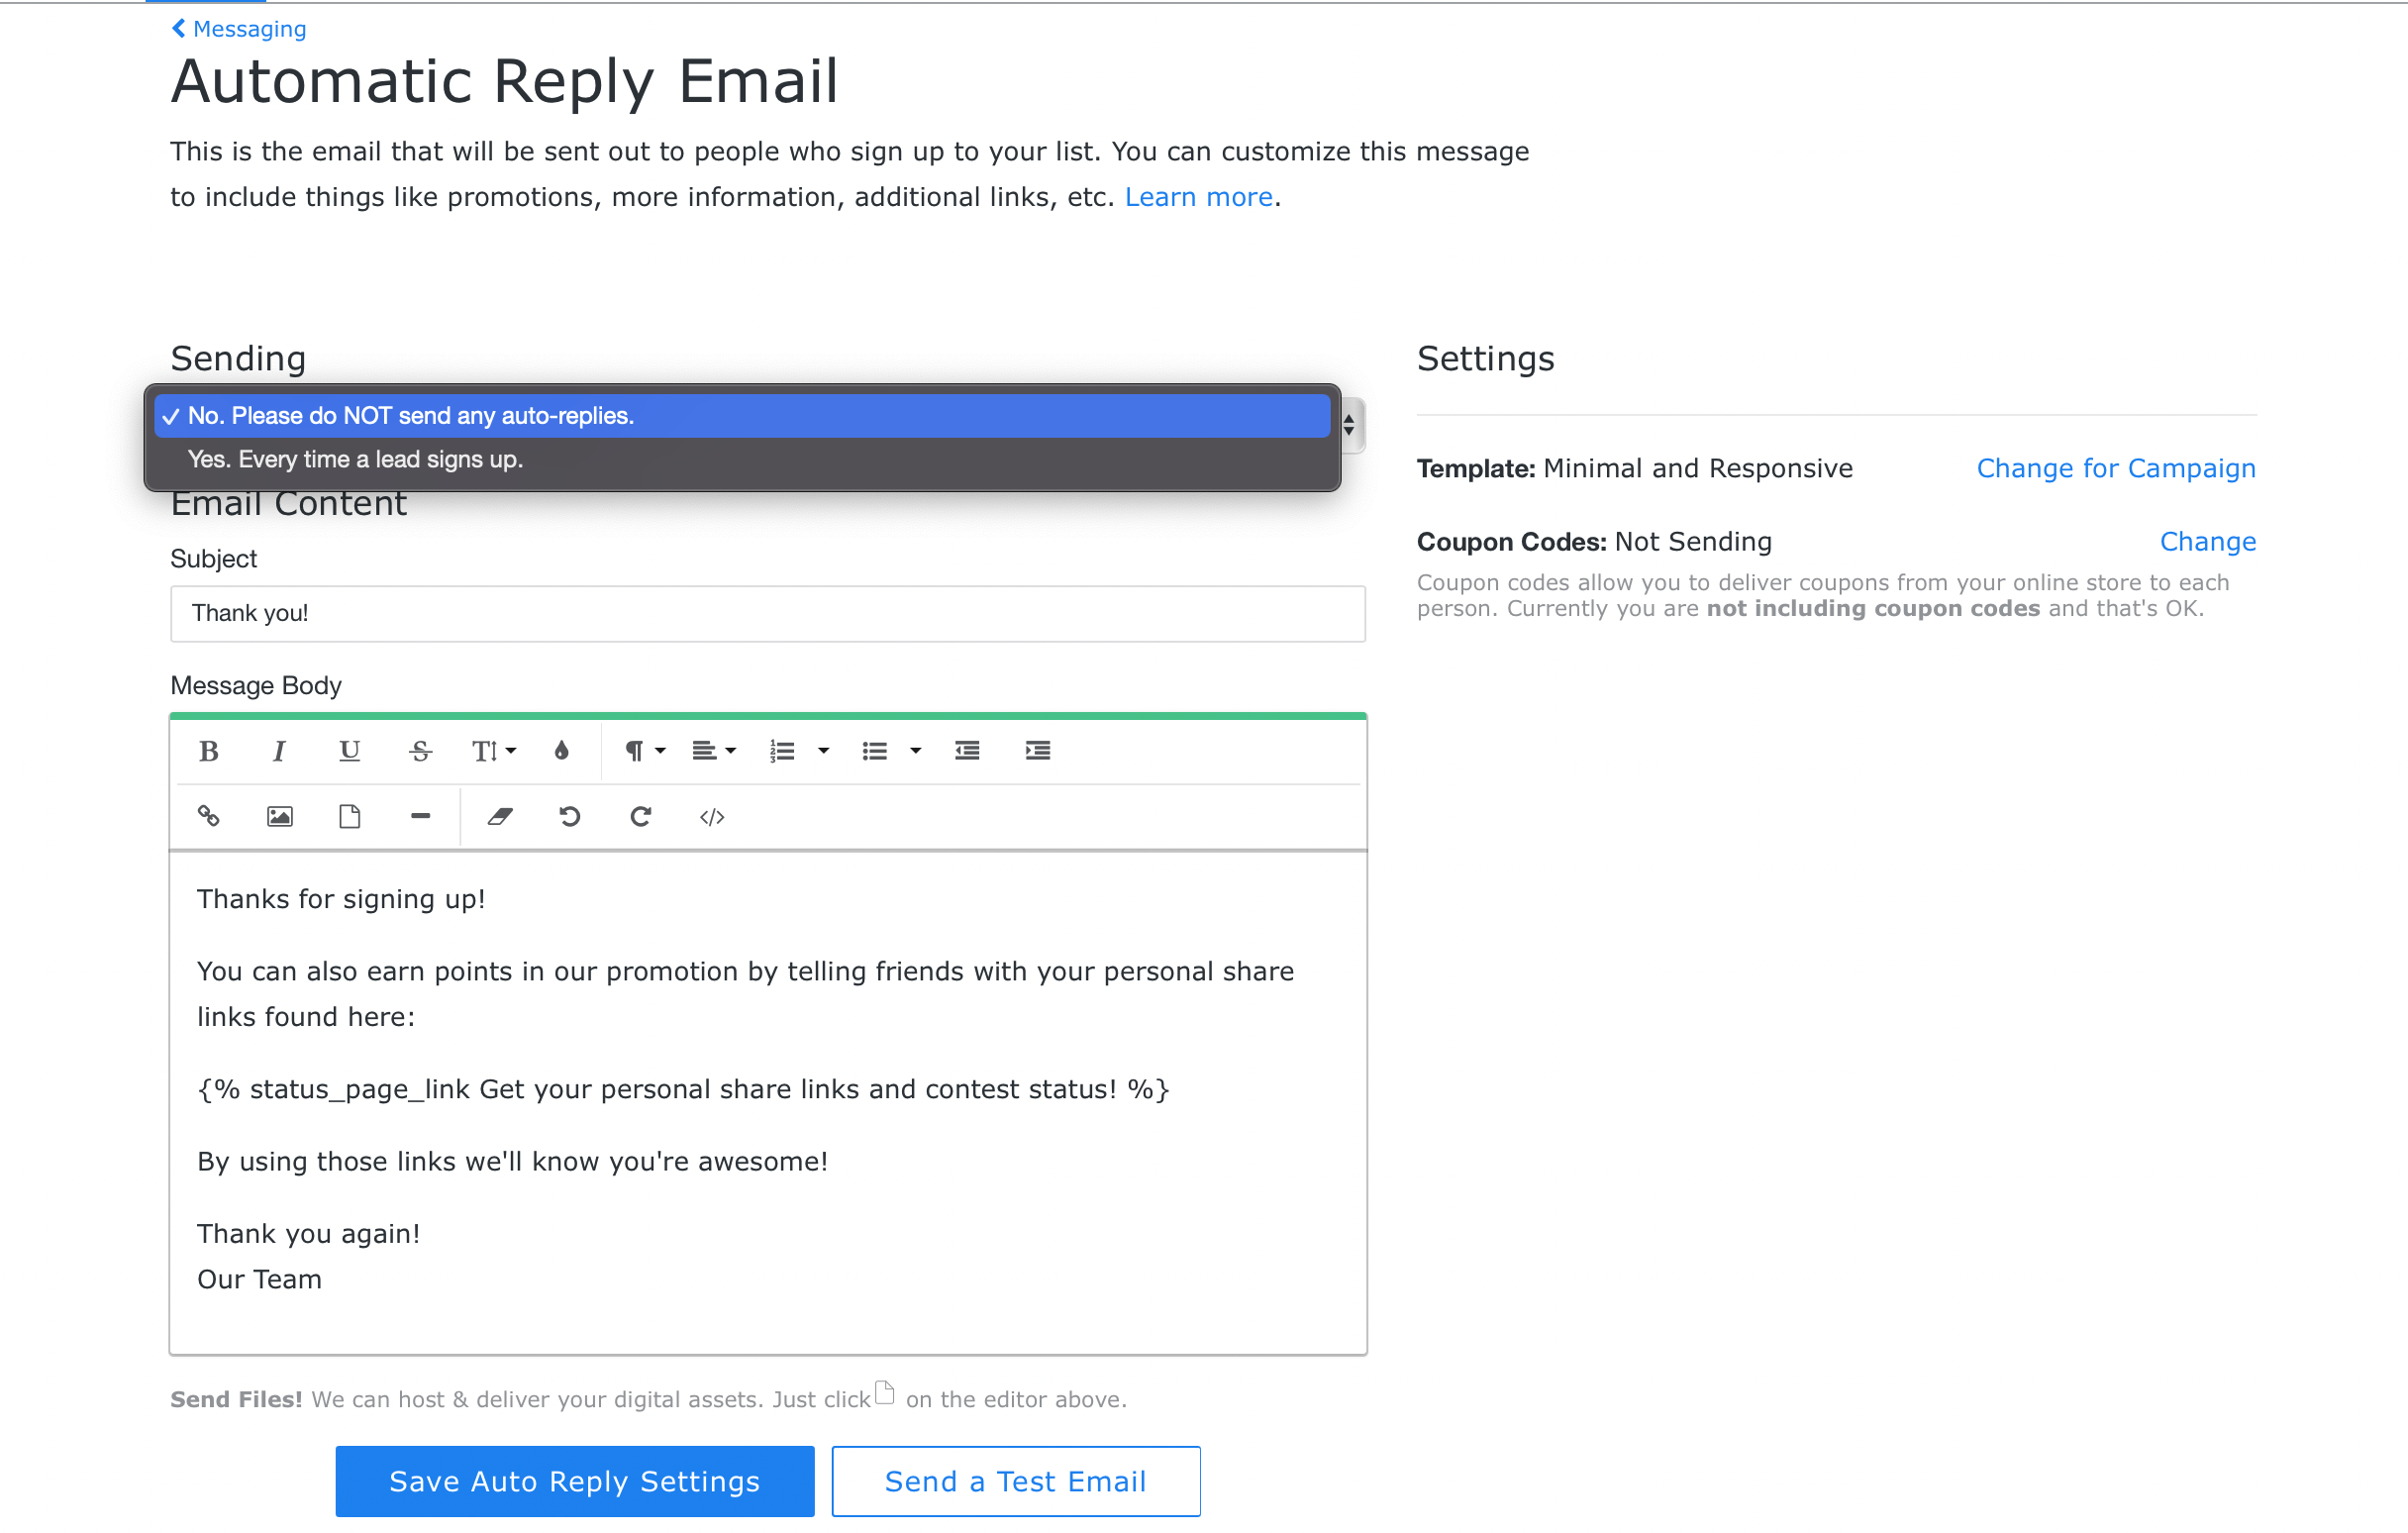
- On the Email editing page you can enable/disable the email, update the Email subject line and text, send yourself a preview, and see a list of Email tokens which you can use to personalize your Emails. Let’s take a closer look at each option, we’ll go from top to bottom on the page:

- Frequency dropdown menu – here you select how often you want the auto-reply Email to be sent
– Never. Please do NOT send any auto-replies.
– Every time a lead signs up - Email Subject Line
- Email Body Text – these Email are mostly plain text. We don’t currently support uploading Email templates. Use the text editing bar at the top of the Email Body field to customize your fonts, link text, add images, and add downloadable assets. Embedding videos in Email messages is widely unsupported.
- Save Auto-Reply Settings – you must click this to save any changes you make
- Send Yourself a Preview – this will send a preview of your auto-reply to the account Email address. The preview Email will include Example links, so please don’t worry if your only seeing an example URL in your preview. We will replace the example URL with your Default Share URL when a live Email is sent.
Scroll down on the page to view the list of available tokens.
An example token below. To view the full list of tokens, please follow the link.
| Token | Your form description. |
|---|---|
| {{ lead.custom_fields.first_name | default: “There” }} | First Name or the default value if it’s blank. |
Important Notes:
- Visit your Default Email Settings to update things like your From Name and Address, Postal Address, Unsubscribe Message, and Unsubscribe Redirect URL.
- Our auto-reply Emails are simple HTML and plain text based. We do NOT provide support/debugging on any custom third-party email templates.
- The margins on the Emails are set and cannot currently be adjusted.
- Embedding videos in Emails is widely unsupported. If you want to include a video, we recommend hosting the video on a site like YouTube, taking a screenshot of the video, and then linking the video image to your hosted video.
- When customizing a token, be sure NOT to remove the {% token_link %} portion. Your customization should go in between the token_link and closing bracket %} with a space on either side. For example {% token_link Your customization %}
- Email going to spam? Read our guide on avoiding spam filters!
Still need help setting up your auto-reply Emails? Shoot us a message to support@kickofflabs.com