This guide will walk you through integrating an existing Clickfunnels form with KickoffLabs via Zapier.
**Please note that Anyform integration is not supported with Clickfunnels forms at this time**
Preparing Your Clickfunnels Page
- First, create a new element in the Clickfunnels editor

- Select an input field from the element menu.
- In the “input type” select “custom type” and enter “kid” into both fields. Make sure to check this field as required and click the eye icon to hide the field. Your settings should now be configured like this:

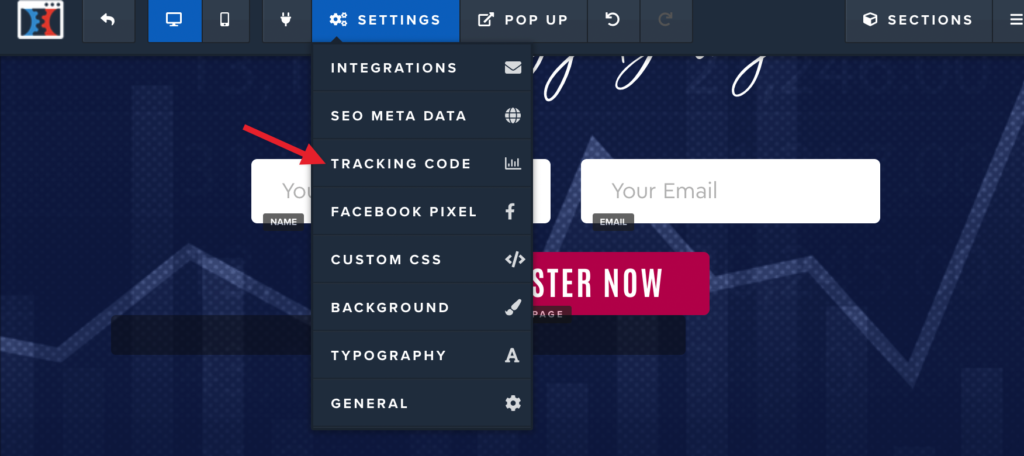
- Next, select Settings > Tracking Code from the top editor nav

- Paste the following script into the footer area and save your changes.
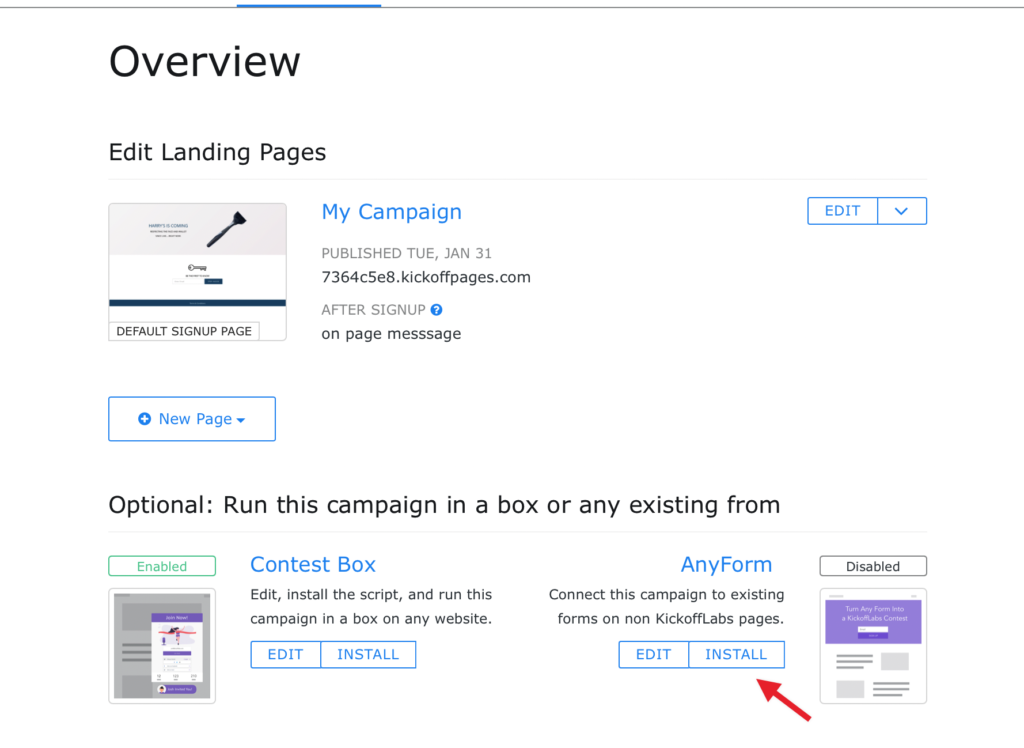
Optional: For better tracking, you can also copy the script that we use for Anyform and paste it into the header area of the tracking code section. This can be found in your KickoffLabs dashboard. This step isn’t necessary for the integration to work.

Connecting Clickfunnels to KickoffLabs via Zapier
- After you’ve completed setting up in the Clickfunnels editor, open a new tab and navigate to Zapier
- Create a zap to connect Clickfunnels > KickoffLabs

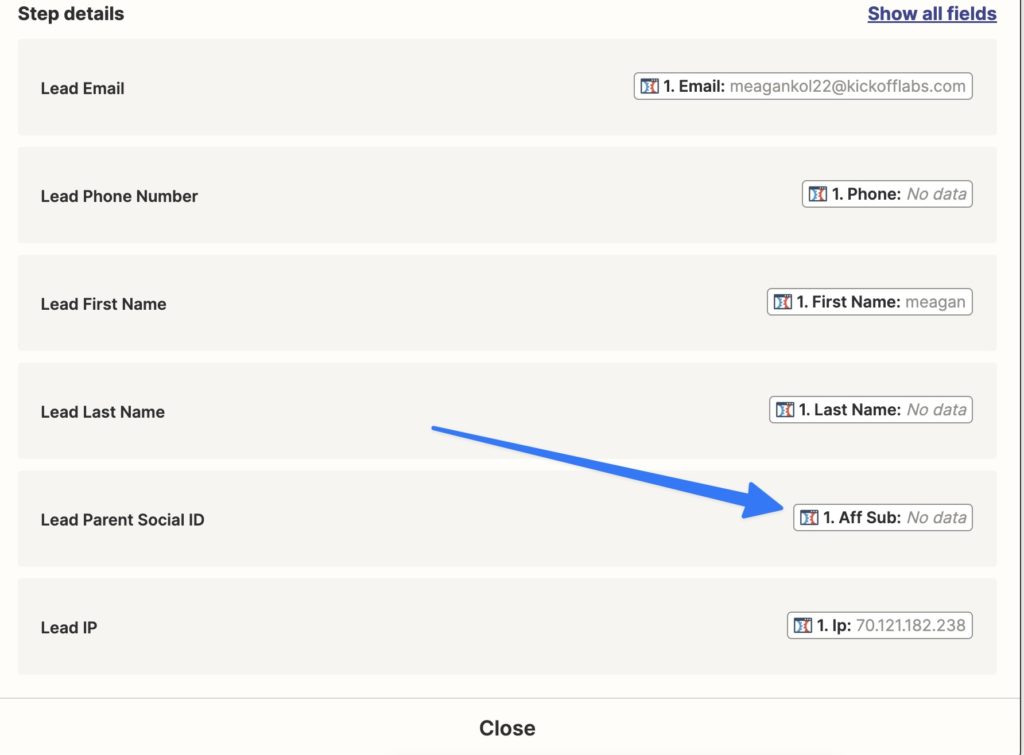
- Once you get to the action step for KickoffLabs, match up the Clickfunnels fields that you would like to push over to KickoffLabs. In the “Lead Parent Social ID” field select the Clickfunnels “aff sub” field. This will pass the referral info back to KickoffLabs.

Save your changes and make sure to set the Zap to on!
Setting the Default Share URL in KickoffLabs
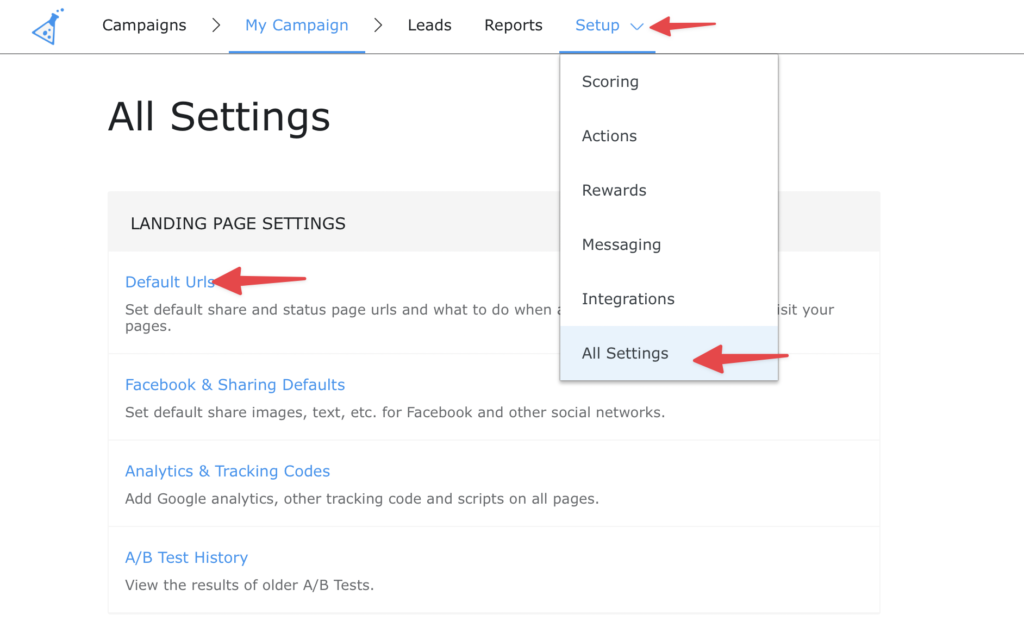
if you’d like leads to share the Clickfunnels page with their friends to sign-up, there’s one extra step in your KickoffLabs dashboard. The default share URL can be set via the campaign level settings here

Once the default share URL is set, you should be ready to test! If working properly, the test lead will be added to KickoffLabs. Then, sharing with yourself (or a friend) for testing will record a referral.
If you run into any questions or issues, our support team is happy to help! Email us at: support@kickofflabs.com