Tagging Leads for Actions Completed Outside of KickoffLabs With Zapier
Strategy guide: Want the bigger campaign playbook behind this setup? Read Referral Programs.
Using Lead Tags With Zapier Tagging a lead can come in handy when you want to track a le…
Section titled “Using Lead Tags With Zapier Tagging a lead can come in handy when you want to track a le…”ad’s actions outside of KickoffLabs. Award points for things like creating an account, completing a survey, making a purchase and more. In this guide, we’ll walk through:
- Tagging a lead who completes a survey
- Tagging a lead who makes a purchase or refers a purchase
- Tagging a lead for booking a call
Tagging a Lead Who Completes a Survey In this example, we’ll use Typeform, however you c…
Section titled “Tagging a Lead Who Completes a Survey In this example, we’ll use Typeform, however you c…”an replicate the steps for other survey platforms aswell (aslong as the platform offers a Zapier or similar connection). Before connecting to Zapier, first create a lead tag in KickoffLabs. Follow the steps here to create your first tag.
- To get started, login to Zapier and create a Zap.
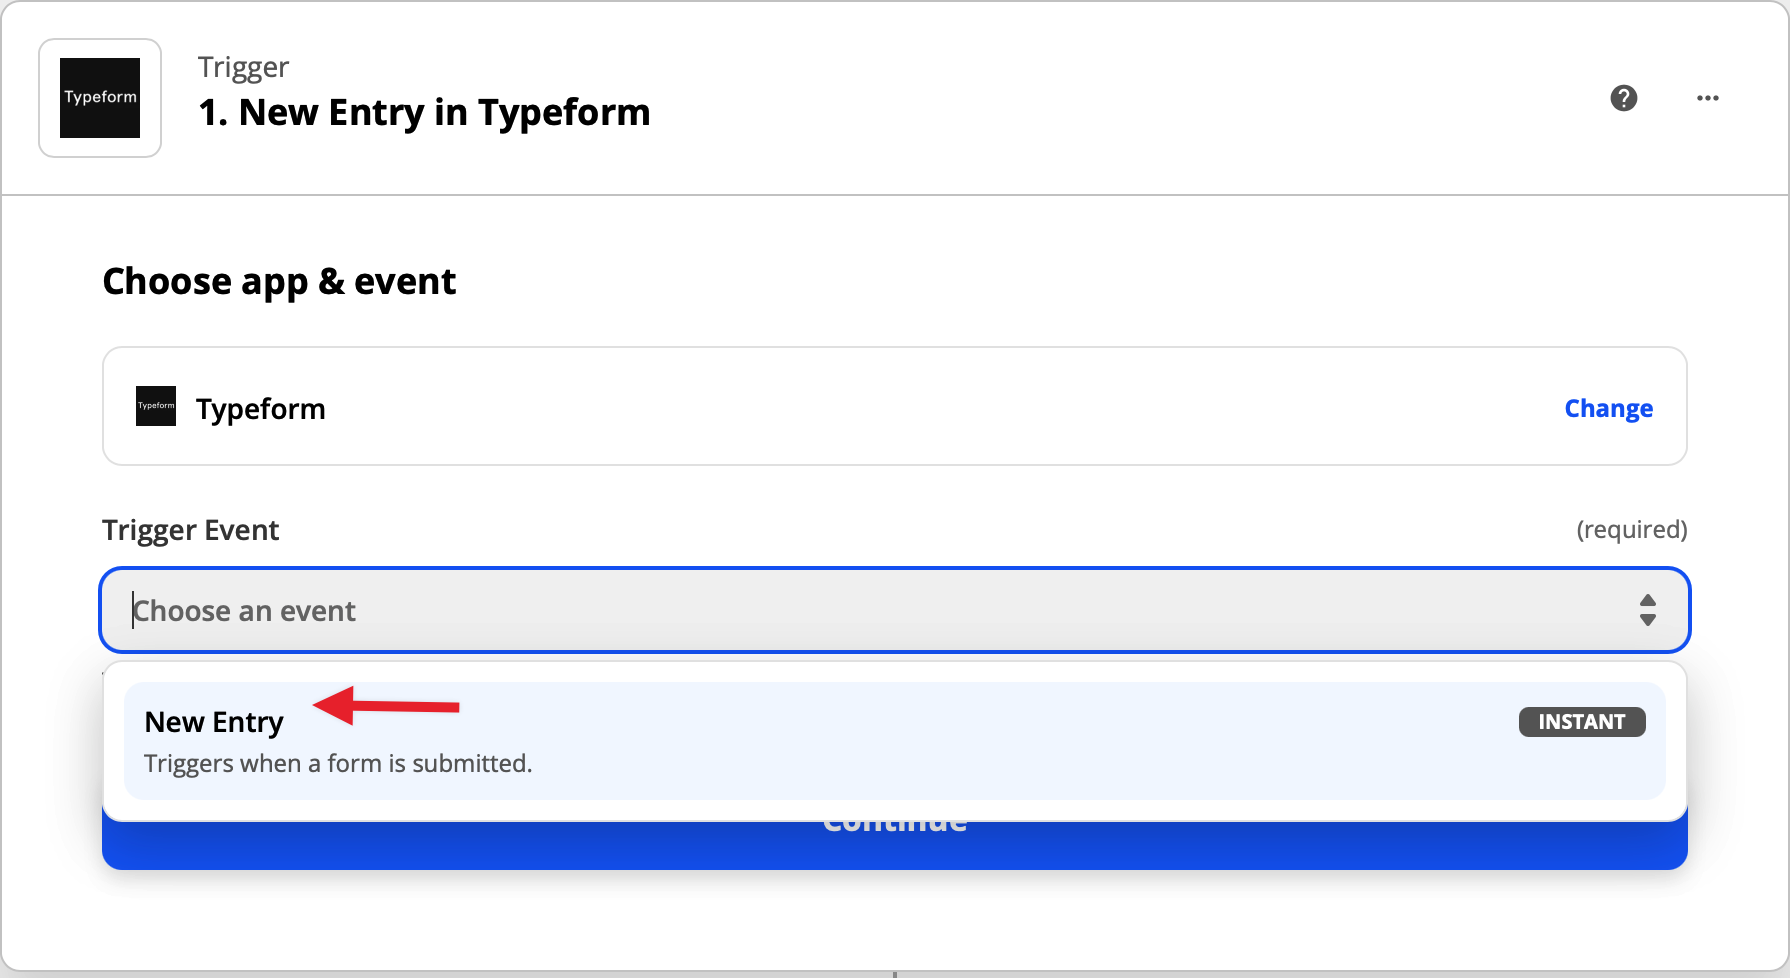
- Choose the app that you’d like to push leads from. In this example, we’ll be using Typeform.
- Select “New Entry” From the trigger event drop-down.
- Sign-in to your Typeform account and grant permission to Zapier
- Choose the Typeform form you’d like to connect to and test the trigger.
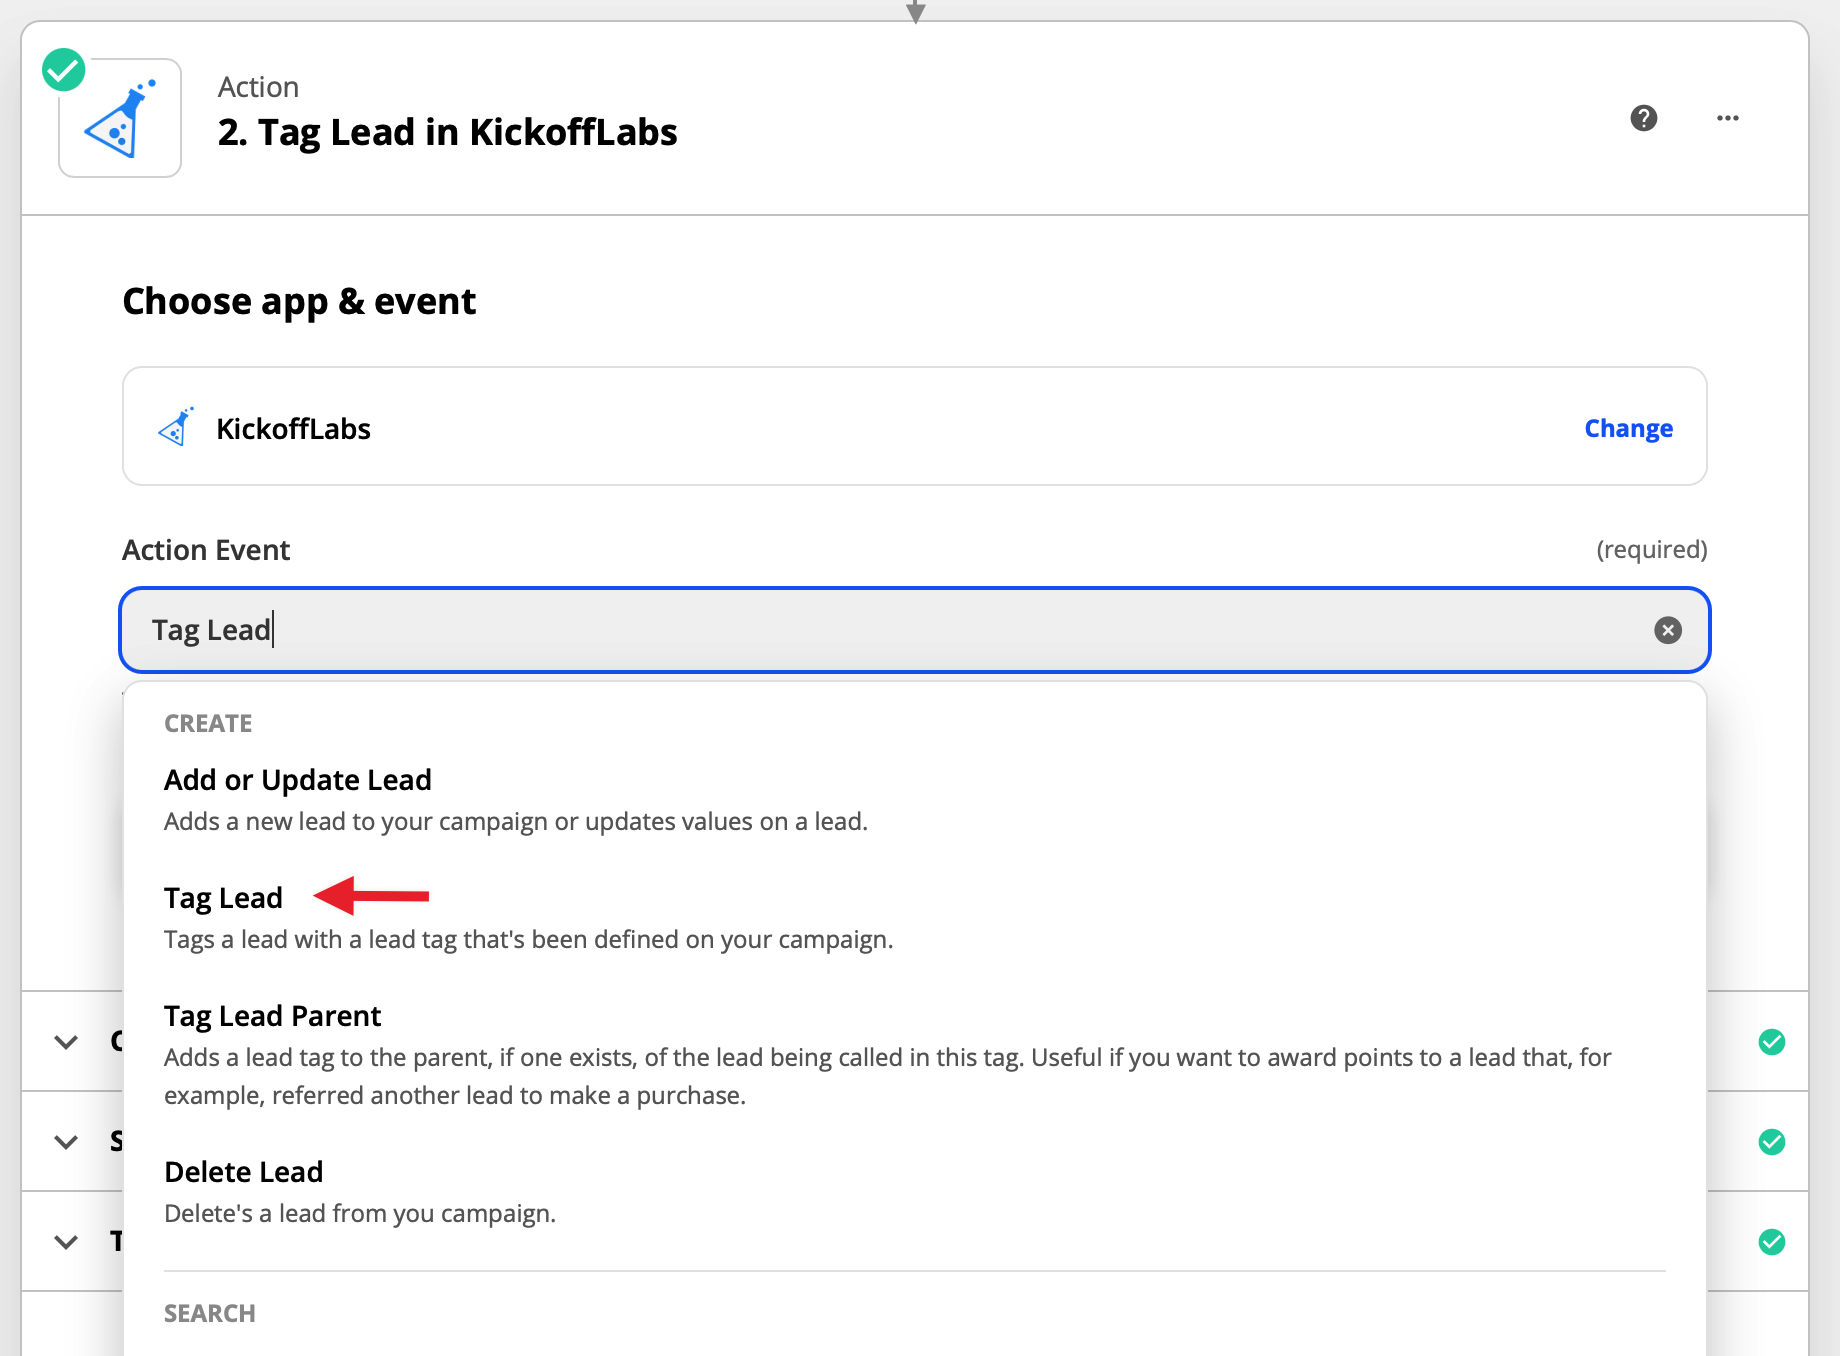
- Choose KickoffLabs in the action field.
- Select “Tag lead” from the drop-down.
- Next, allow Zapier to login to your KickoffLabs account. Select the email filed in your typeform from the dropdown. You will need to ask for the lead’s email address as a question in your survey.
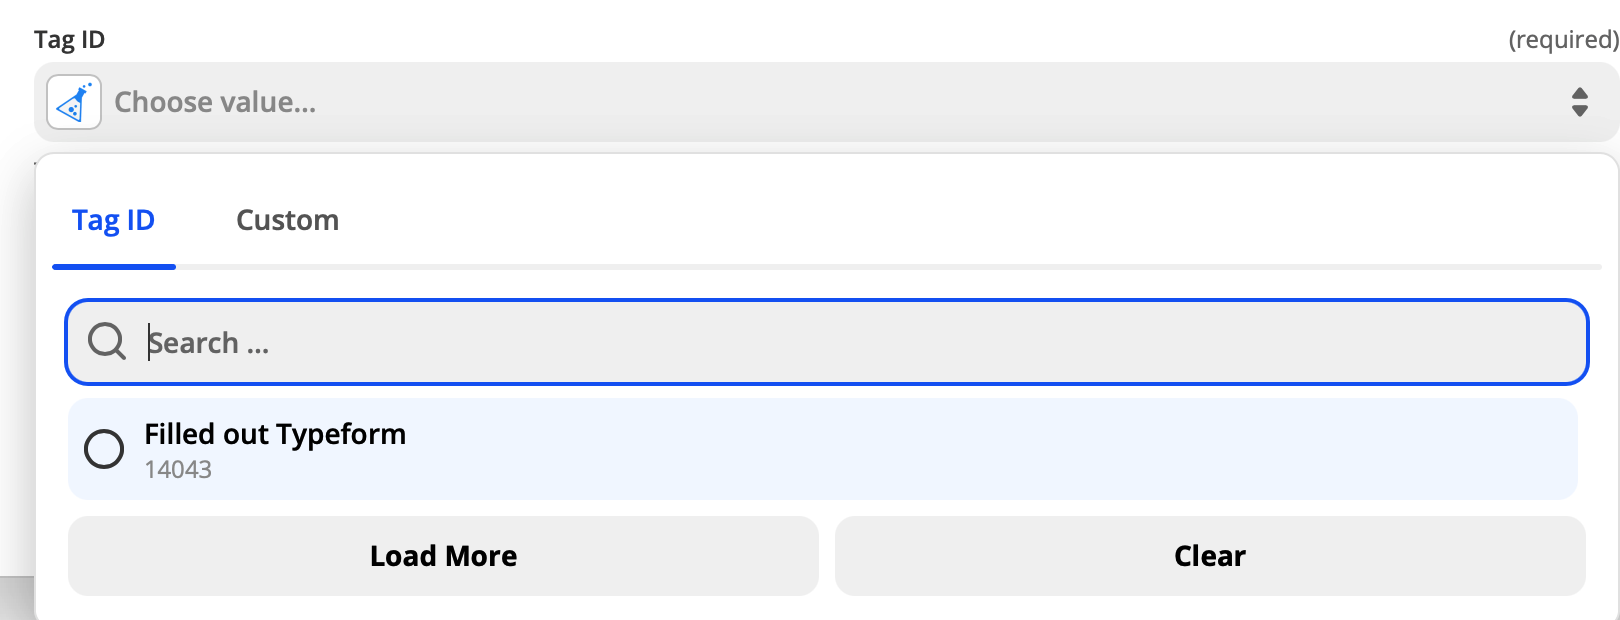
- Choose kickofflabs Lead tag from drop-down to tag the lead.
- Test the workflow and turn on your zap! Leads should now be tagged with filling out the Typeform in your KickoffLabs Account.
Tagging a Lead for Making a Purchase In this example, we’ll be using PayPal to tag a lea…
Section titled “Tagging a Lead for Making a Purchase In this example, we’ll be using PayPal to tag a lea…”d for making a purchase. Outside of our native Shopify rewards integration, you can use lead tags to track purchases on additional platforms (such as PayPal, Stripe, and Woo-commerce). Lead tags can be used to tag the purchases, person who referred them (or both) and optionally award points. Before connecting to Zapier, first create a lead tag in KickoffLabs. Follow the steps here to create your first tag.
- To get started, login to Zapier and create a Zap.
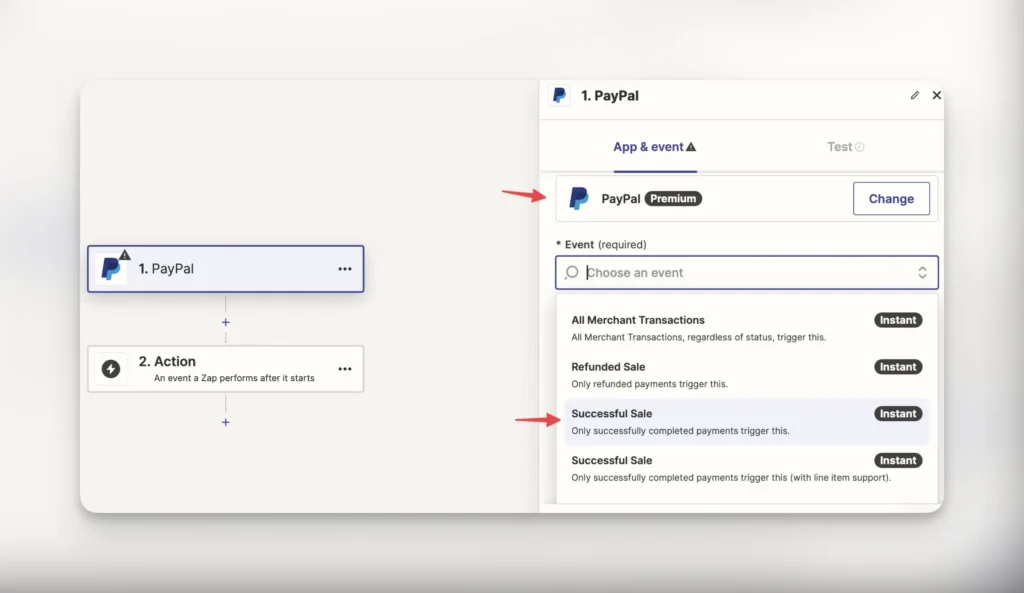
- Choose the app that you’d like to push leads from. In this example, we’ll be using PayPal.
- Select “Successful purchase” from the trigger event drop-down.
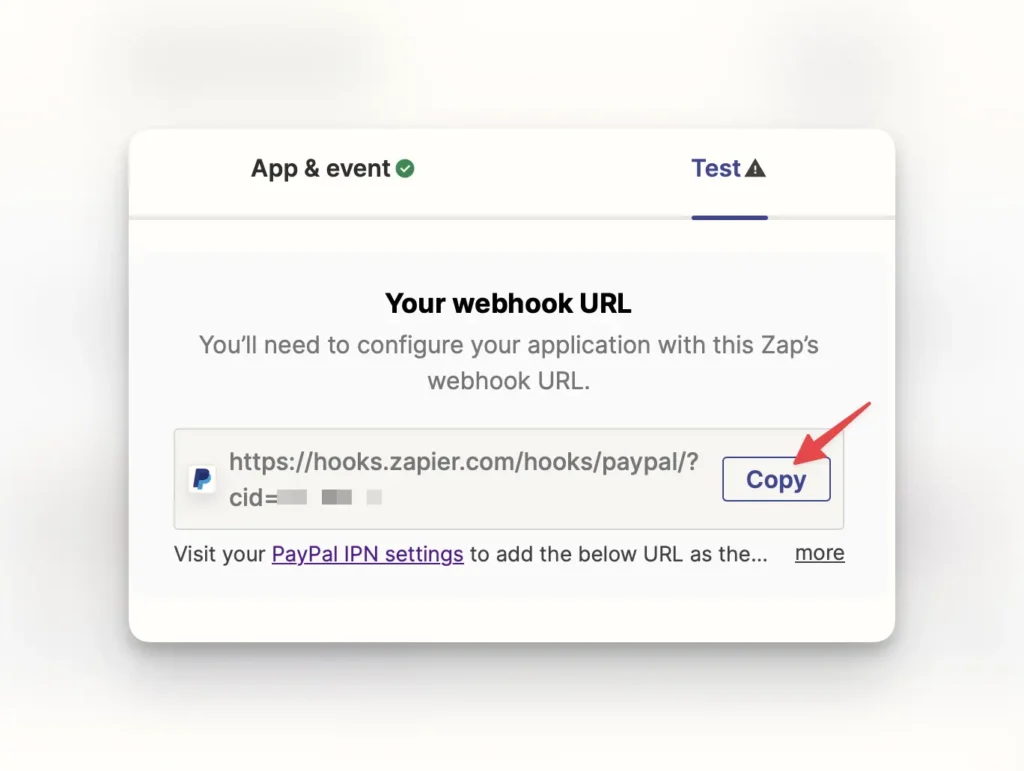
- Next, Zapier will prompt you to copy the webhook url to paste into your PayPal IPN settings.
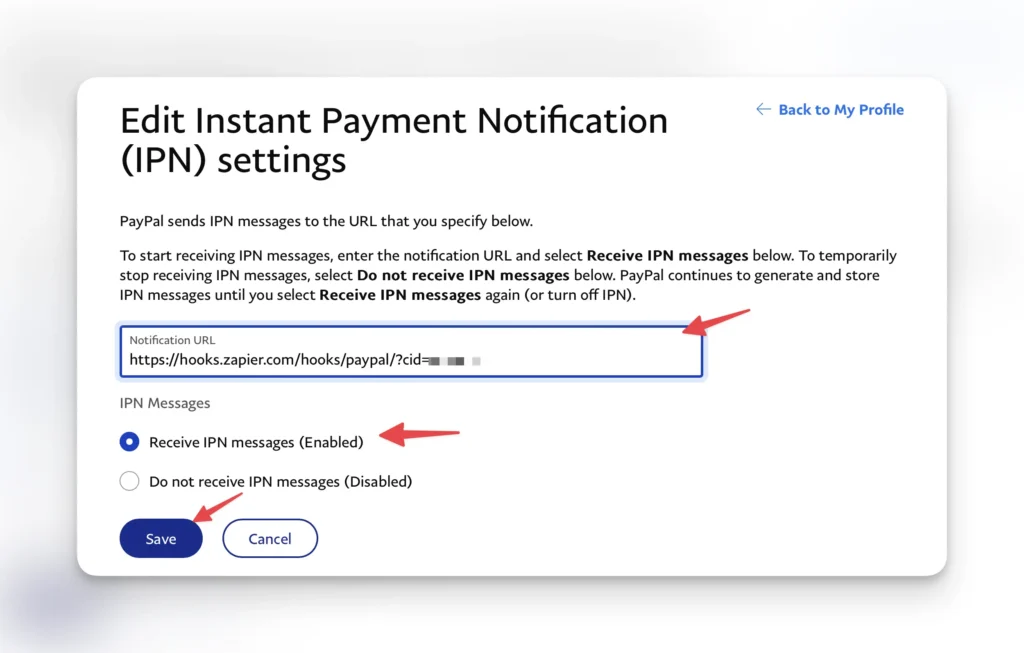
- Paste your webhook url into the provided field, enable IPN in PayPal and save your settings.
- Back in Zapier, Select “Test Trigger.” If everything is setup correctly so far, you’ll see a success message with the ability to move onto the next step.
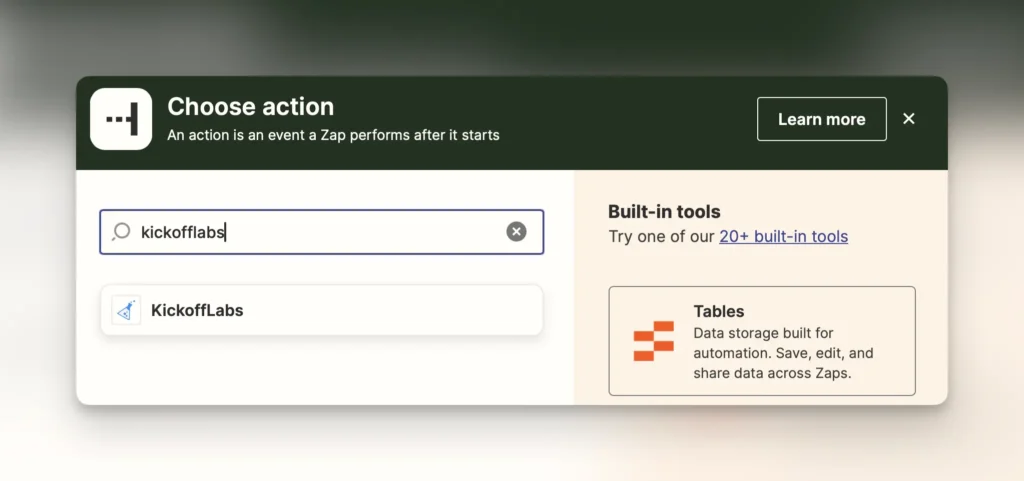
- Next, select KickoffLabs for the Action step in Zapier.
- Next, select “Tag Lead” from the event dropdown. If you’d like to tag the lead who referred the purchaser, you’ll want to instead select “Tag Lead Parent.”
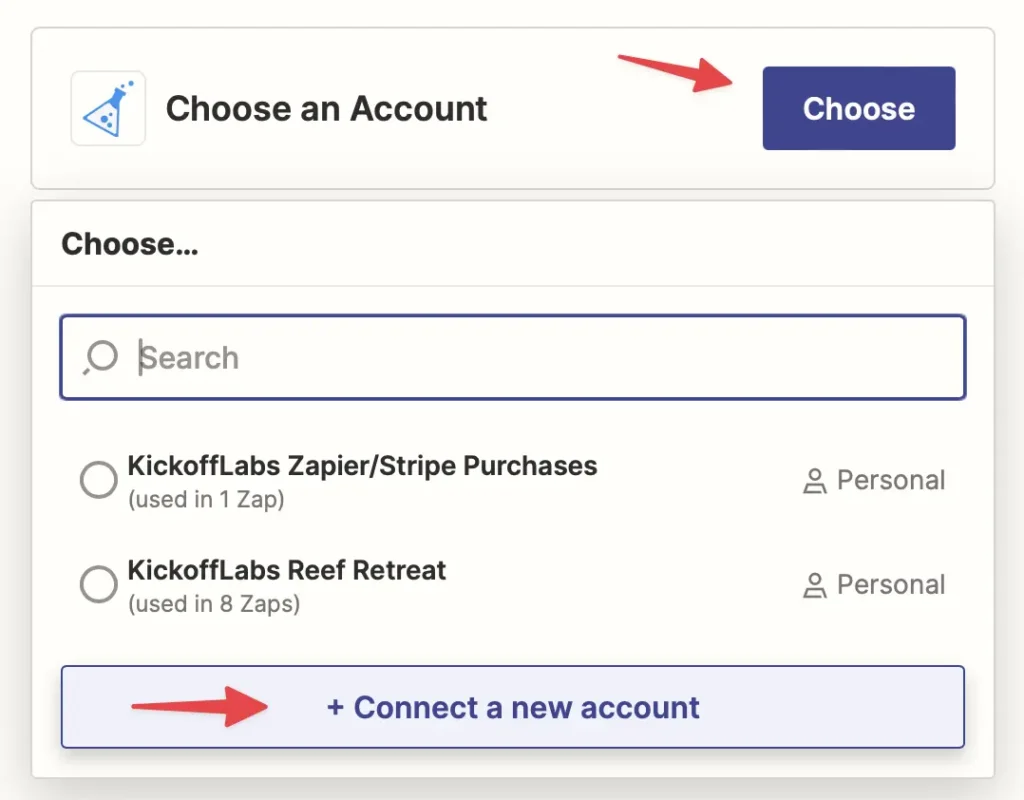
- You’ll now be prompted to connect your KickoffLabs account to Zapier if you haven’t done so before. If you’ve connected your KickoffLabs account in the past, you’ll see your previously connected campaigns listed.
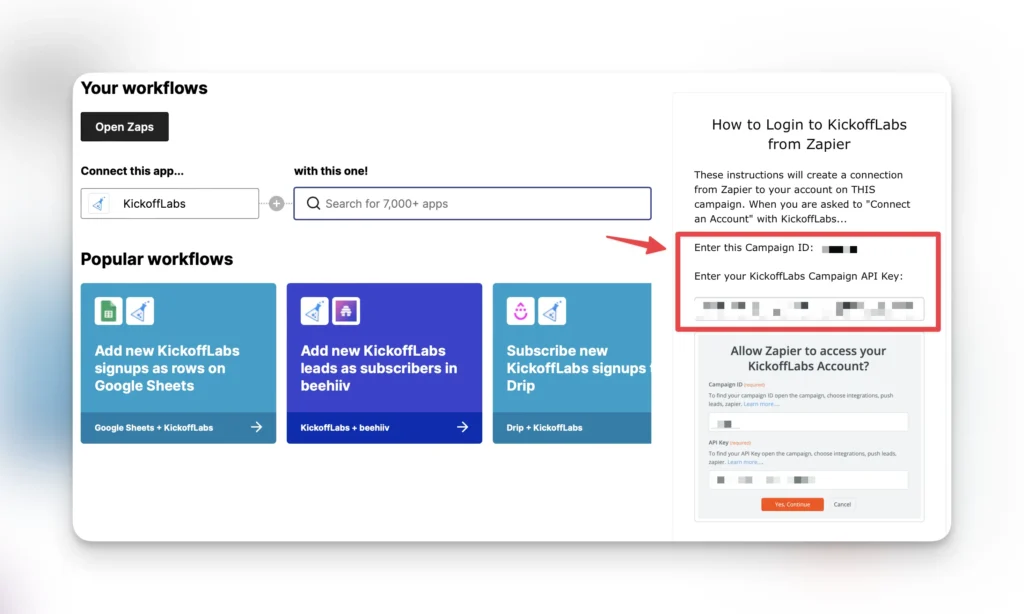
- A new window will open to enter the KickoffLabs Campaign ID and API Key.

- This can be found on the right side of your KickoffLabs Zapier integration page (accessible in KickoffLabs via Setup > Integrations > Zapier). Once you enter the details and continue, the window should close and you’ll be taken back to your Zapier setup where you can continue setting up.
- Select the “Payer Email” from the field options for the email field. Then, select the lead tag you’d like to use.
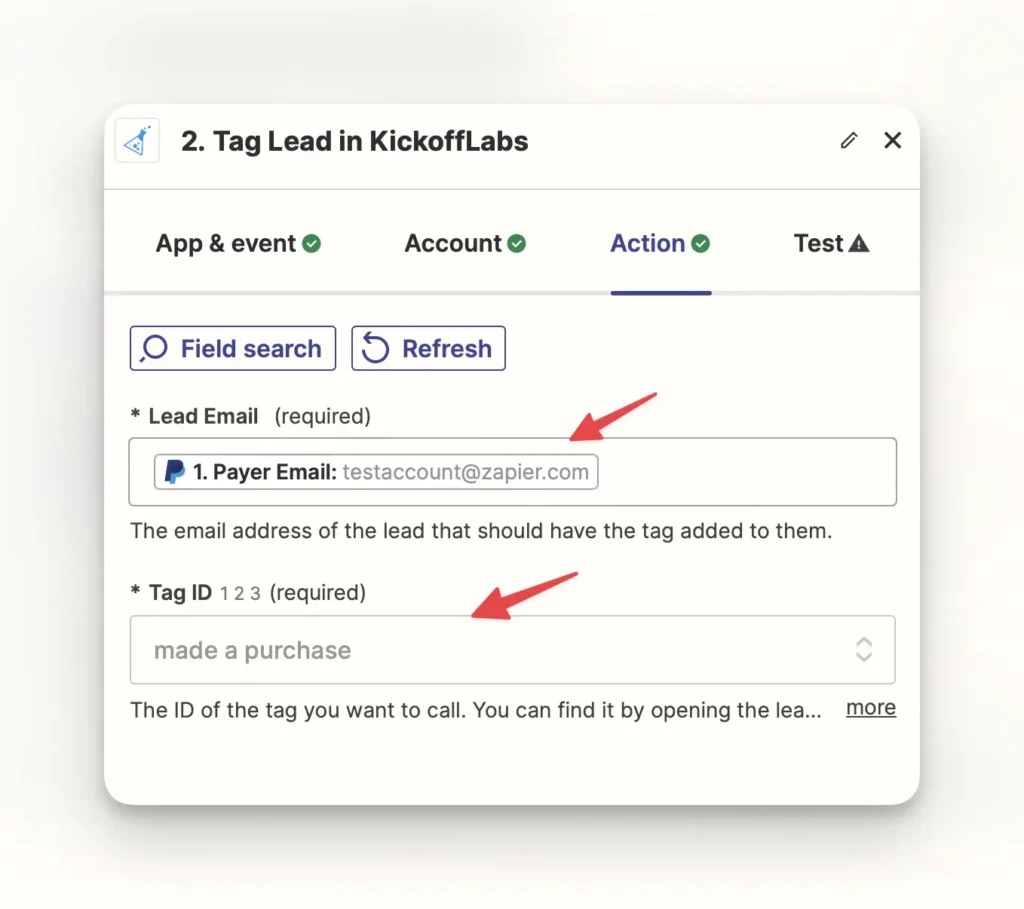
- Test your zap and publish!
Tagging a Lead for Booking a Call In this example, we’ll be using Calendly, but you can…
Section titled “Tagging a Lead for Booking a Call In this example, we’ll be using Calendly, but you can…”use any appointment platform you’d like (aslong as the platform has a Zapier connection or similar). Before connecting to Zapier, first create a lead tag in KickoffLabs. Follow the steps here to create your first tag.
- To get started, login to Zapier and create a Zap.
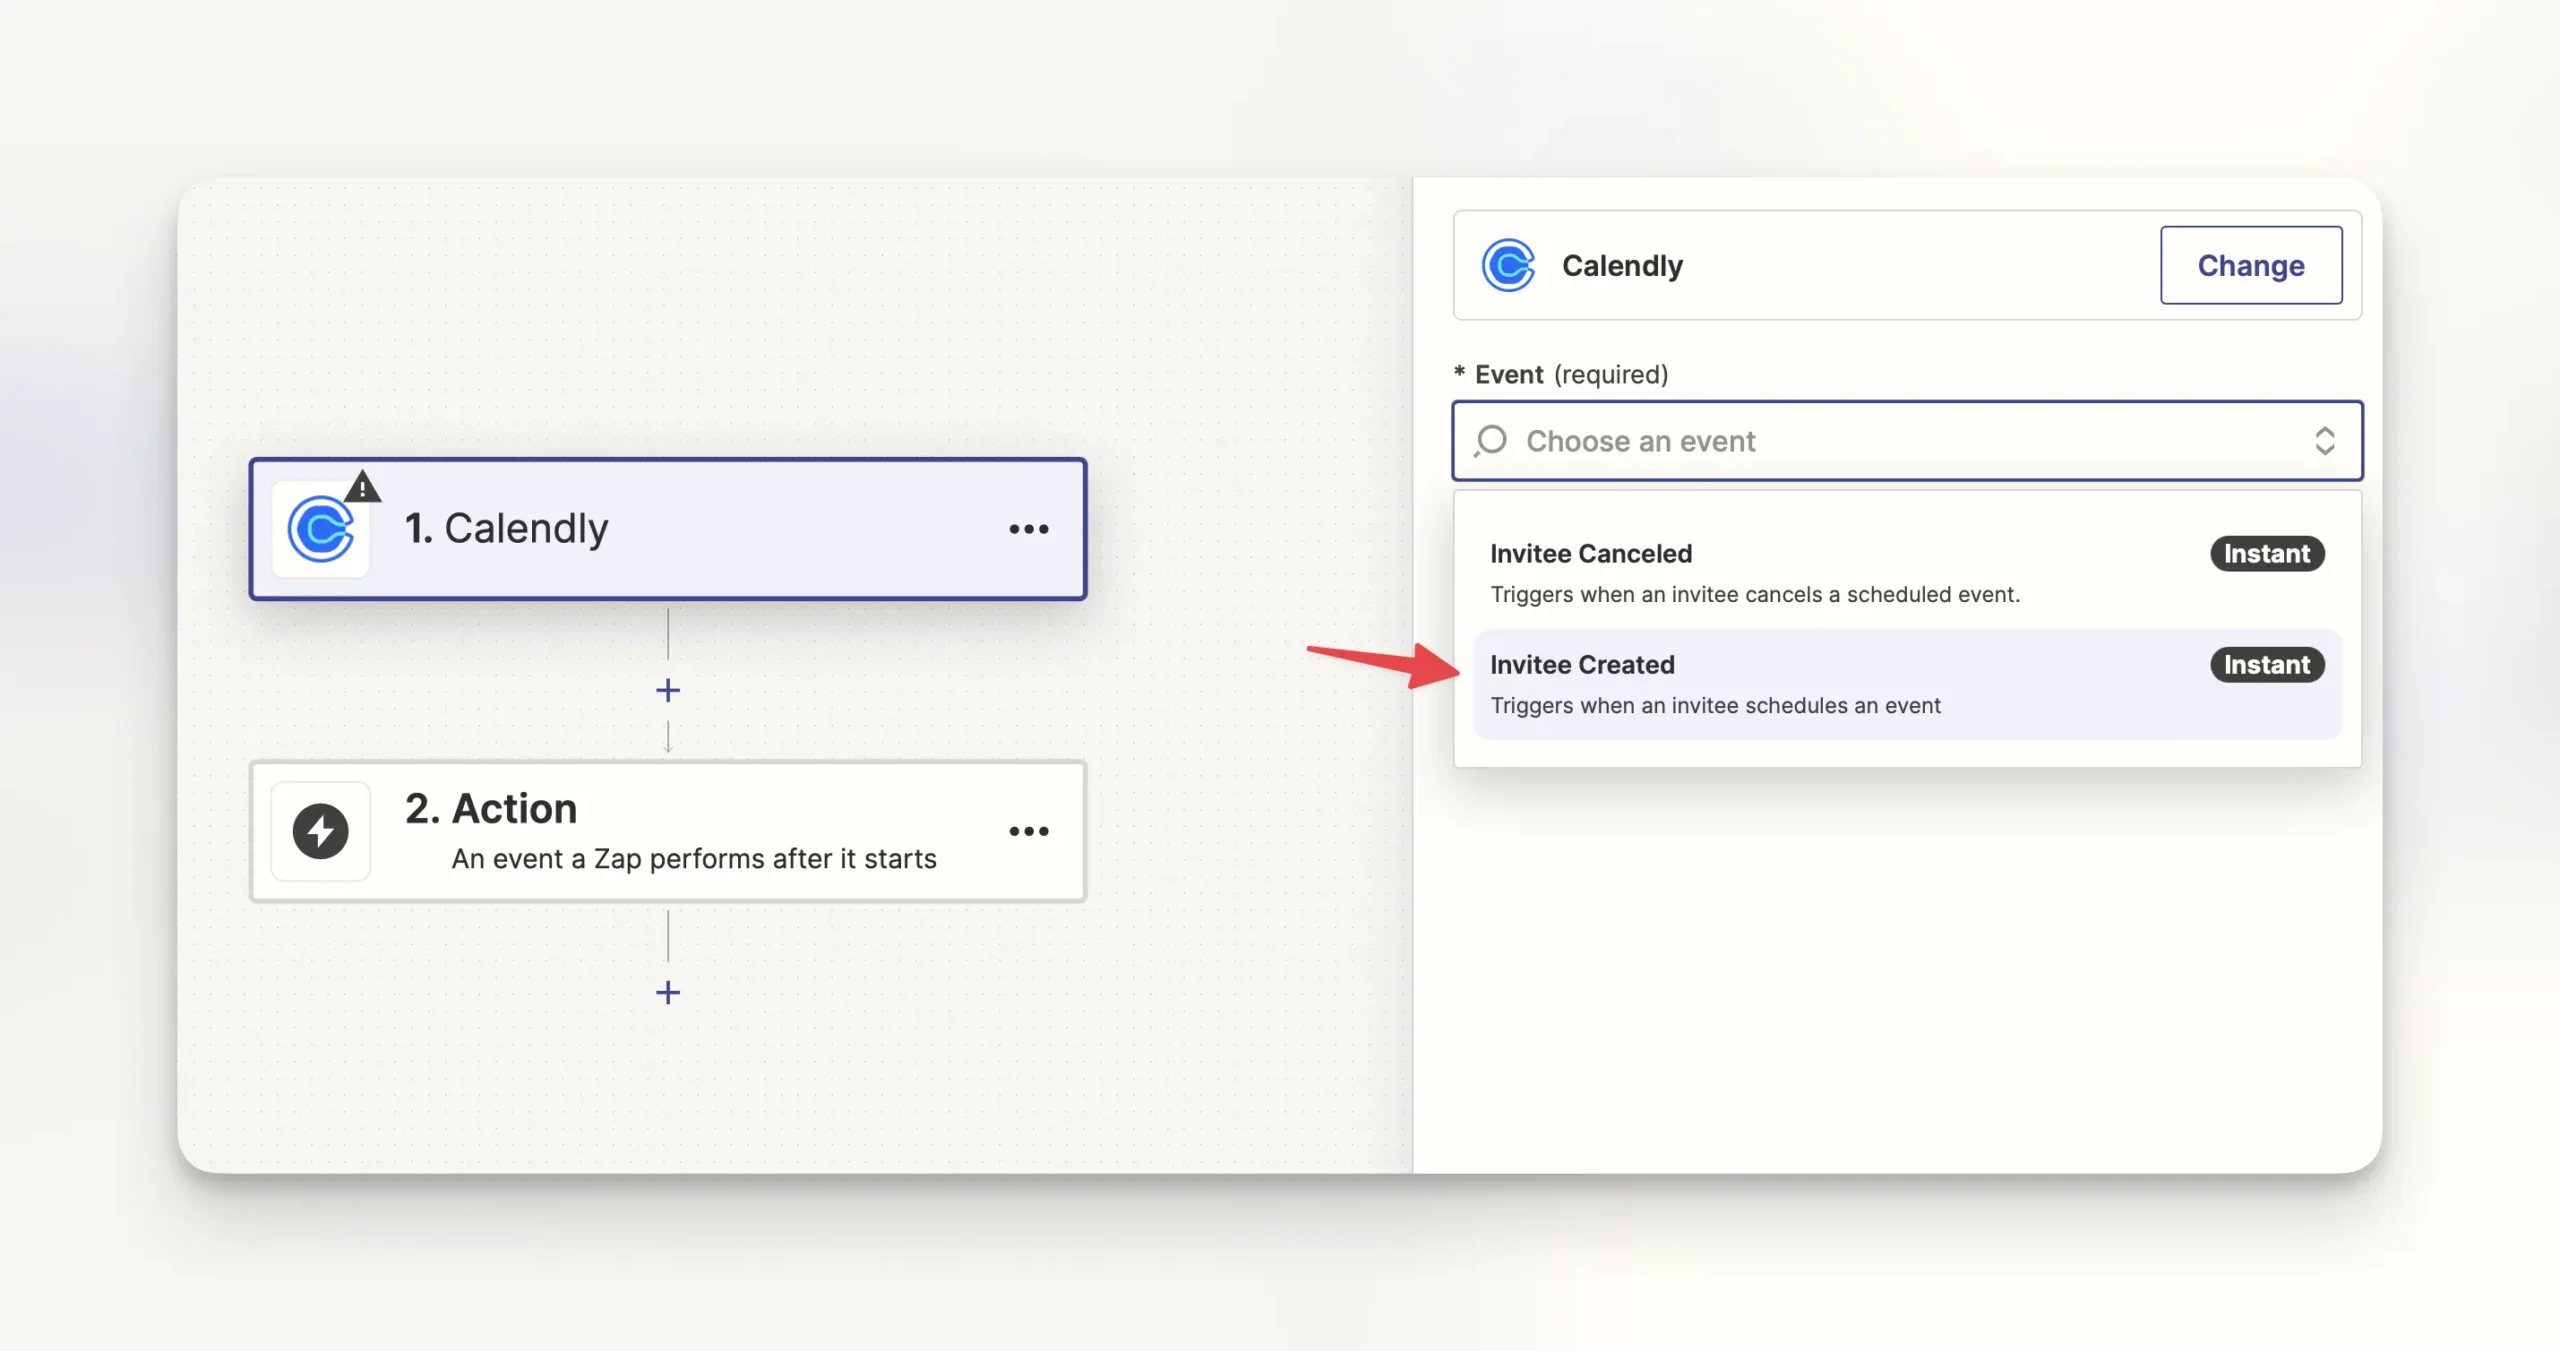
- Choose the app that you’d like to push leads from. In this example, we’ll be using Calendly.
- Select “Invitee Created” from the trigger event drop-down.
- Next, connect your Calendly account to Zapier.

- Select “User” for the webhook and click continue.
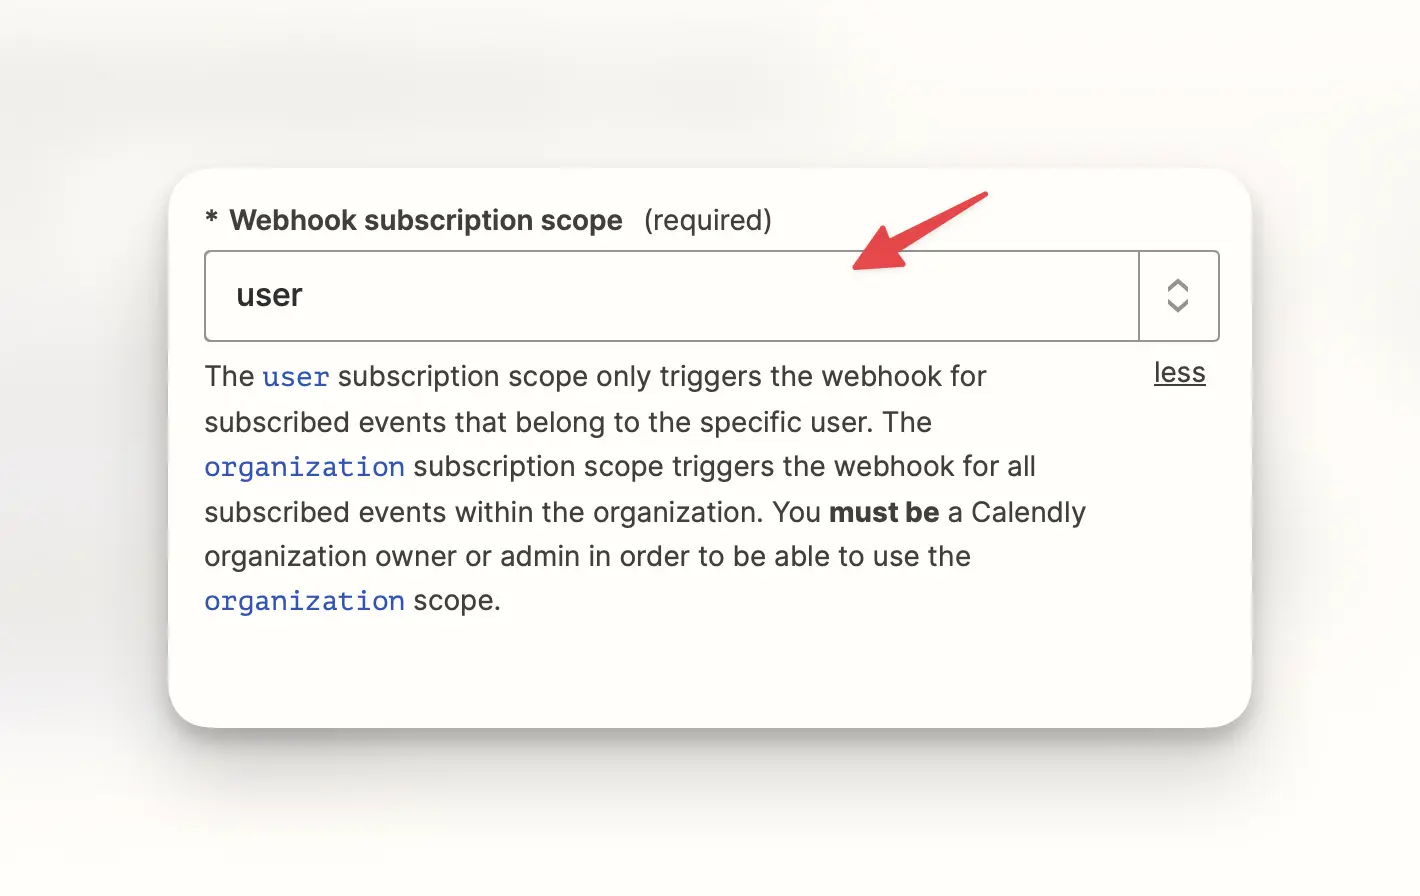
- Zapier will now test the connection. If there’s no issue, you’ll be able to move on to the next step.
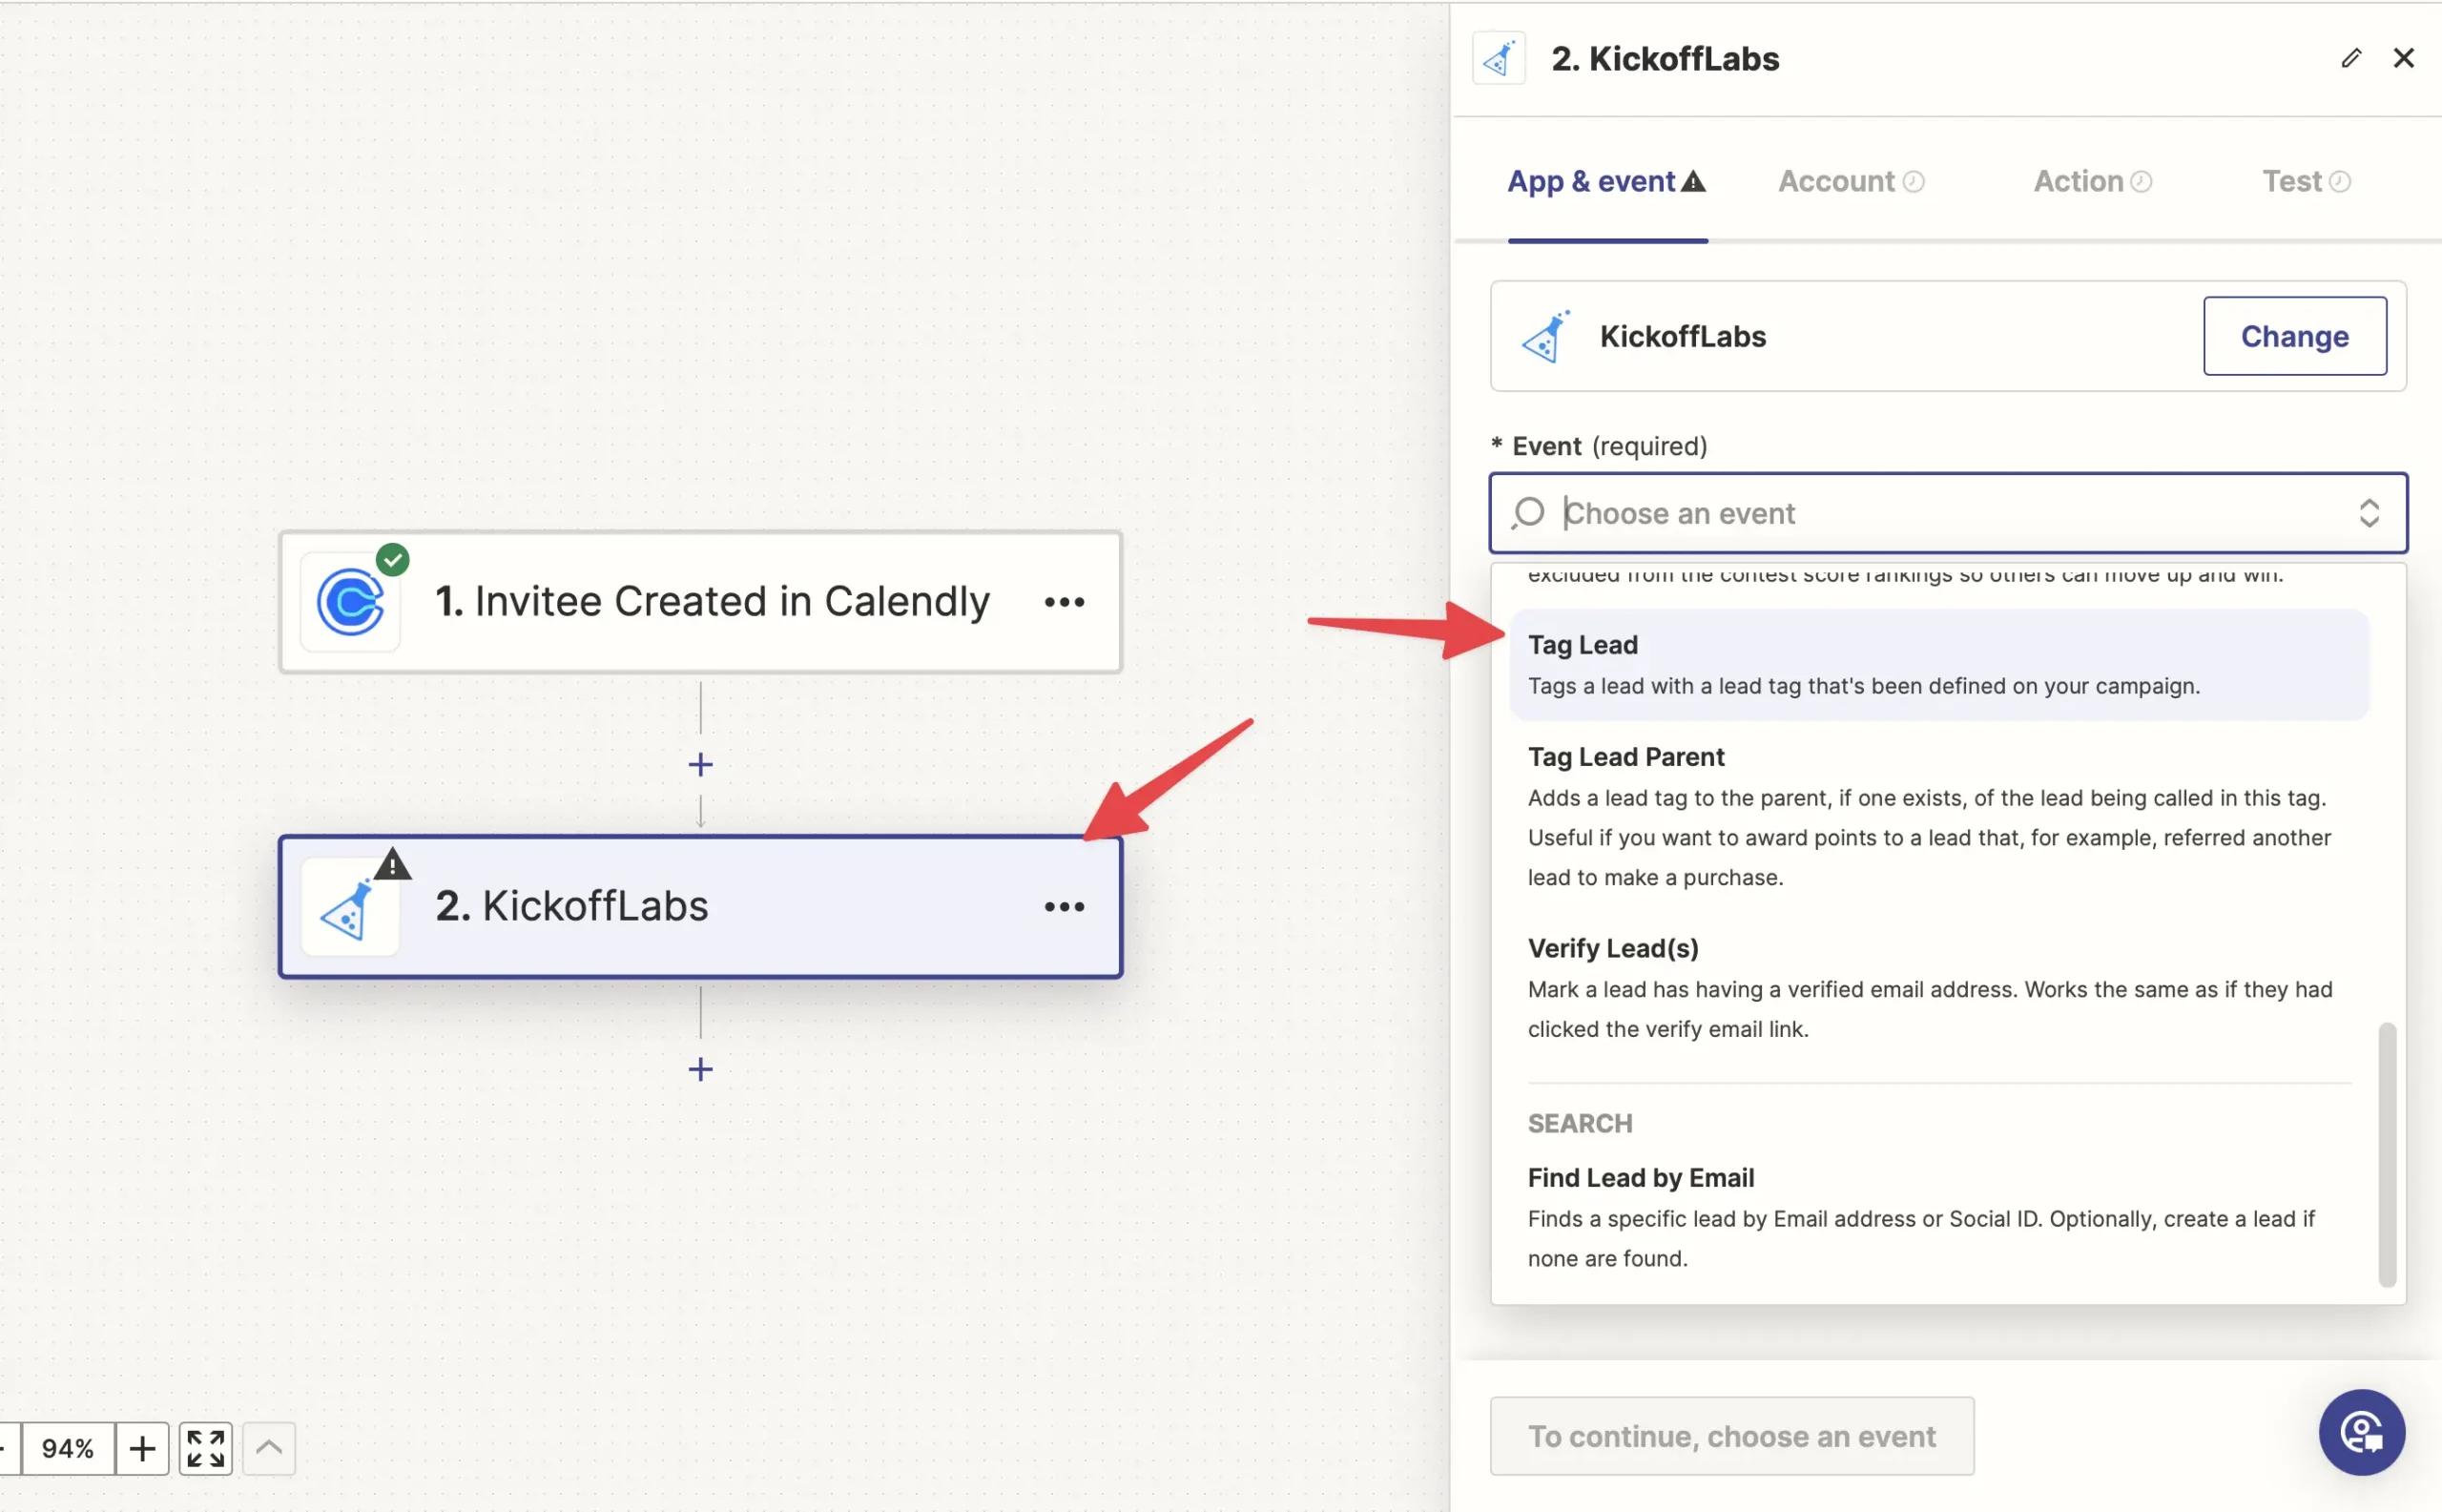
- Next, select KickoffLabs as the 2nd app. Then, select “Tag Lead” from the event trigger dropdown.
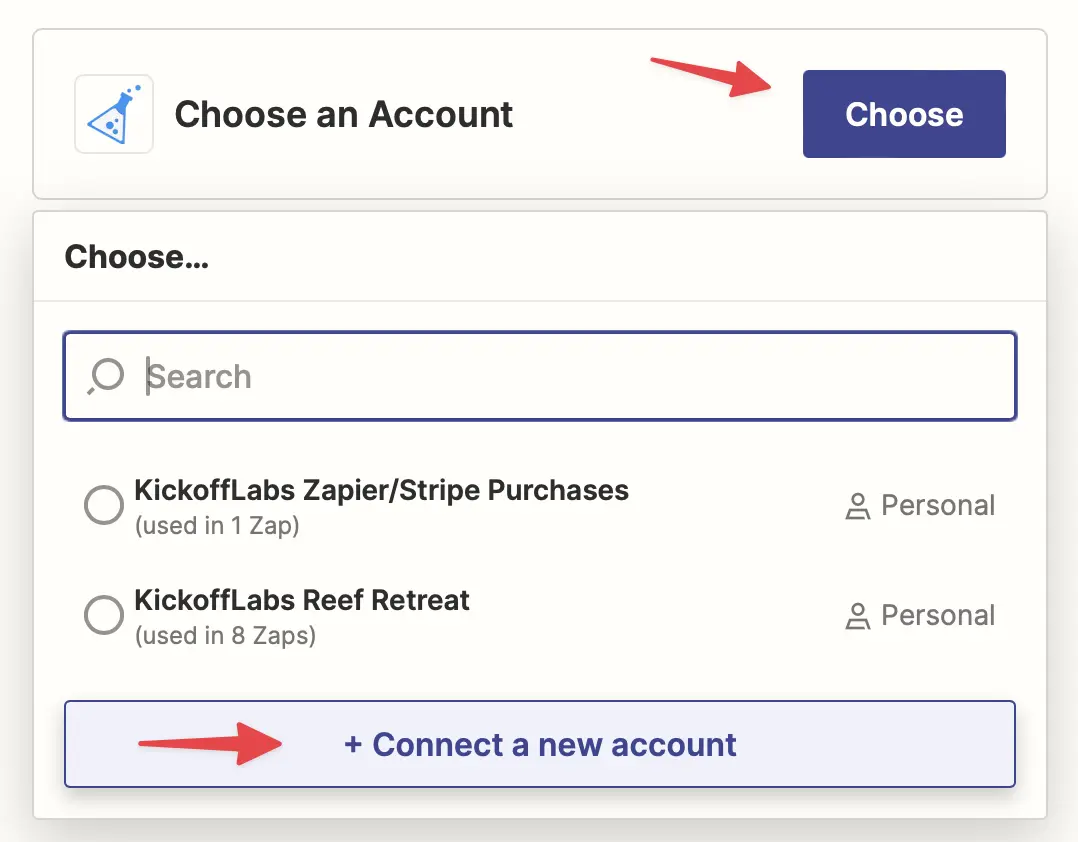
- You’ll now be prompted to connect your KickoffLabs account to Zapier if you haven’t done so before. If you’ve connected your KickoffLabs account in the past, you’ll see your previously connected campaigns listed.
- A new window will open to enter the KickoffLabs Campaign ID and API Key.
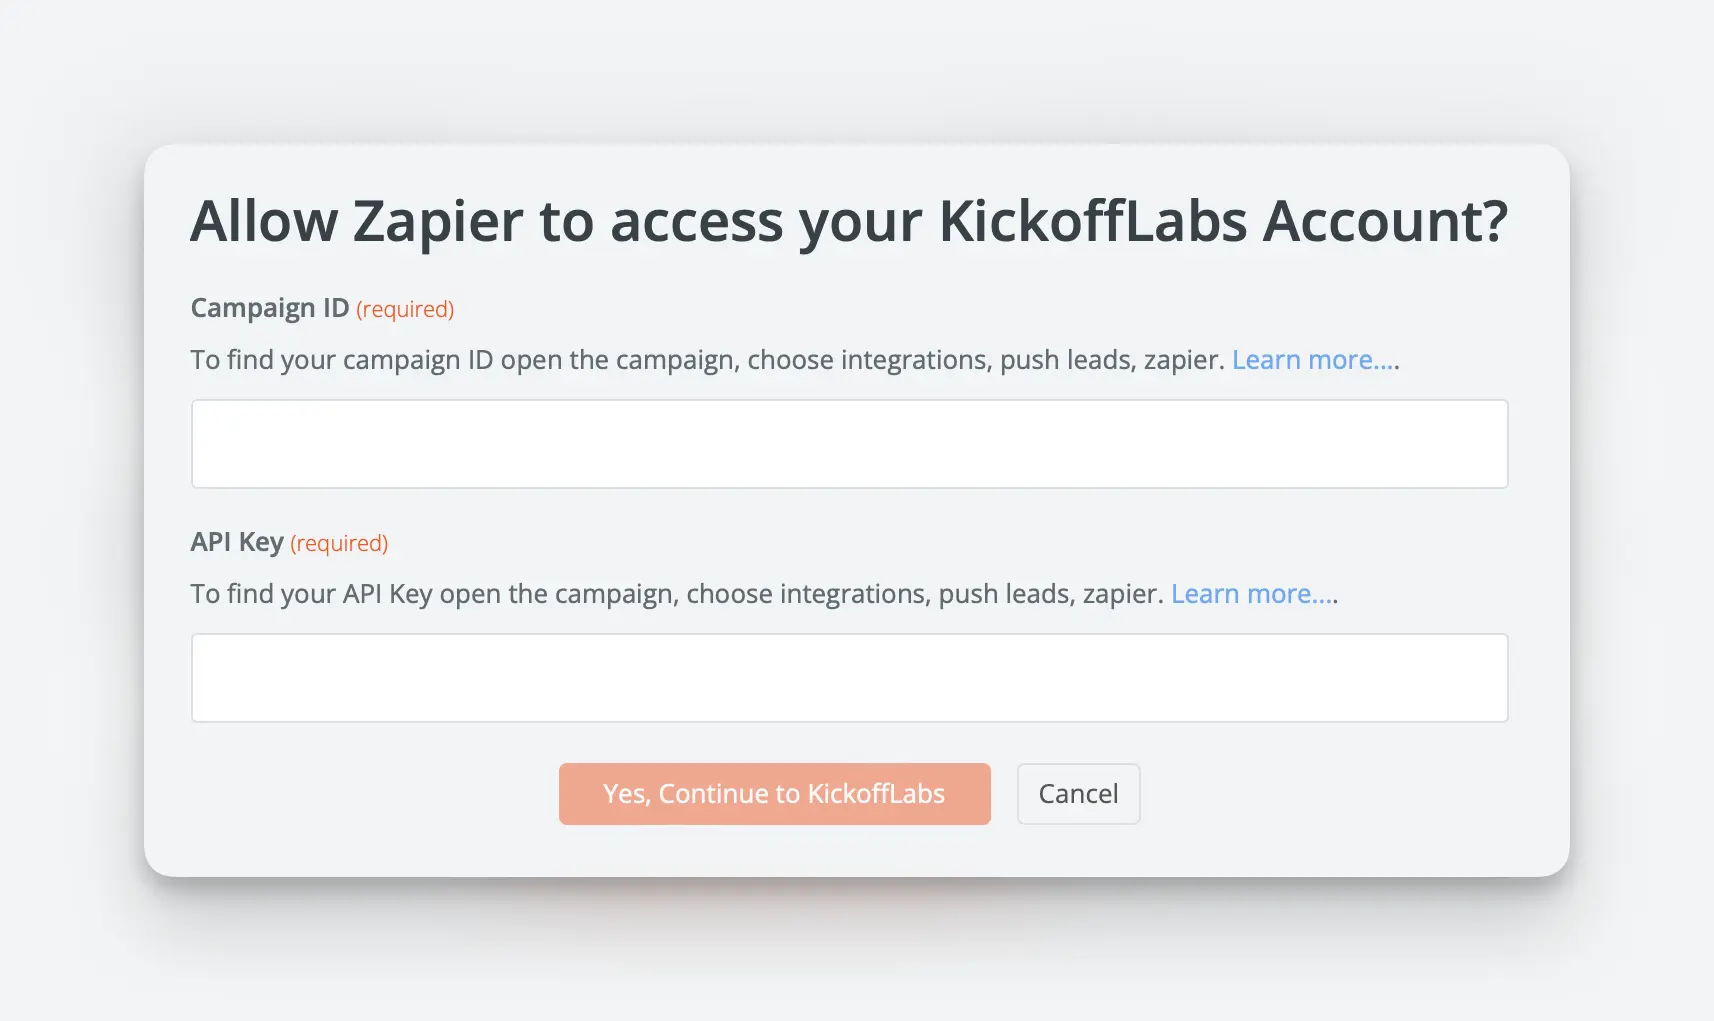
- This can be found on the right side of your KickoffLabs Zapier integration page (accessible in KickoffLabs via Setup > Integrations > Zapier). Once you enter the details and continue, the window should close and you’ll be taken back to your Zapier setup where you can continue setting up.

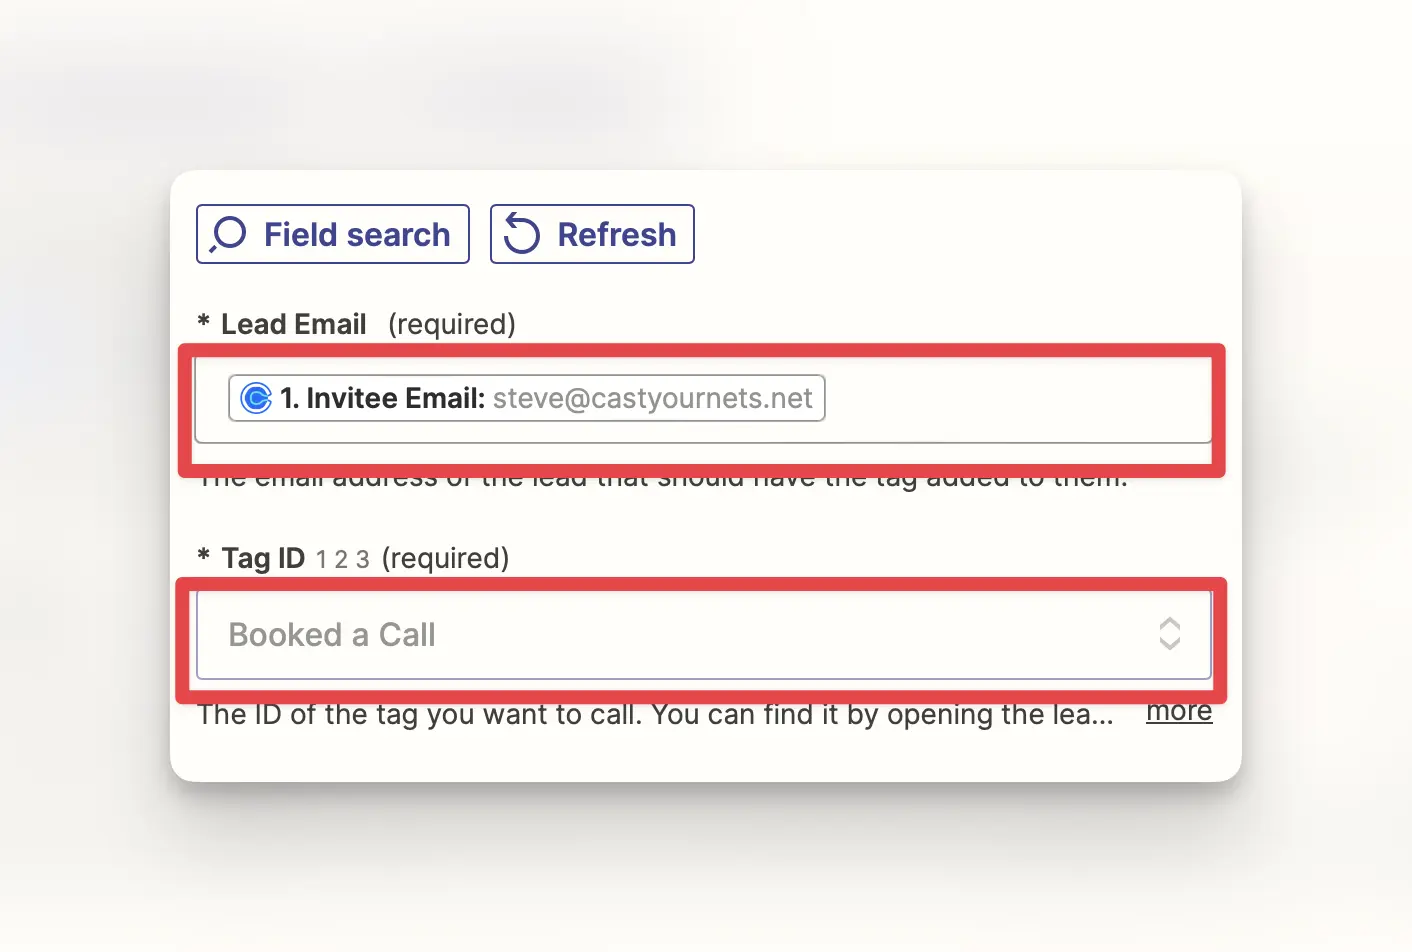
- Next, map the Calendly email field to KickoffLabs and select the lead tag you’d like to use for the zap.
- Test out your integration and turn on the zap! If everything is setup correctly, you should see the lead tagged in KickoffLabs. If you run into any issues, reach out to support@kickofflabs.com and our team would be happy to assist!
What to check after
Section titled “What to check after”- Confirm the setting, export, integration, or message changed where you expected in KickoffLabs.
- If this affects leads, forms, referrals, emails, or integrations, submit a fresh test lead and verify the result end-to-end.
- Save the campaign URL, test lead email, screenshots, and any error messages before contacting support.
Need help? Email support@kickofflabs.com with your campaign URL, the lead email you tested with, and a screenshot of what you expected to happen.