Custom Email Providers
This guide walks through custom email providers for leads, messaging, and tracking.
Strategy guide: Want the bigger campaign playbook behind this setup? Read Referral Programs.
By default, KickoffLabs can send the automatic reply, verification, and reward level emails for you. You don’t have to do anything. But if you’d like to use your own email provider we’ve now enabled that option. Using a custom email provider means:
- Emails sent no longer count against your monthly uniques at KickoffLabs
- Better control over sending with your own IP address and custom email domain
- Direct access to email analytics
- You could use the same service to send bulk emails.
Email provider setup We don’t recommend using Gmail, Outlook, Yahoo etc Please note: In…
Section titled “Email provider setup We don’t recommend using Gmail, Outlook, Yahoo etc Please note: In…”order to use a custom email domain, you will need to verify the domain via your provider. If you’re using Sendgrid, we’ve created a step by step guide to verify the domain. To access e-mail provider setup follow the path Setup>Messaging>Custom Email Provider from the campaign overview screen. 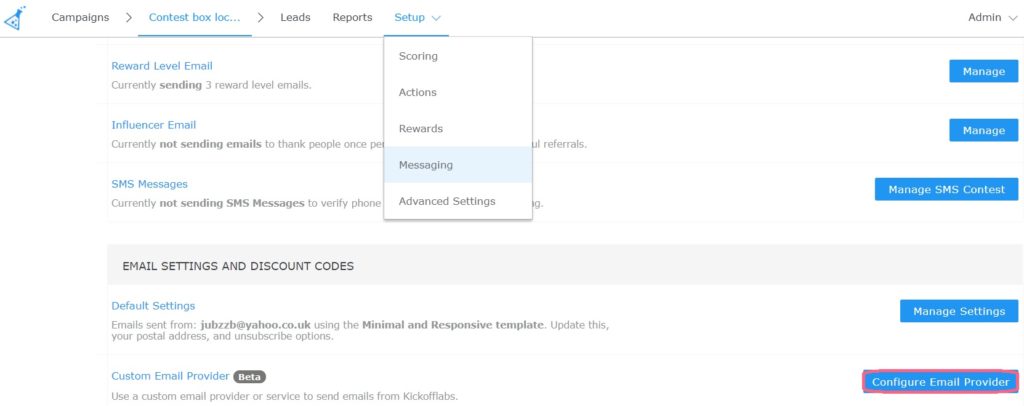
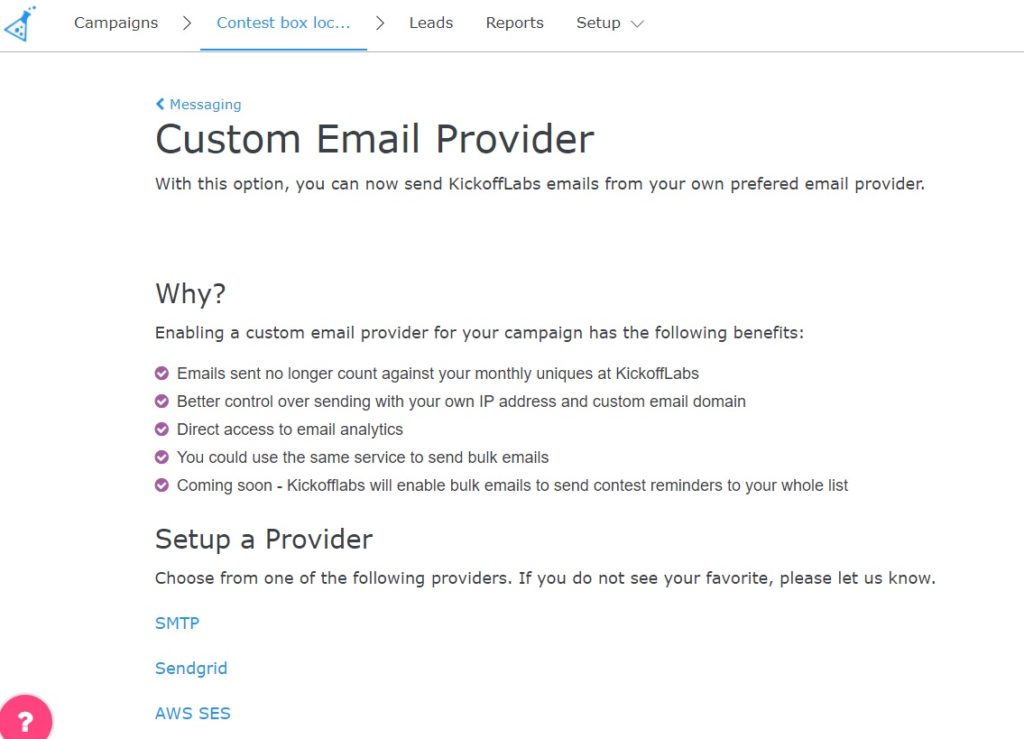
Click “Configure email provider” and you will be taken to the new screen where you can see three options to set up e-mail provider:
- SMTP
- Sendgrid
- Amazon Services SES
Sendgrid via SMTP In the
Section titled “Sendgrid via SMTP In the”KickoffLabs Provider setup click SMTP and you will see the following screen 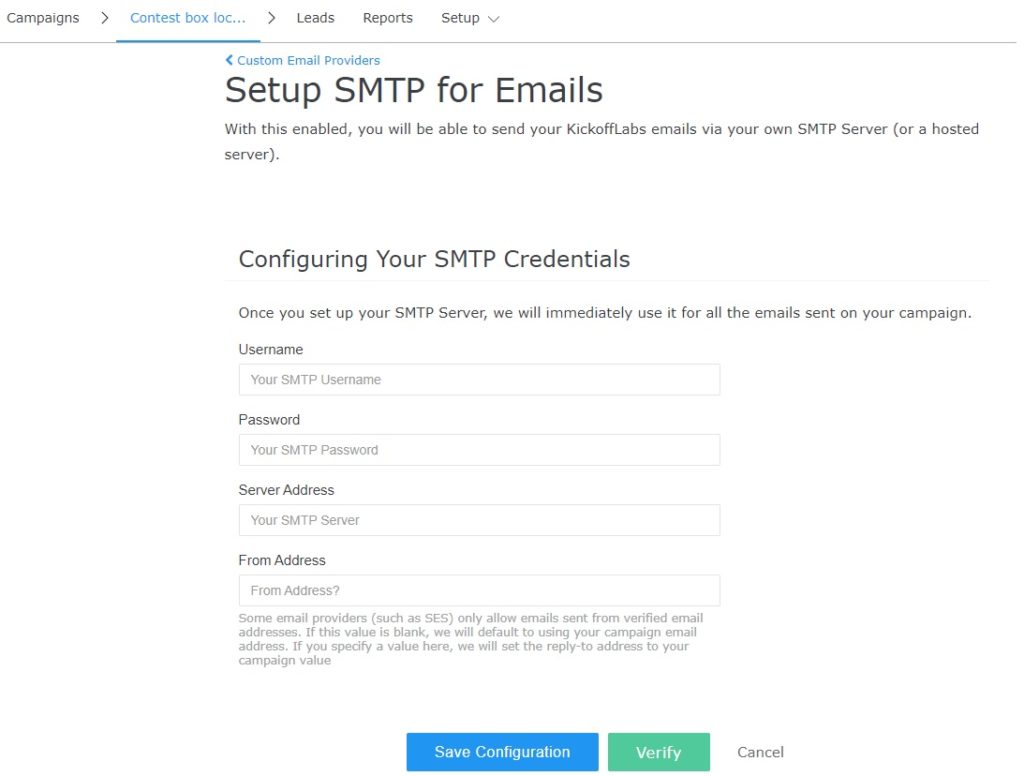
Now go to your Sendgrid application and follow the path Email API>Integration Guide then click “Choose” below SMTP Relay option 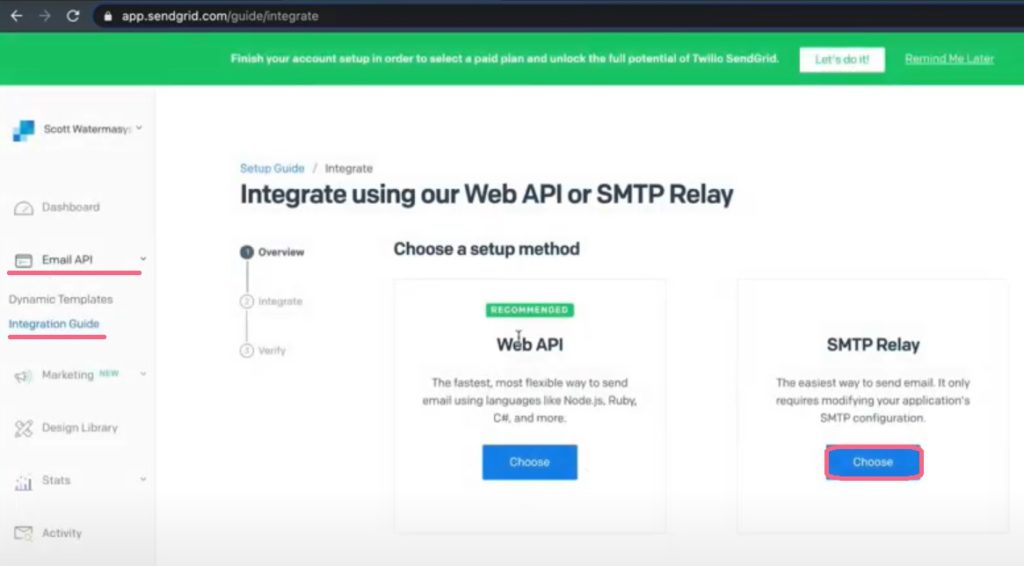
You will see the next screen 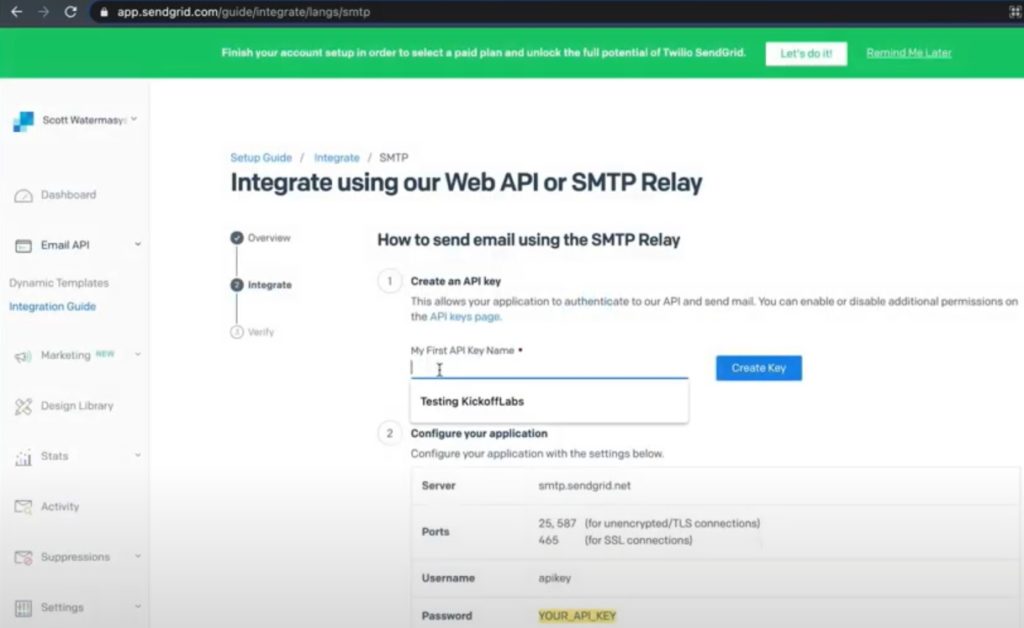
where you need to enter enter “Testing KickoffLabs” on the “My First API Key Name” field and click “Create Key”. 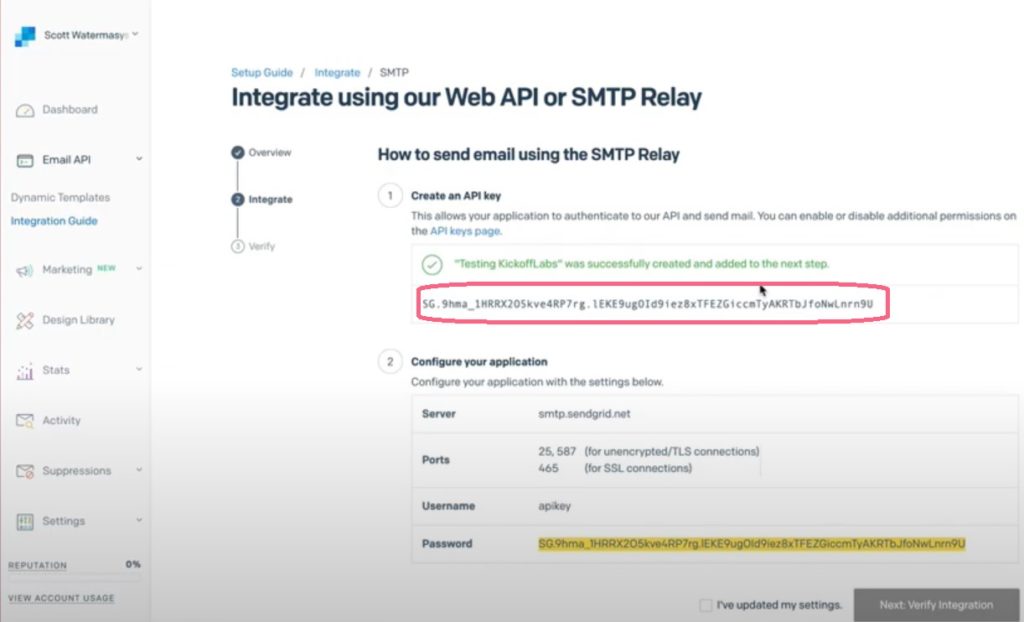
Copy the API Key and server information and go back to KickoffLabs where you need to enter the info. 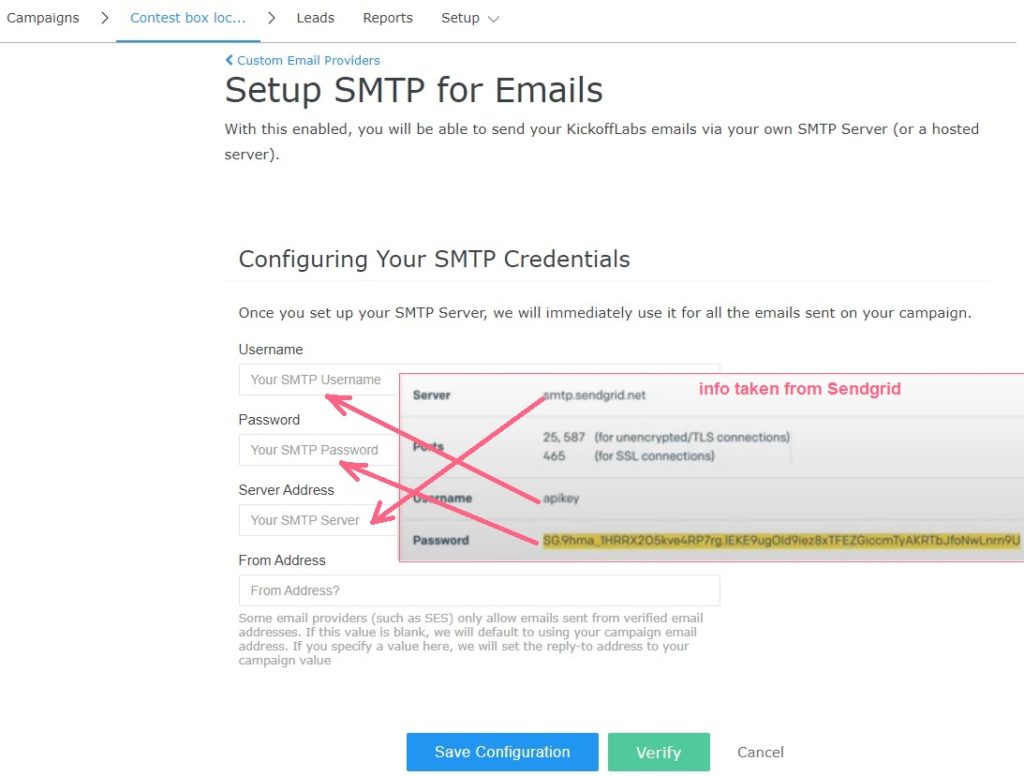
Once you fill in all mandatory information click “Verify”. This will only work if the e-mail address which you have verified in Sendgrid is the same as the e-mail address added in the default settings in KickoffLabs. In case you would like to use a different e-mail for KickoffLabs, you can, but you will need to enter in “From Address” field the verified in Sendgrid email address. When you have finished, click “Save Configuration” button.
Sendgrid via Web API This time in the Email Provider screen click Sendgrid and you w…
Section titled “Sendgrid via Web API This time in the Email Provider screen click Sendgrid and you w…”ill be taken to the next screen. 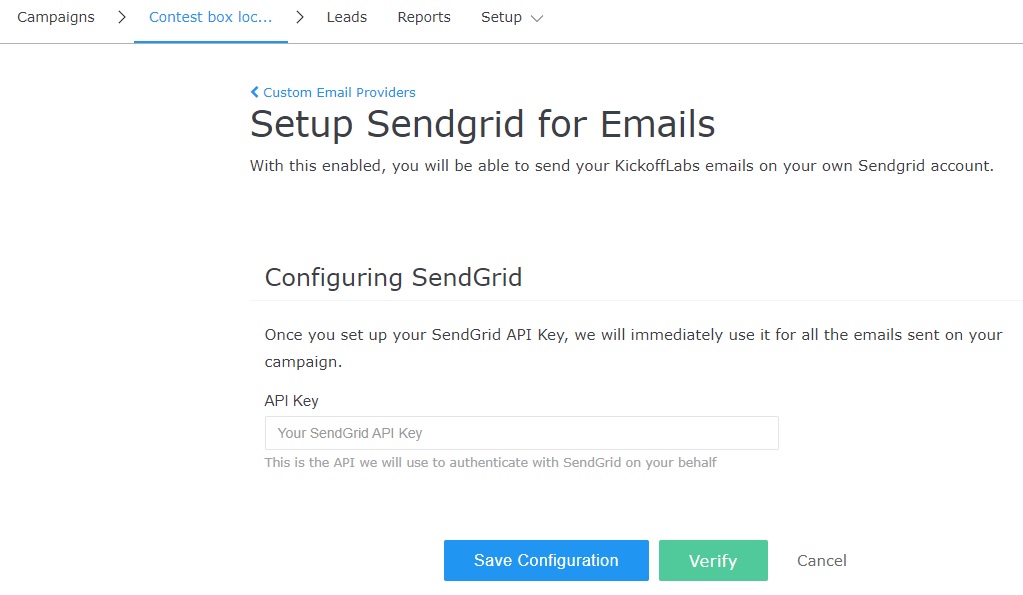
In the meantime access Sendgrid and in the integration guide screen, click “Choose” under the option “Web API”. Then click **Settings **and API Key 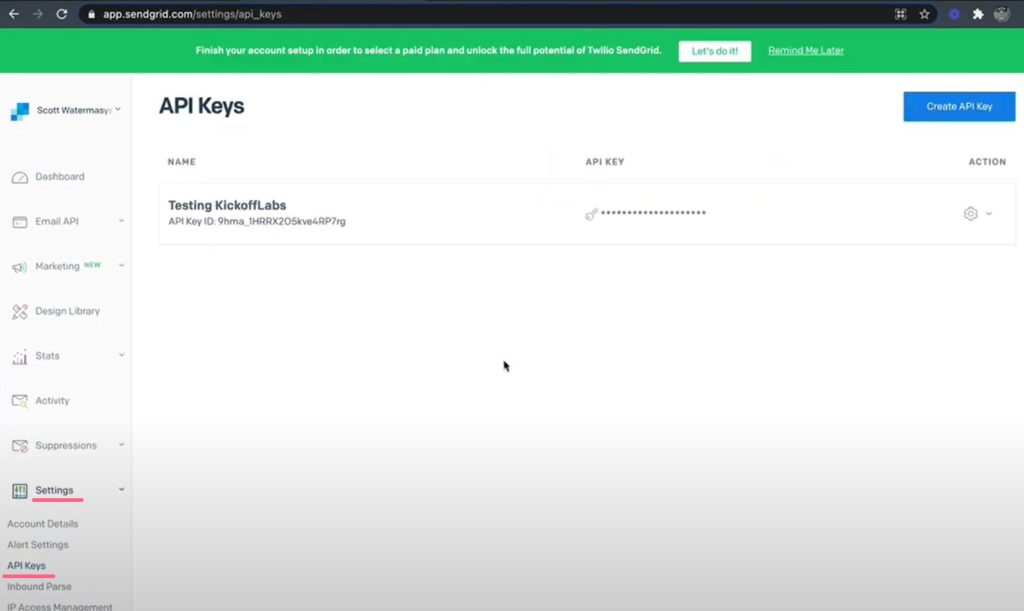
Click “Create API Key” and then choose “Restricted access”. 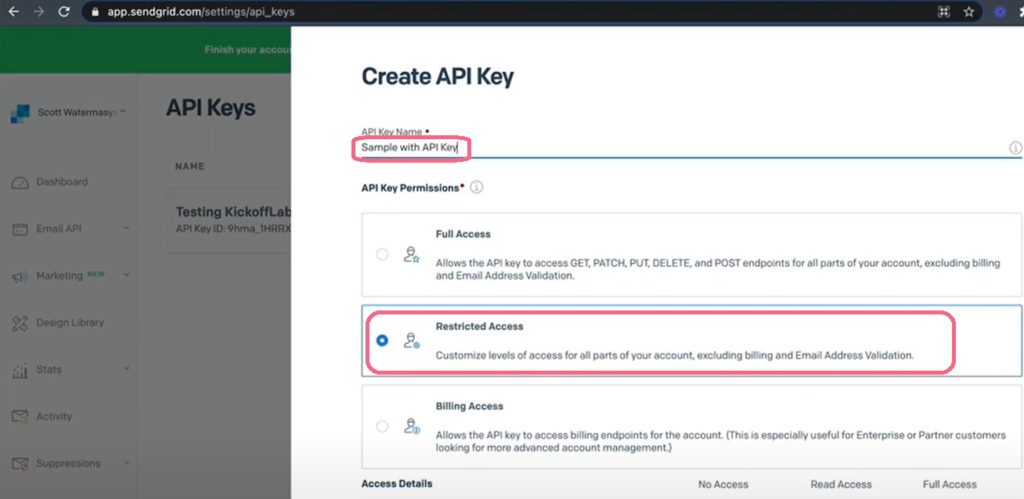
Scroll down and select “Mail Send” and click “Create Now”. 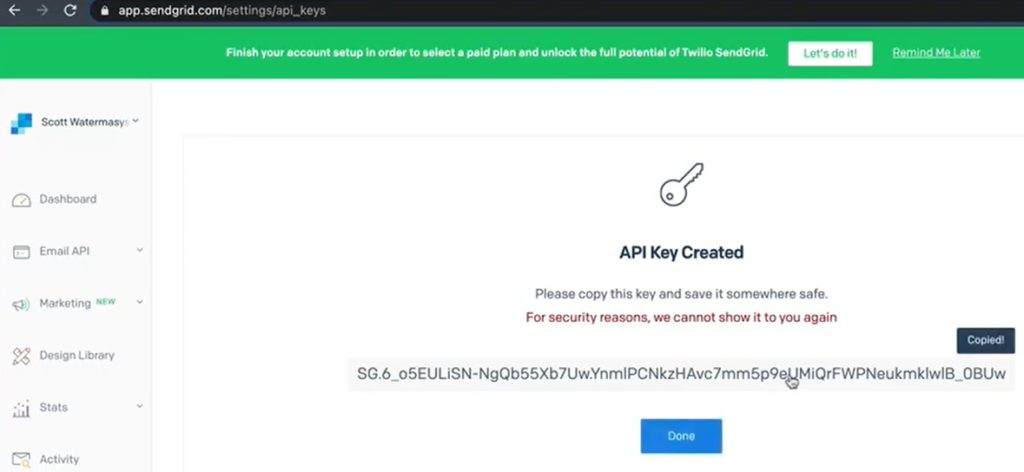
Copy the key and click “Done”. *Please note that once you click done you will never be able to see this API key again! Once you have the API key you can go back to KickoffLabs and paste it in the email provider section. 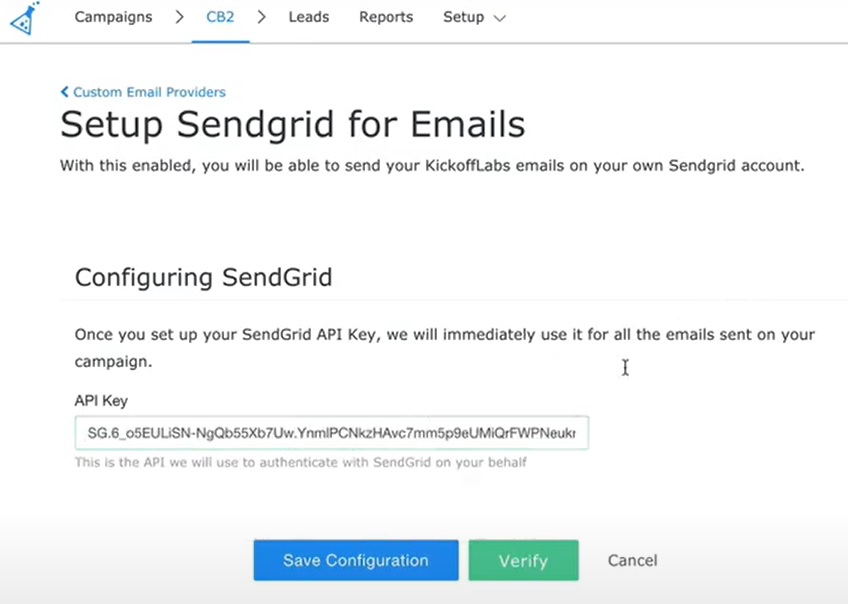
First click “Verify” and then “Save Configuration”. You will see a confirmation on the screen that the set up has been completed. 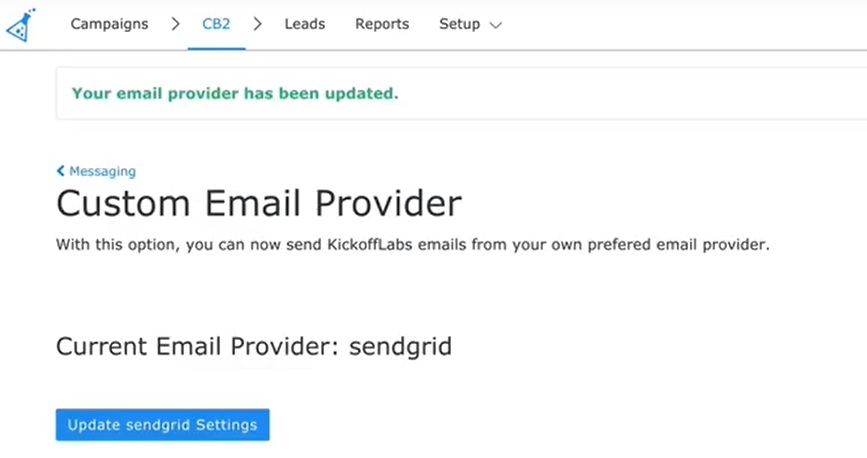
What to check after
Section titled “What to check after”- Confirm the setting, export, integration, or message changed where you expected in KickoffLabs.
- If this affects leads, forms, referrals, emails, or integrations, submit a fresh test lead and verify the result end-to-end.
- Save the campaign URL, test lead email, screenshots, and any error messages before contacting support.
Need help? Email support@kickofflabs.com with your campaign URL, the lead email you tested with, and a screenshot of what you expected to happen.